How to Use Painter’s Tape: 5 Mistakes to Avoid
Using painter’s tape the right way can make all the difference between flawless paint lines and a frustrating mess. In this post, I’m breaking down five common mistakes DIYers make—and exactly how to fix them—so you can get a professional finish every time!
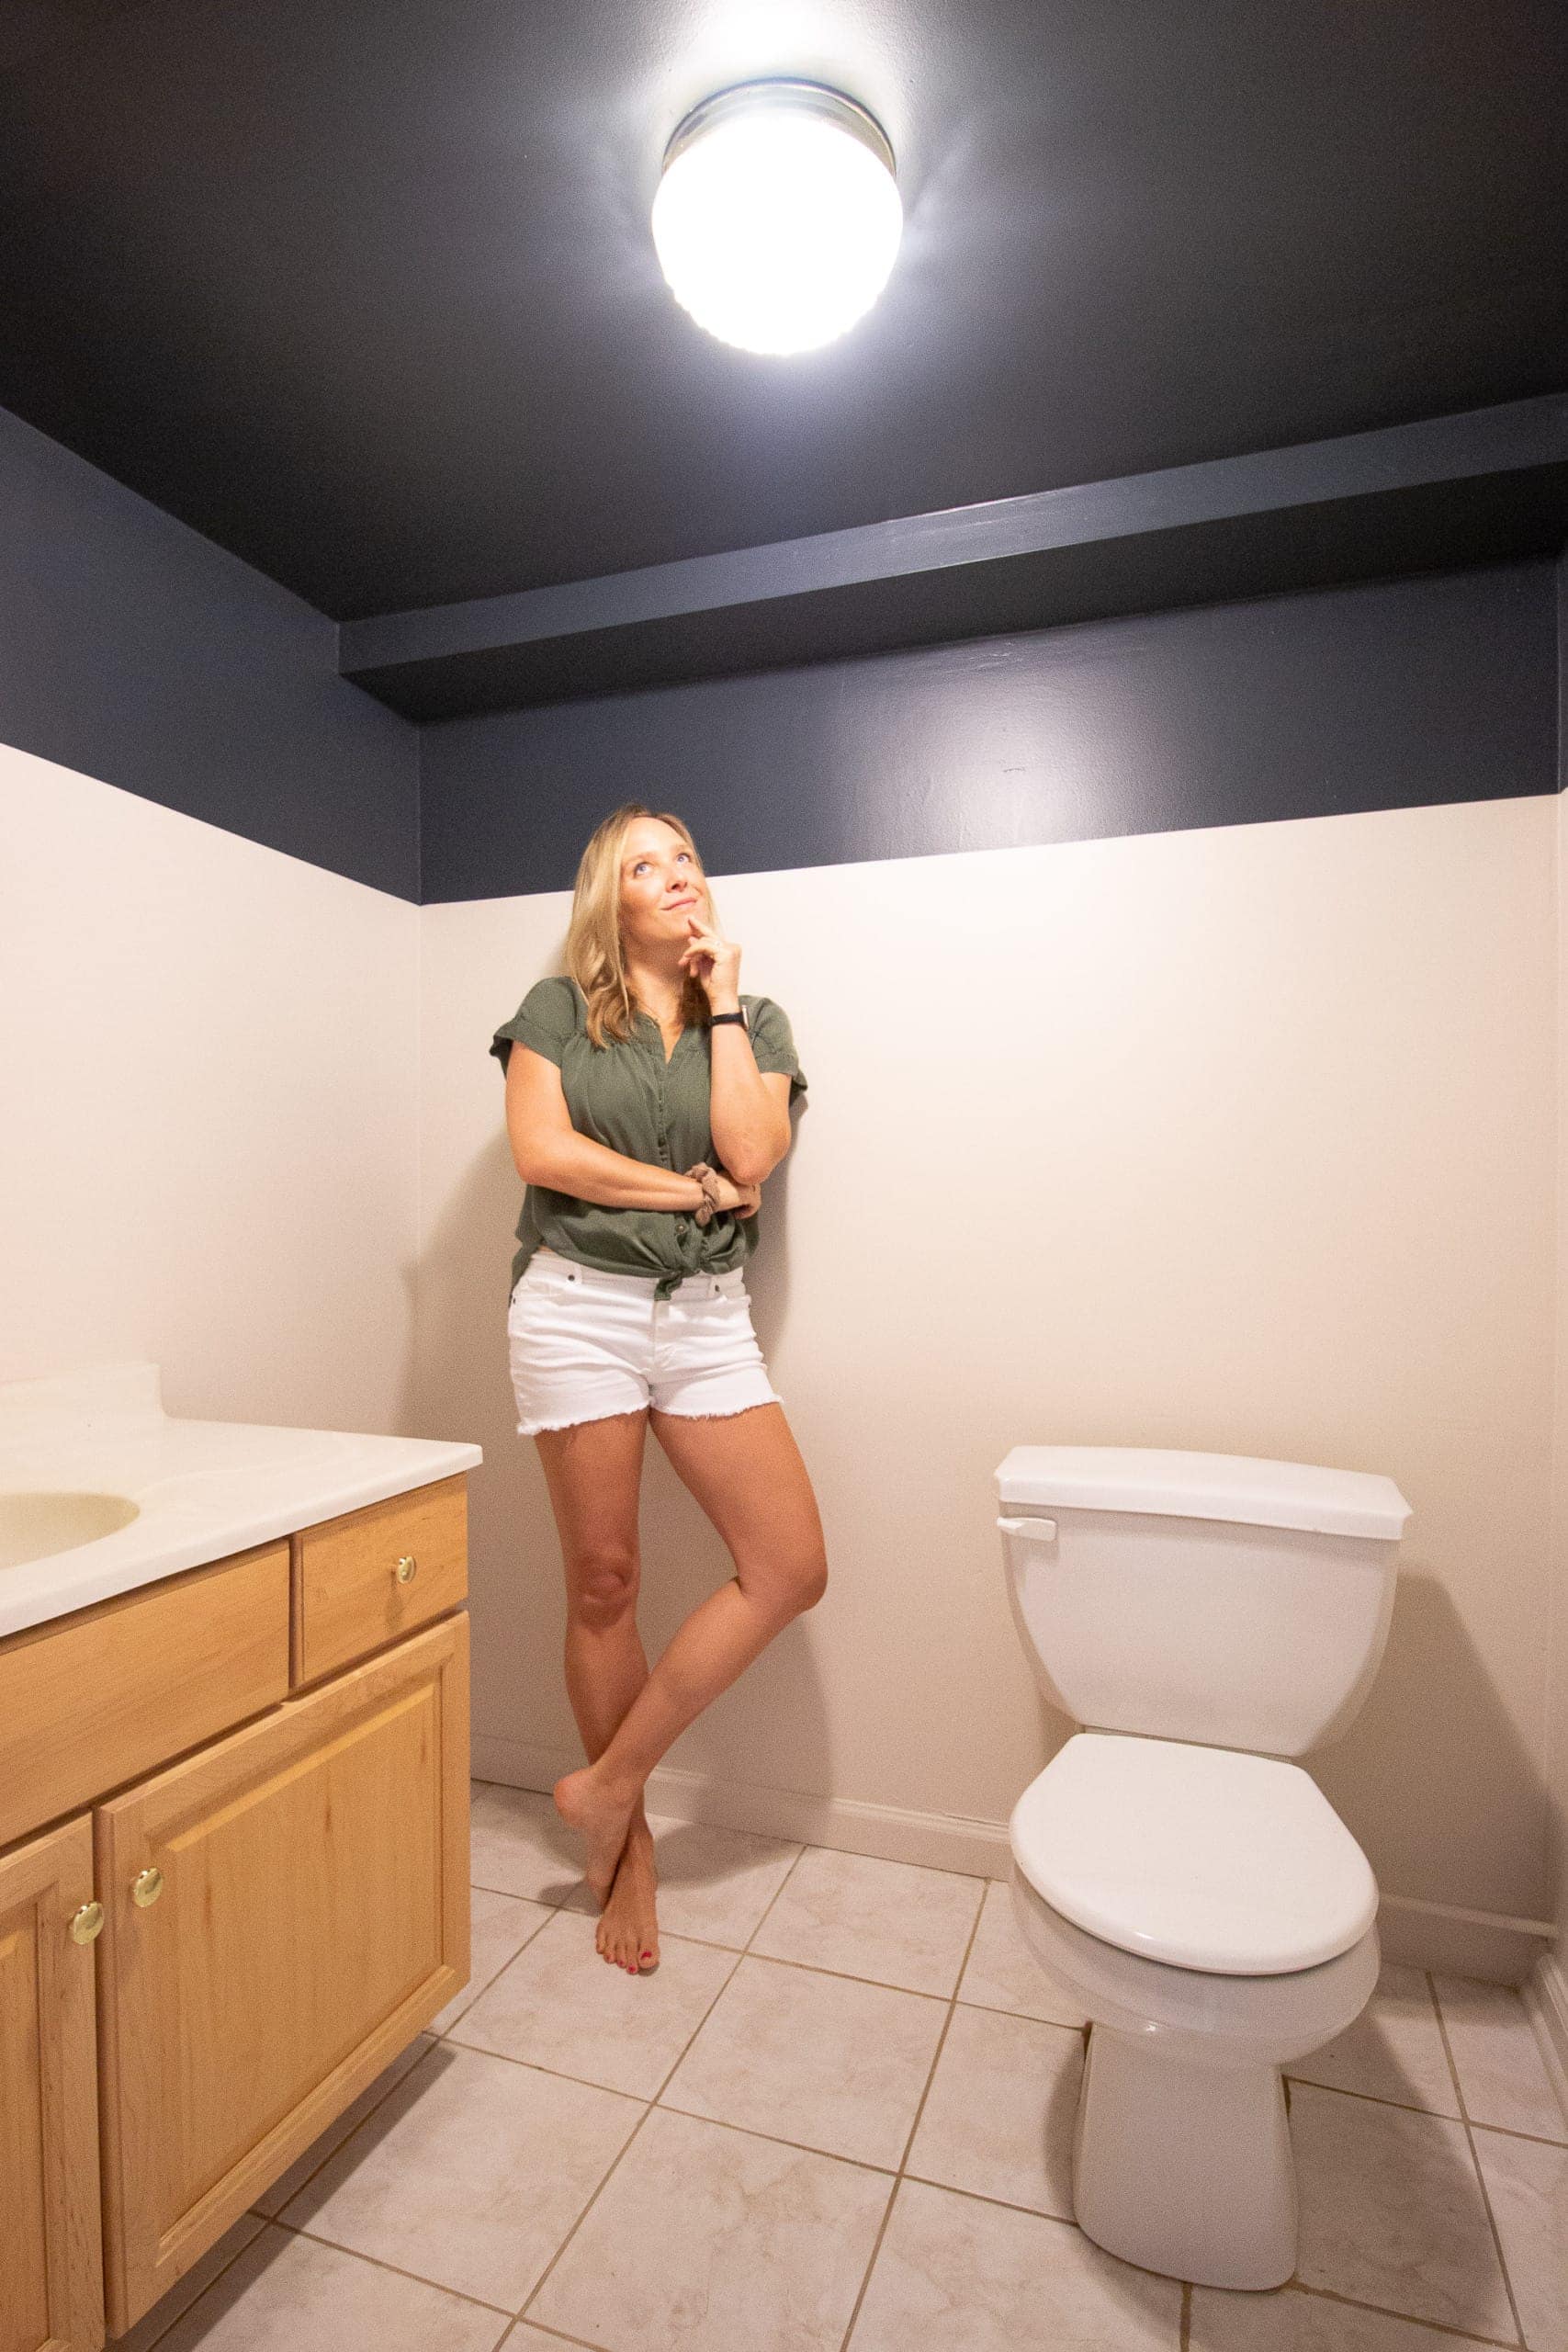
I’ve painted dozens and dozens of rooms over the past 15 years—from bedrooms and bathrooms to ceilings, trim, and even tile floors. With each project, I’ve gotten a little better, learning new techniques and best practices along the way.
On The DIY Playbook, I’ve shared everything from how to choose the right paint color to step-by-step painting tutorials. But there’s one important topic that often gets glossed over: painter’s tape. It might seem like a simple tool, but if you don’t use tape correctly, it can totally mess up an otherwise beautiful paint job.

Now, I know some experienced painters can skip the tape altogether and cut in with ease. That’s amazing—but I’m not one of those people. If you’ve ever seen me painting, you’ll notice I always reach for tape, especially when I’m using a paint sprayer or doing a two-tone wall technique. In those cases, a clean edge of the tape is essential for those crisp lines we all want.
From the surface type to the timing of your tape application, getting a pro-level result takes more than just slapping on some masking tape. If you’re a DIY’er, mastering the basics of good masking is essential, especially around tricky areas like baseboards, window frames, or where the wall meets the ceiling.
Let’s walk through the most common painter’s tape mistakes I see (and yes, I’ve made them all myself) and exactly how to fix them so your next project looks polished and professional.
Mistake #1: Using the Wrong Tape for the Job

Not all painter’s tape is created equal, and grabbing whatever roll you find at the bottom of your cart might be setting you up for a painting disaster.
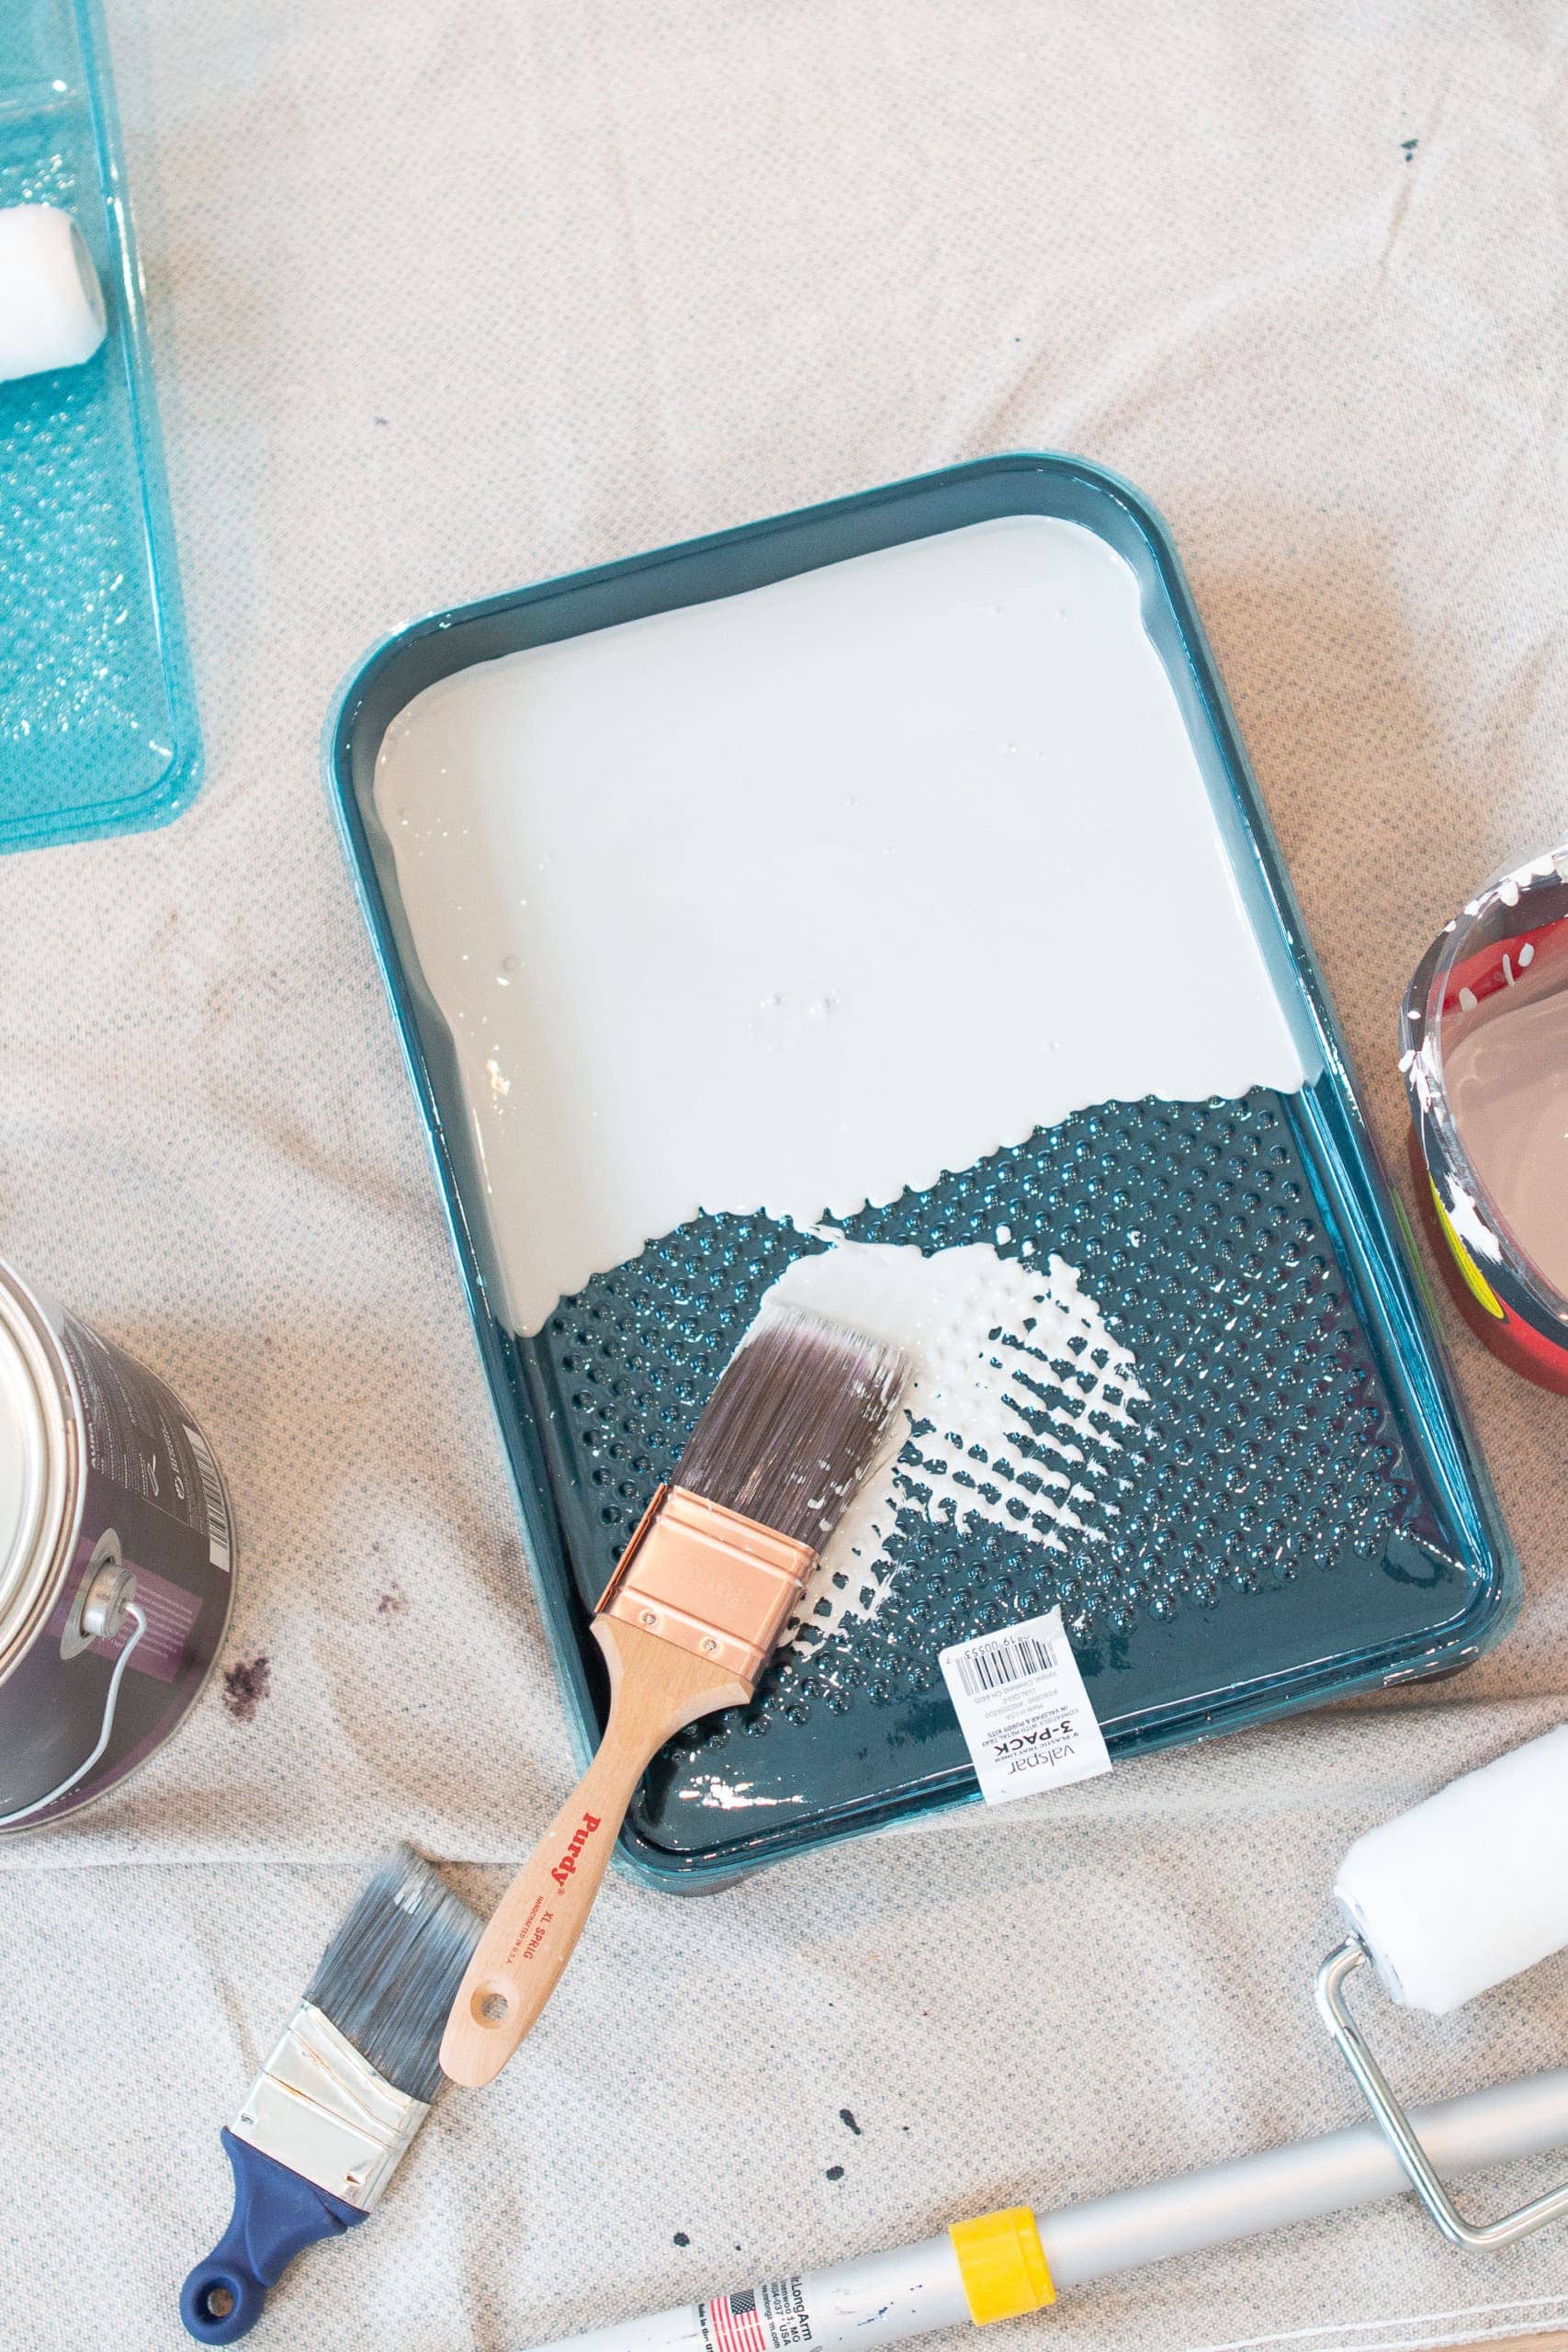
The type of painters’ tape you use should match your surface type. There’s tape made specifically for delicate surfaces like fresh drywall, wallpaper, or recently painted walls. And then there’s high-adhesion tape that works better on brick, stucco, or rough tile. That same tape could peel paint right off a smoother surface if you’re not careful. Yikes.

For most “regular” painting jobs (i.e. baseboards, molding, walls), I would opt for a tape with a clean release and moderate adhesion.
Sometimes, traditional painter’s tape isn’t the best idea. For example, when painting baseboards and carpet, I opt for a straight edge instead of painter’s tape. Or when masking off carpet for painting, you’ll want to use regular masking tape instead of painter’s tape.

Delicate Surface // Multi-Surface Tape // Masking Tape // Painter’s Tape Applicator
So, before you hit “purchase”, read the label. Most brands call out the intended surface type right on the packaging, and some even color-code them. A little extra thought upfront = fewer touch-ups later.
Mistake #2: Skipping Surface Prep

This one might seem obvious, but it’s often the biggest reason painter’s tape fails to stick, or worse, lets paint bleed right underneath.
Before you apply any tape, take a few extra minutes to properly prep the area. That means wiping down the surface to remove any dirt, grime, and moisture that could affect the tape’s adhesion.
If you’re working in high-traffic areas like baseboards, window frames, or around light switches and sockets, you’d be surprised how much dust buildup there can be. Even tiny dust particles can weaken the bond between the tape and the wall or trim.
Grab a damp rag (not soaking wet!) and give everything a quick wipe down before taping.
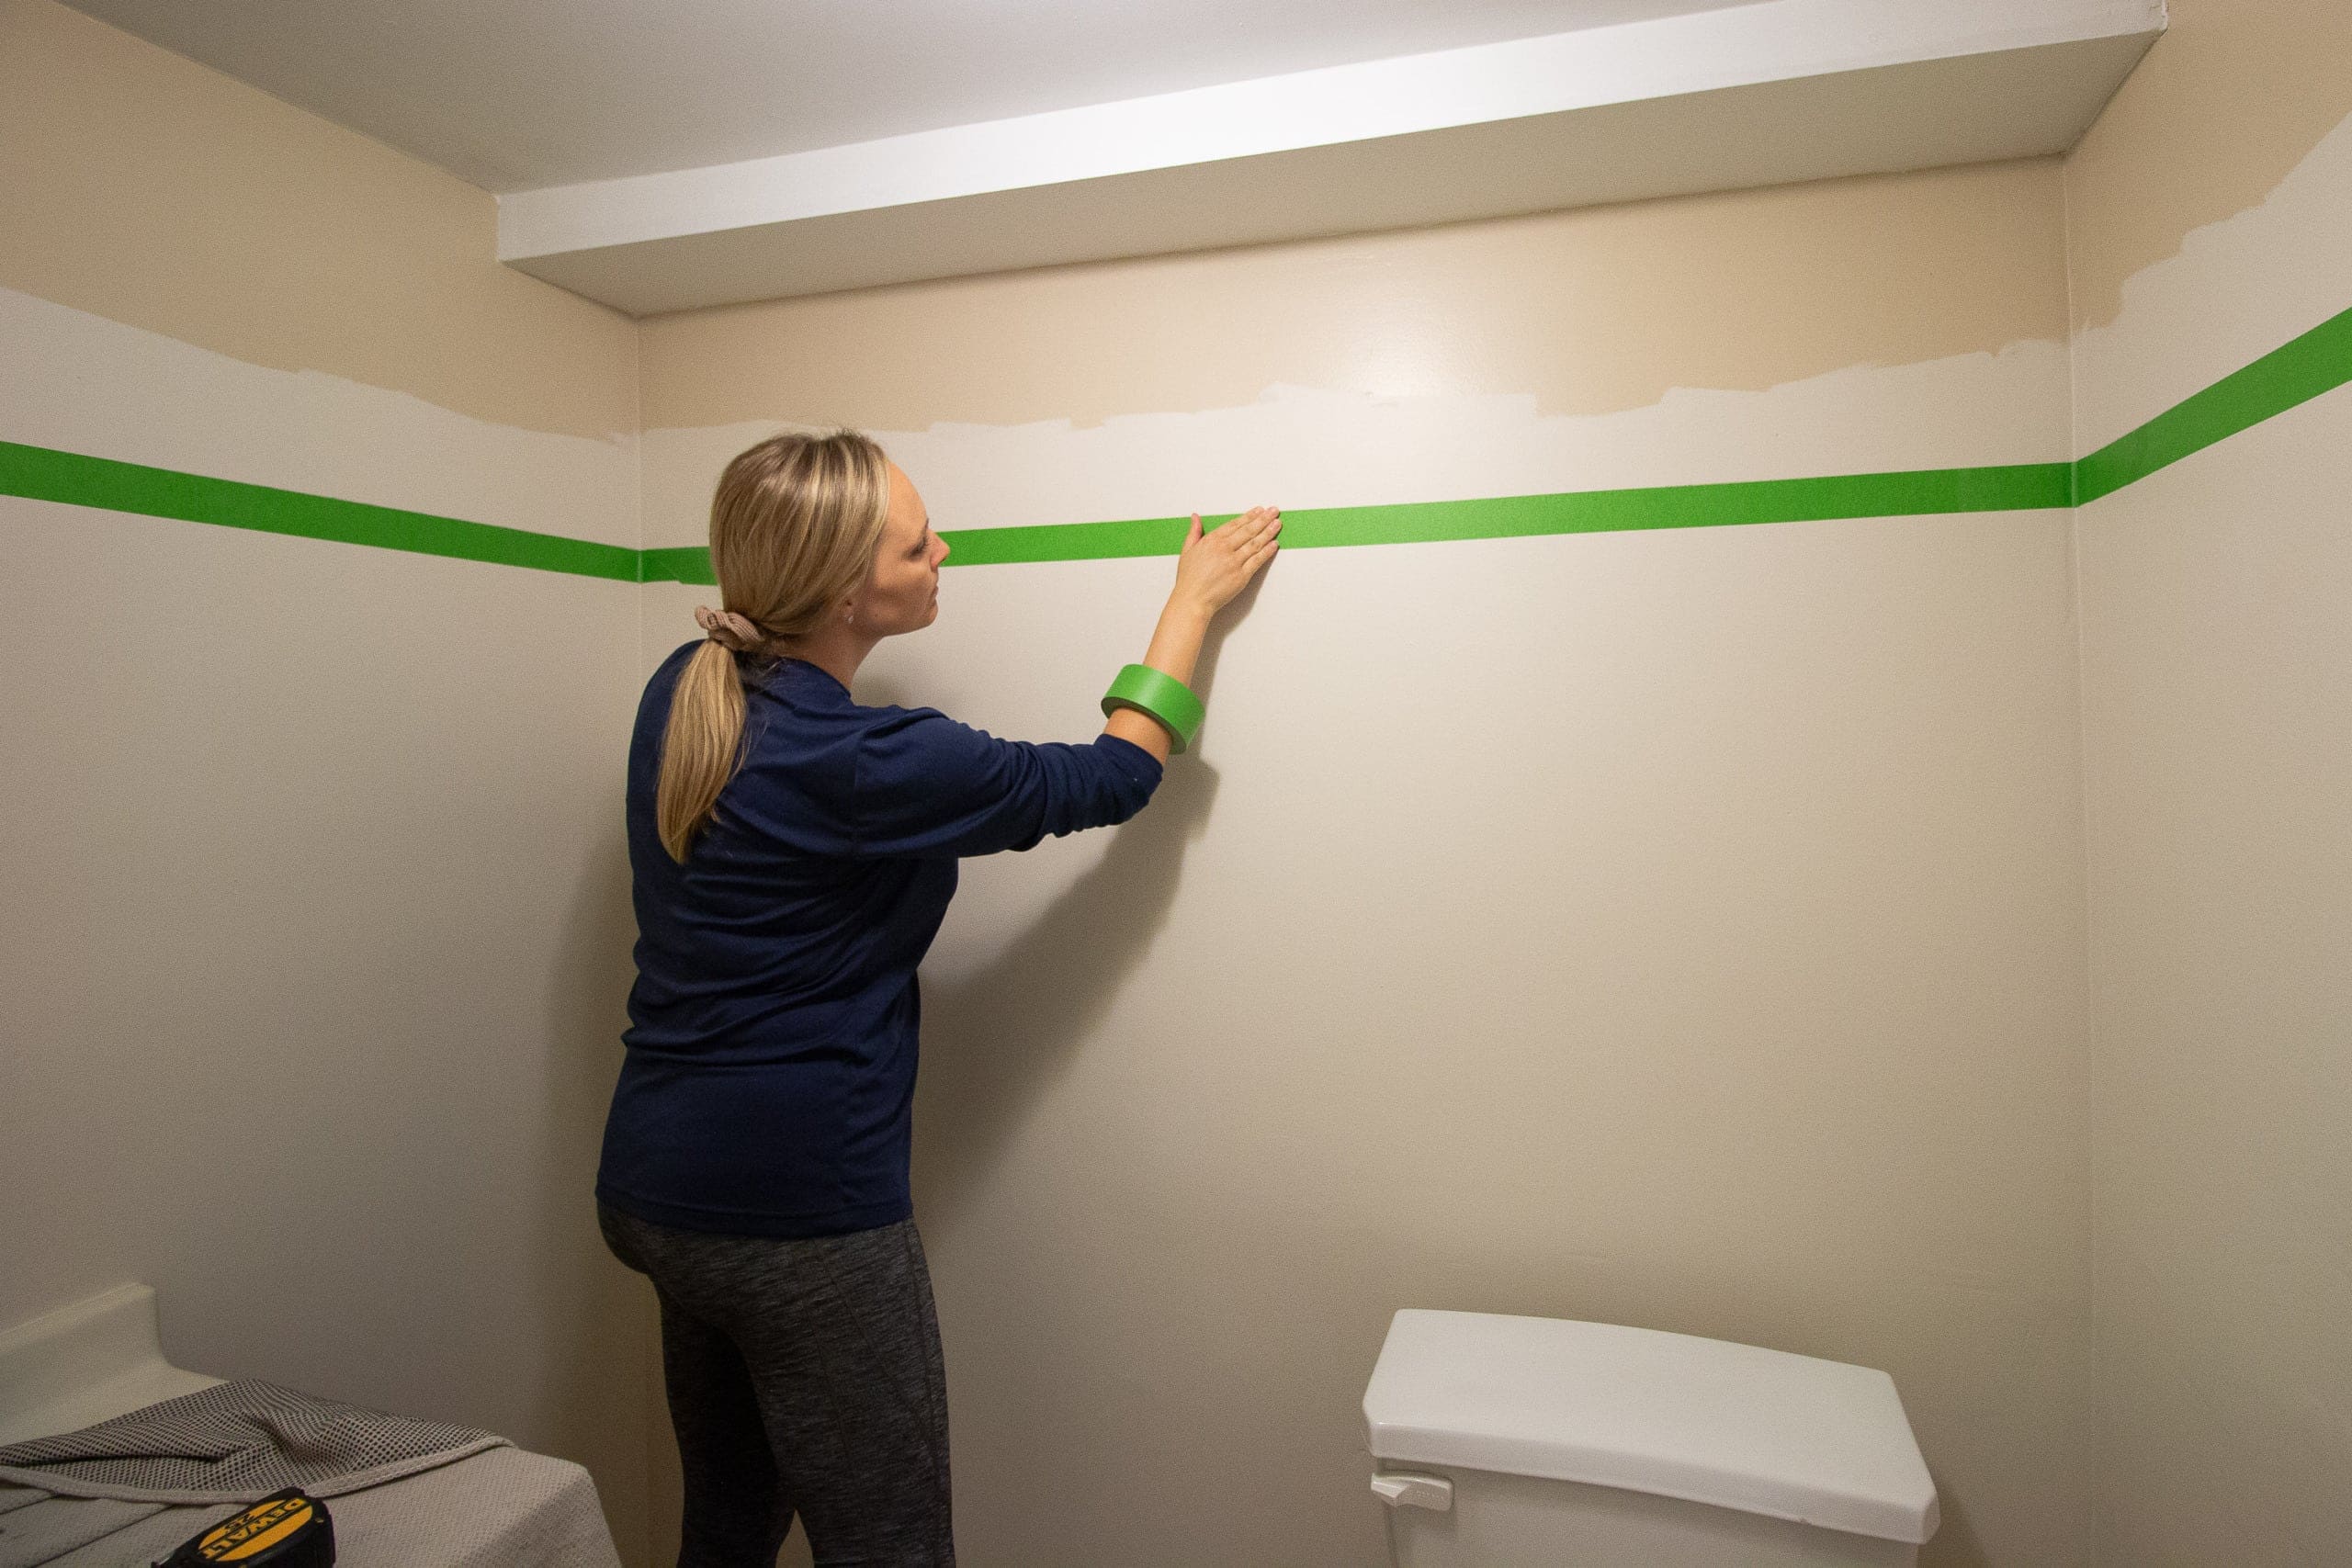
Mistake #3: Not Pressing the Tape Down Firmly

So you’ve got the right painter’s tape, and your surface is clean. Yay! But if you don’t press the tape down properly, paint can still seep underneath and ruin that sharp finish you want.
I used to just lightly smooth the tape with my fingers and call it a day. But over time, I’ve learned that you really need to seal the edge of the tape to get those crisp lines. This is especially true around trim, molding, and where the wall meets the ceiling—areas where paint loves to sneak in if the seal isn’t tight.

Here’s what I recommend: Use a putty knife or even a credit card to run along the edge and press the tape down firmly. This step creates a solid bond between the tape and the surface, helping to prevent bleeding. This is especially important if you’re working with a paint sprayer or painting a bold color next to a light one, like when painting your first color in a two-tone wall.
You might have heard that running a damp rag over your painter’s tape helps “activate” the adhesive. While that’s not technically true, it can help press the tape into the surface. Just make sure the rag isn’t too wet and think of it more as a smoothing tool than a magic glue activator.
Struggling to Line Up Your Tape?
If you’ve ever ended up with jagged or uneven strips of tape, you’re not alone. Getting clean lines, especially over long runs or awkward angles, can be tricky.
Here are a few tricks I swear by…
- Start small. Don’t try to tape a huge section all at once. Tear off manageable strips (about 12–18 inches long) and slightly overlap them to help create a straight line.
- Use the edge of the trim as your guide. When taping baseboards or window frames, line up the edge of the tape with the existing molding.
- Apply with one hand, smooth with the other. I like to hold the roll in one hand and gently apply it with the other, smoothing as I go to prevent bubbles or gaps.
- Don’t stretch the tape. Stretching can cause the tape to lift or curl back. Lay it down gently and press to seal.
Mistake #4: Removing the Tape at the Wrong Time

Timing is everything when it comes to pulling painter’s tape. Too early, and the paint might smudge. Too late, and you risk peeling up dried paint along with it.
So when’s the right time? I like to remove the tape when the paint is dry to the touch but not fully cured. For most water-based paint, this usually means waiting about an hour or two, depending on your room’s moisture and temperature.
What About Multiple Coats?

If your project calls for two or more coats of paint (which most do!), leave the tape on until the final coat is dry to the touch. Removing it too early can mess with your coverage. Just make sure the tape still has a good seal before each coat. If it starts lifting between layers, press it back down with your putty knife or swap in a fresh strip for best results.
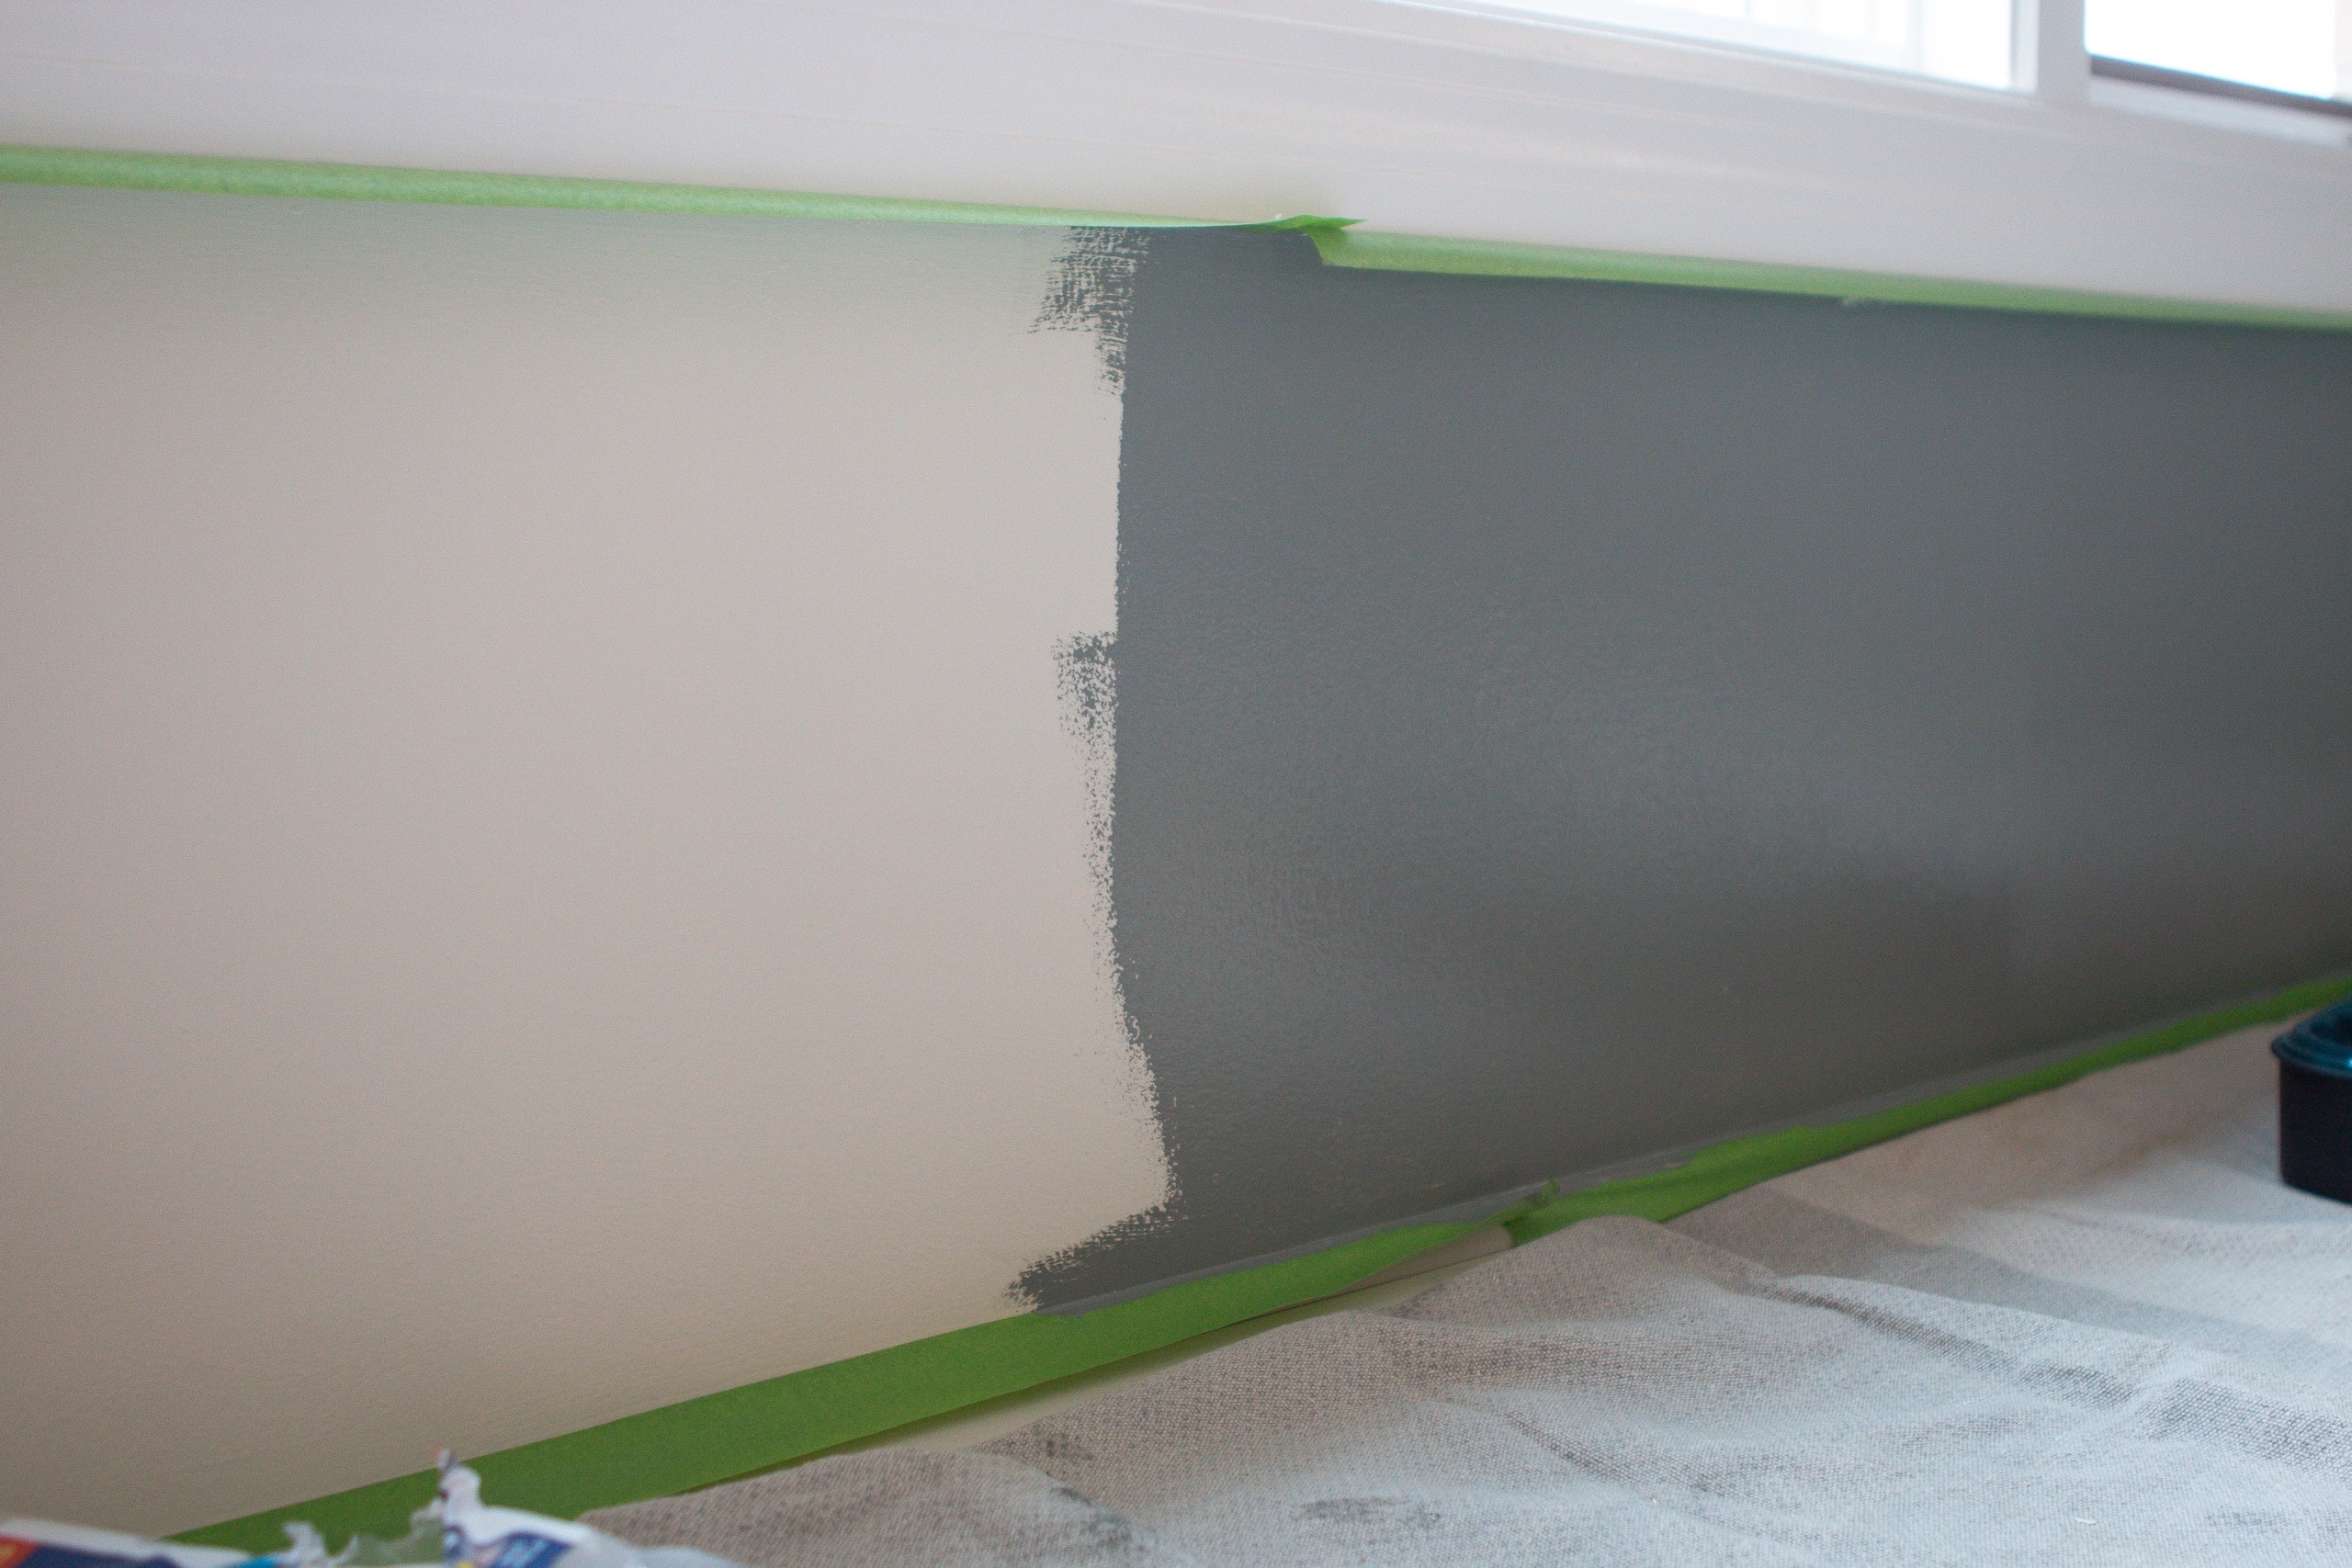
Mistake #5: Peeling the Tape the Wrong Way
You’ve made it through the painting, and you’re ready for the big reveal, but how you remove the tape can make or break that final look.
One of the biggest mistakes I see? Ripping the tape straight back or yanking it off in one fast pull. That can leave jagged edges, torn tape, or worse, peeling paint right off the wall or trim.
Instead, take it slow and steady. Pull the tape off at a 45-degree angle, keeping it low and close to the surface. This gives you better control and helps maintain those crisp lines you worked so hard for. If any resistance pops up, gently score along the edge of the tape with a utility knife or putty knife to break the seal before continuing.
Sharp Lines Every Time!

Painter’s tape might seem like a small part of the project, but it plays a huge role in how polished your final results look. With the right tape, a little prep, and a few simple techniques, you can avoid all the common pitfalls and get those sharp paint lines that make a room feel finished and professional.
P.S. I also shared some of these tips in this video if you want to see them during real painting projects!