Our Custom Mudroom Built-Ins Are In! (Install Day Recap)
The big day arrived! Our custom mudroom built-ins were delivered and installed, and the space is already taking shape. In this post, I’m sharing how the install came together, the craftsmanship details, and the cost before we move on to paint, hardware, and styling
My dream mudroom is finally coming to life! I already shared the mudroom design plan with you, and last week was all about the demo. This week, we actually have cabinets!

For years, I’ve had this picture in my head of what this space could be. Every time I walked past it, I imagined tall cabinets, a built-in bench, and a well-organized spot for all of the bags, coats, and sports gear that always seemed to end up scattered around our living room. Now that the custom cabinetry is finally installed, that vision is starting to come to life and it feels so good to see it take shape.
The custom cabinets arriving was a big milestone in this project, and it was exciting to watch everything come together, piece by piece. Let’s dive into what installation day looked like and how this wall quickly transformed.
Install Day: Bringing the Cabinets Home
After two weeks of building everything off-site, our carpenter and his two assistants pulled up with a truck full of cabinets, drawers, and panels. It was wild to see all of the pieces that had lived in my imagination now sitting outside, ready to be carried inside. Each cabinet was built by hand (every locker, every drawer) and brought in separately to be assembled like a giant puzzle.

The crew worked fast. Over the course of two days, they carefully secured each section to the wall, added filler pieces so everything sat flush, and made sure the tall cabinets stretched all the way to the ceiling.
That detail was important to me because I didn’t want this to look like a bunch of standalone boxes pushed against the wall. The crown molding at the top makes the cabinetry look truly built-in, like it was always part of our home’s design.

Once the structure was in place, they installed the drawers and cabinet doors. By the end of the second day, the shell of our new mudroom was complete, and it already felt like a completely different room.
Choosing the Right Hardware for Our Mudroom
Before the cabinets were installed, I had to get all of my hardware ordered so our carpenter could pre-drill the holes. This is one of those steps that can sneak up on you—you think, oh, I’ll figure out knobs and pulls later—but in reality, the placement needs to be mapped out before the doors and drawers are hung.
I’ve written an entire post about how to choose the right size cabinet hardware if you want to dive deeper, but here are the quick tips that guided me for our mudroom:
- Knobs vs. pulls: I usually put knobs on cabinet doors and pulls on drawers. For taller cabinets, though, a longer pull looks more proportional and functional.
- Sizing your pulls: A good rule of thumb is to make your pull about one-third the width of the drawer. For extra-wide drawers (over 30″), consider two pulls.
- Stick to one collection: Ordering all of your knobs and pulls from the same collection ensures the finish and style feel cohesive.
- Order early: Hardware can take a while to arrive, and your carpenter may need it on Day One of install. Plan ahead so you’re not scrambling.
- Mock it up: Use painter’s tape to test placement before committing. It’s the easiest way to visualize how the scale will look in your space.
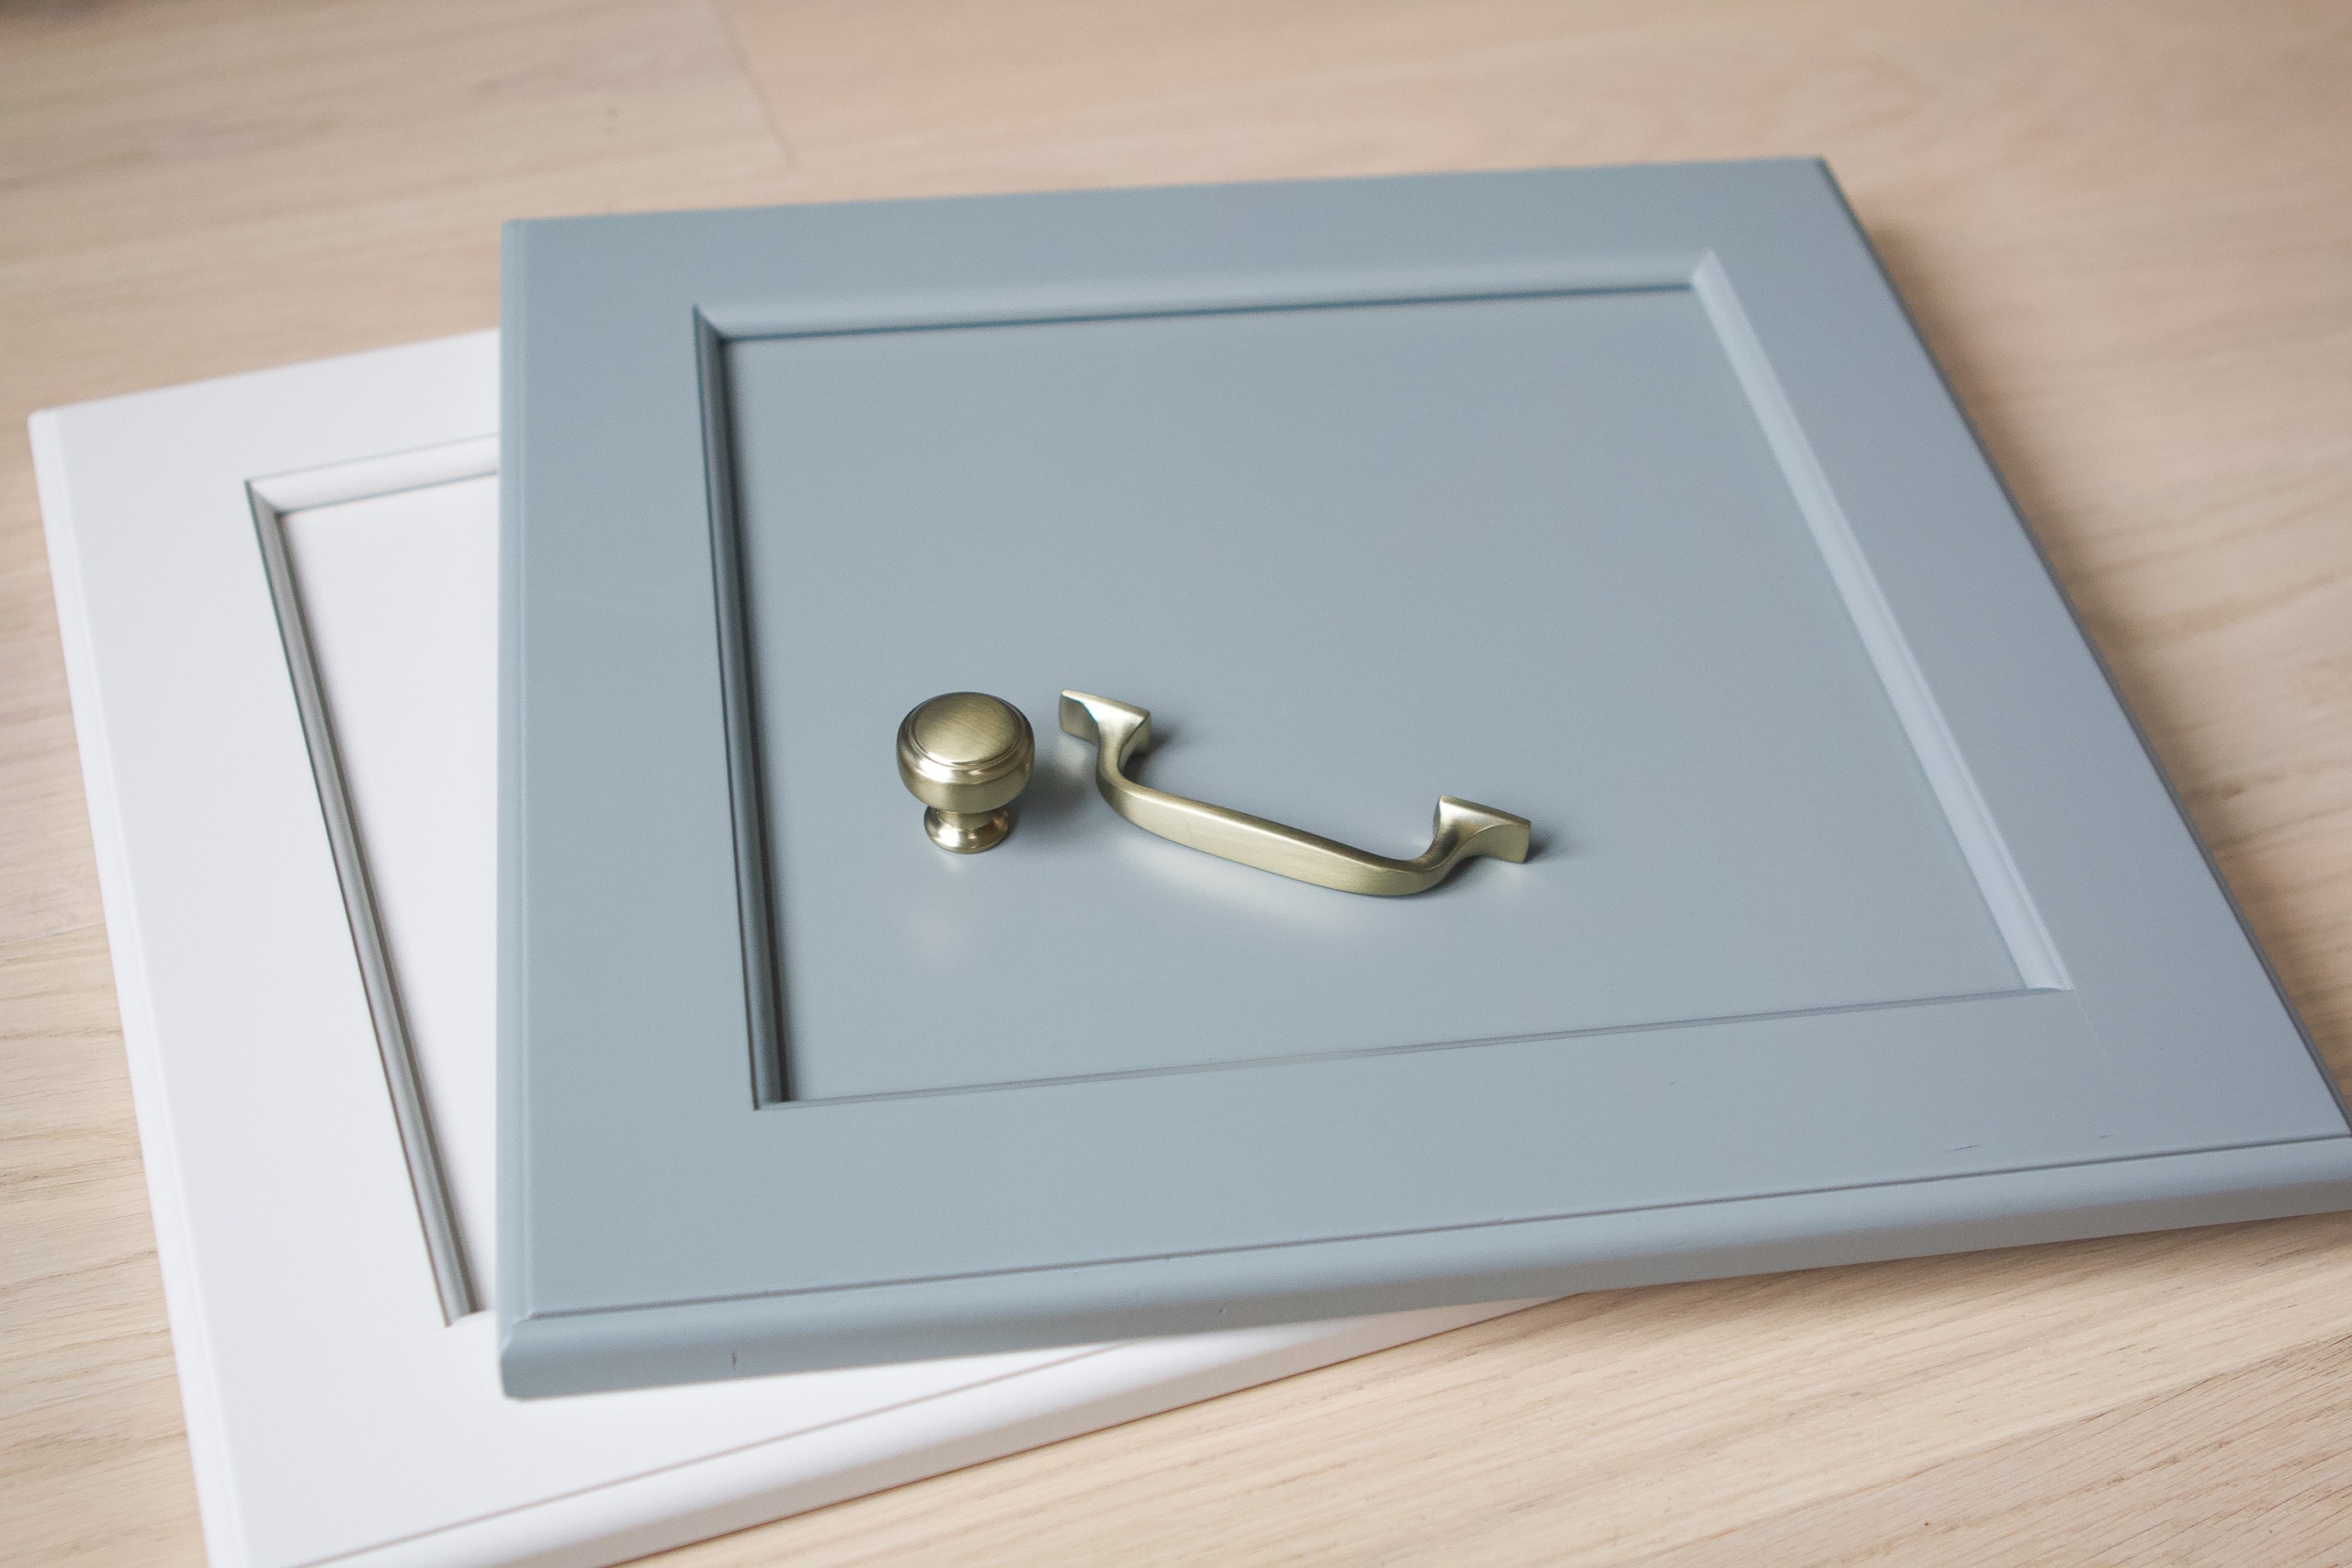
For this project, I went with these golden champagne knobs and various sizes of these pulls. If they look familiar, that’s because we have them in our kitchen! I think it’s smart to repeat elements throughout your home so things feel cohesive. I can’t wait to see them pop once everything is painted green.
Current Look (Before Paint & Finishing Touches)

Right now, the mudroom is at that funny in-between stage. The cabinets are in place, but everything is still primed white, and it feels a little stark against the rest of our home. I know once they’re painted green and the hardware is added, it will all flow beautifully, but at the moment it definitely looks unfinished.

On the far right side, we also have our dedicated technology cabinet. This houses all of our internet boxes, Sonos speakers, wires, and random tech gear. To be honest, it’s kind of a disaster in there right now. We had to pull everything out during the install, and since it all has to come back out again for paint, we just tossed it in without much rhyme or reason.
It looks messy, but I promise it will be neat and functional once the cane-front doors are on. The caning will allow airflow for all of the electronics while keeping the chaos hidden.
And over those cabinets, we added a picture frame light. Here’s a roundup of the best picture lights for any space.

Beyond the tech zone, there are still plenty of finishing touches to come:
- Painting the cabinetry the same sage green that’s in Rory’s room
- Adding hardware
- Finalizing placement of the adjustable shelves
- Installing the caning panels
- Measuring and installing the marble countertop
- Ordering shelves for over the countertop
- Finding the right cushion for the bench seat
- Adding hooks inside the kids’ lockers
- Organizing all.the.things!
So while the bones are here and it finally feels like a real mudroom, there’s still a lot of layering and styling ahead before it’s complete.
The Entryway Wall

Oh, and I need to get rid of this piece of furniture because it no longer fits. I’ll make sure it finds a good home in the Chicagoland area.
What do you think I should put on this wall? I’m leaning toward a full-length mirror, but it might feel a bit strange seeing our reflections as soon as we open the front door. What do you think?
Cost of Custom Mudroom Built Ins

I always like to be upfront about costs because I know it’s the first thing most people wonder about when they see a project like this. For our mudroom, the cabinetry invoice broke down into two parts:
- Fabrication of custom cabinetry – $15,200
- Built from maple plywood with solid maple doors and fronts
- Moisture-resistant MDF panels where needed
- Wooden drawers with soft-close under-mount slides
- Cabinet doors with soft-close hinges
- Shop-primed exterior, ready for paint on-site
- Caning will be an additional cost (TBD)
- Installation – $1,700
- Delivery, bringing each piece inside, assembling on-site
- Securing cabinetry to the wall and ceiling
- Adding crown molding and trim for that true built-in look
Total for this phase: $16,900
If you’ve been following along, you know that Phase 1 (demo, electrical, and prep) was $5,000. Adding in this cabinetry phase, our running total so far is $21,900.
It’s definitely an investment, but one that makes sense for us. This space sits right off our living room, and it will be working hard for our family every single day—housing school bags, coats, shoes, sports gear, and all of those everyday items that used to clutter up our entry.
Having a functional, well-designed mudroom is going to pay off big time in our daily routine!
What’s Next for Our Mudroom

With the cabinets installed, we’ve officially crossed a huge milestone in this project. But as you can probably tell from the sea of white primed cabinetry, we’re not done yet! Next up on the list:
- Painting: The mudroom cabinets will be sprayed a sage green paint color. I cannot wait!
- Hardware install: All of the knobs and pulls are here and ready to go once the paint is cured.
- Cane fronts & shelves: The right-hand cabinet will get vented cane panels for airflow and style, plus wood shelves above the countertop.
- Countertop: The stone fabricator is coming to measure, and once installed it’ll be the perfect spot for keys, sunglasses, and a little drop zone decor.
- Bench cushion & hooks: A custom cushion is on order for the built-in bench, and I’ll be adding hooks inside the kids’ lockers for extra functionality. They are so excited to have a dedicated space for all of their stuff, and so am I!
There’s still plenty to do before this becomes the well-organized mudroom I’ve been dreaming about, but seeing the cabinetry in place makes it all feel real. I can finally walk past this corner of our living room and see the vision in my head taking shape.
P.S. The mudroom is officially finished! Come see the before and after mudroom reveal right here and how I organize inside each and every mudroom cabinet.


