Why Your Faucet Is Spraying Weird (& How To Fix It Fast!)
Is your faucet spraying weird? Or do you suddenly have low water pressure? You probably need to clean your faucet aerator. Let me walk you through this very easy step-by-step fix!
If your faucet is spraying sideways or the water pressure has suddenly dropped, don’t panic. You might be thinking it’s time to call a plumber, but there’s a good chance the fix is something super simple. Your faucet aerator might just need a good cleaning!

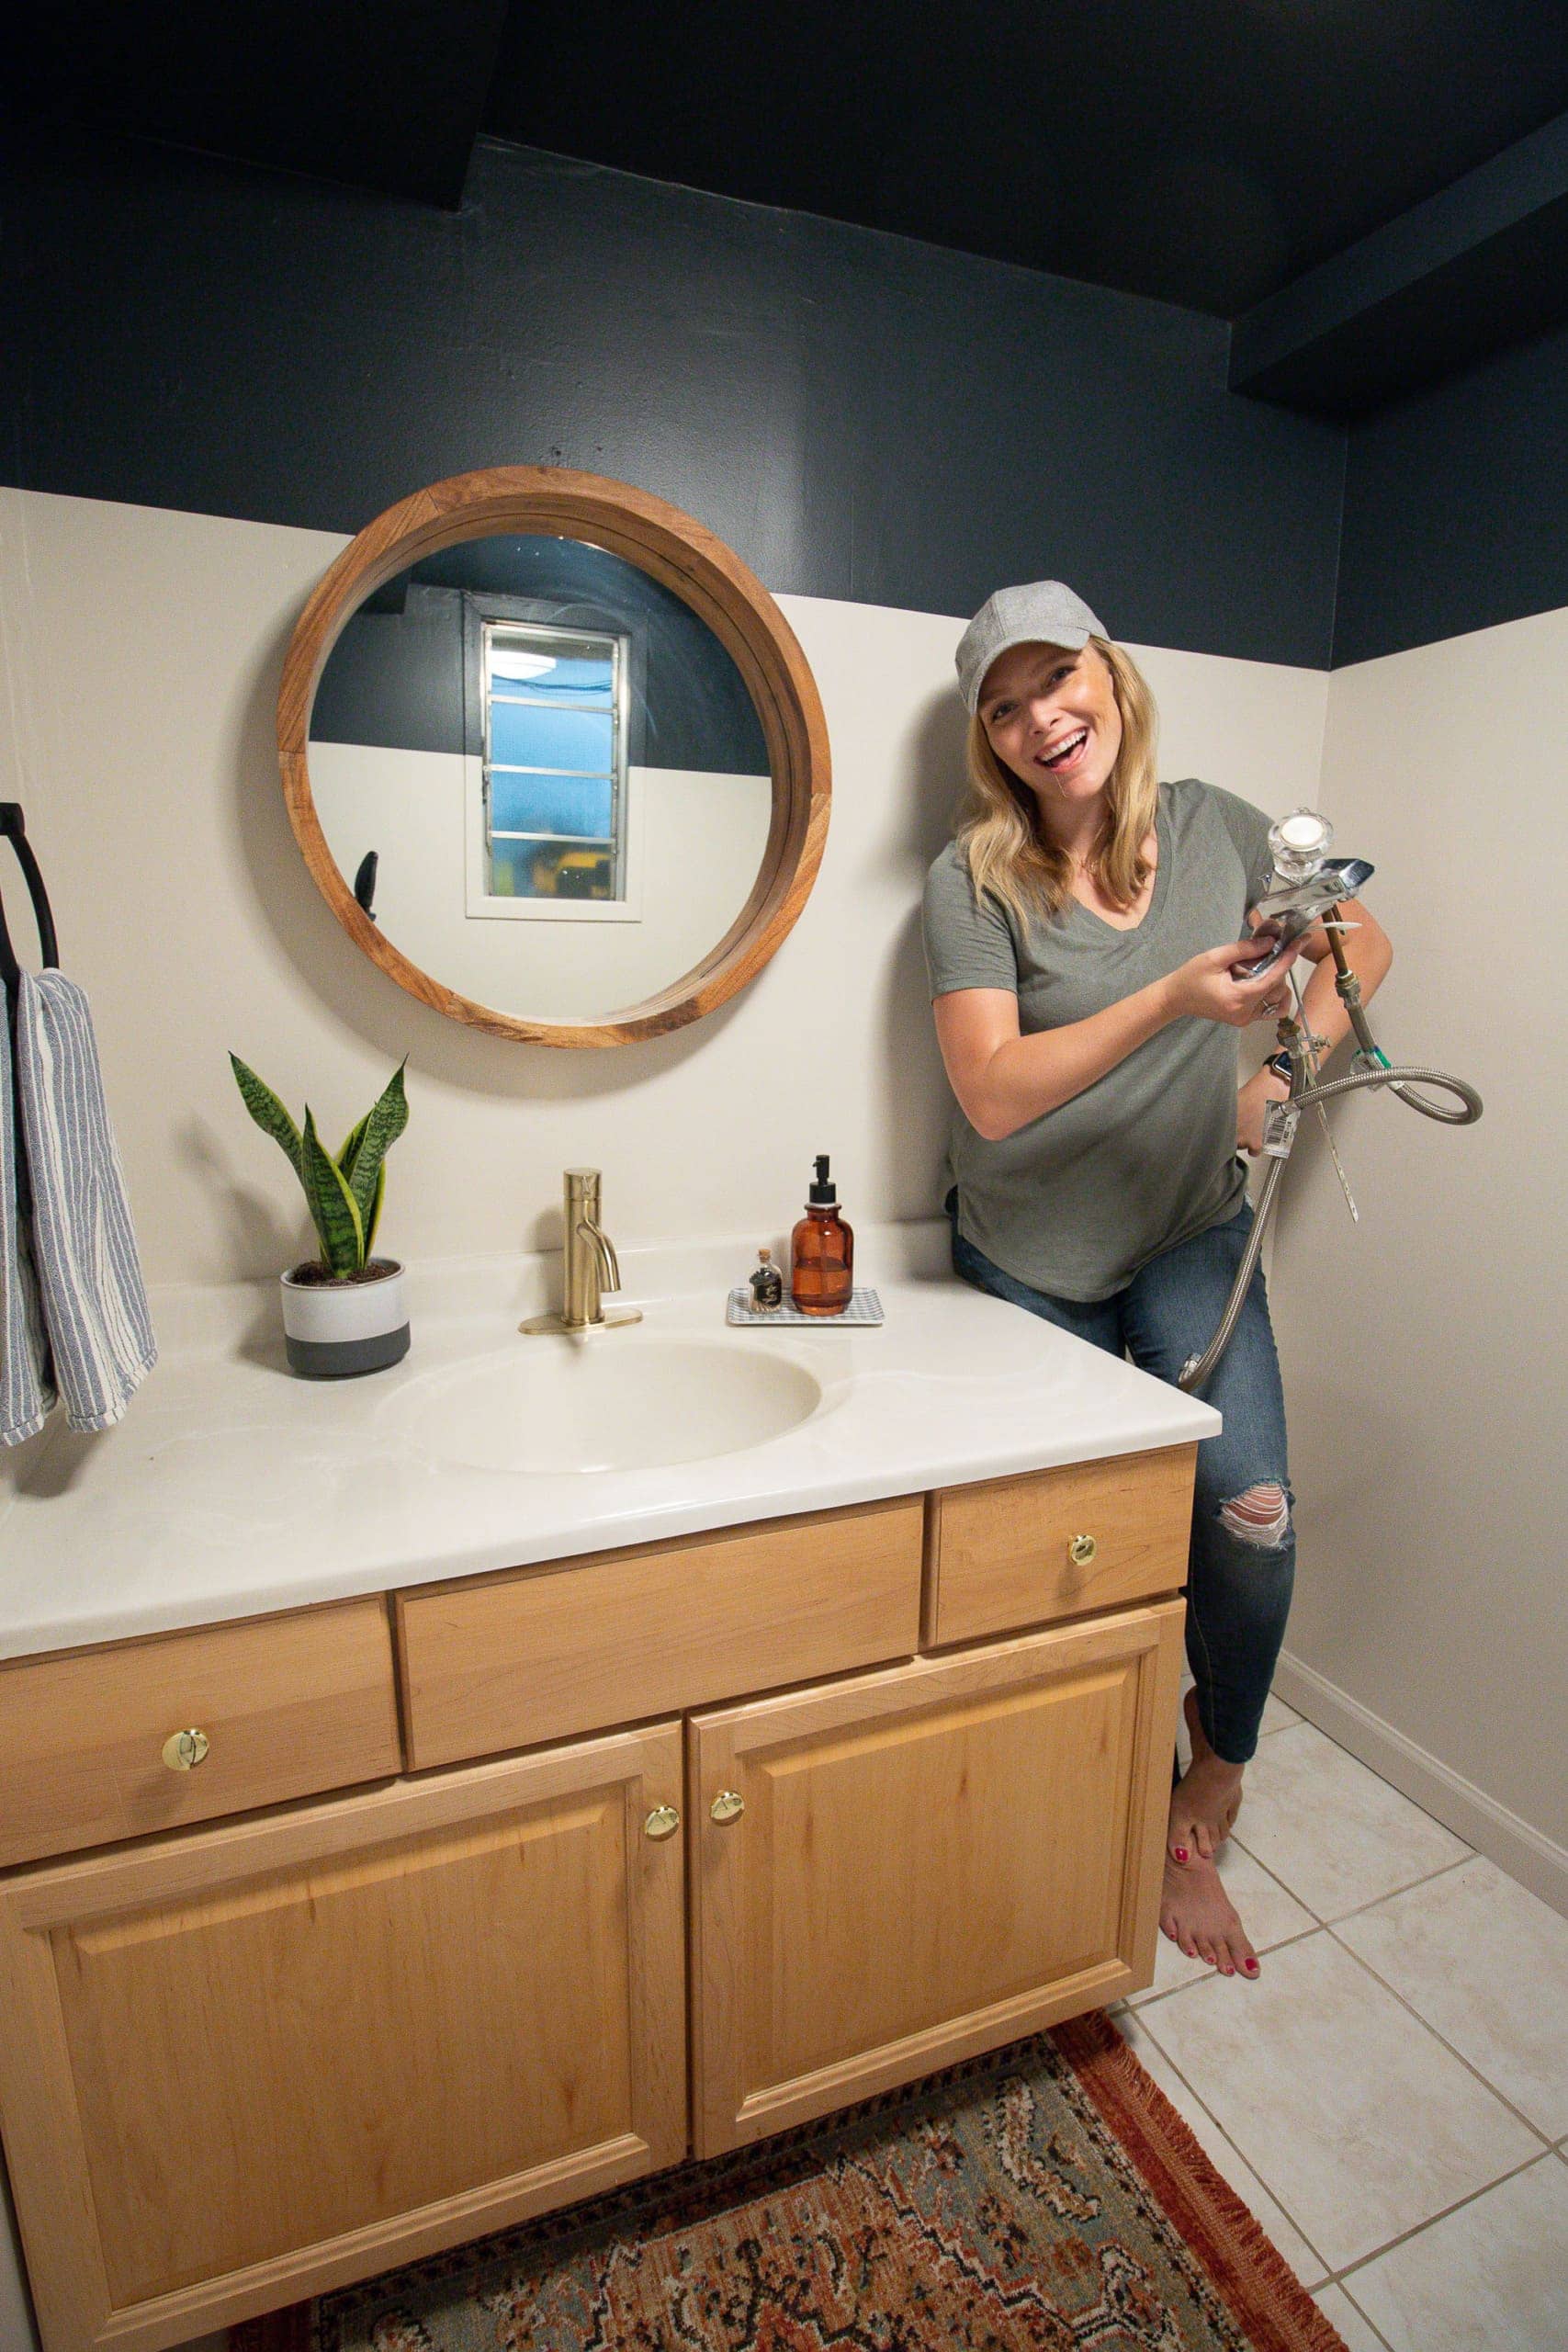
Every winter, we shut off the pot filler in our kitchen. It’s on an exterior wall, and we turn it off just to be safe, so nothing freezes. This spring, when we turned it back on, after months of sitting idle, it straight-up attacked me. I turned the handle, and water shot directly into my eyeball, like a high-powered squirt gun. It was spraying in every direction, and I had no idea what was going on.

Turns out, the clogged faucet aerator was filled with sediment from sitting unused all winter. I twisted it off, soaked it in some vinegar, gave it a good scrub with an old toothbrush, and popped it back on. Within minutes, it was working perfectly again. No more surprise splash zone!
That little experience was a great reminder that cleaning your aerators is one of the easiest and most impactful home maintenance tasks out there. It takes just a few minutes, costs next to nothing, and can make a big difference in how your faucet performs.
At A Glance:
| Difficulty: ⭐️ of 5 | Time: 5 minutes (plus 20 minutes of soaking) |
| Supplies needed: White vinegar Small bowl Mild dish soap (optional) Microfiber cloth Plastic bag Rubber band | Tools needed: Old toothbrush or small cleaning brush Rubber grip pliers or aerator key |
What Is a Faucet Aerator?

If you’re not familiar, the aerator is the small screen at the end of the faucet. It blends air into the water stream, which cuts down on splashing and controls how much water flows out.


Over time, this little part collects mineral deposits, sand, and other bits of gunk, especially if you have hard water.
Signs Your Aerator Might Be Clogged
- Water spraying in strange directions
- Reduced pressure from your kitchen faucet
- Faucet trickles instead of flowing
- Mineral buildup visible on the faucet head
A quick cleaning will usually fix the issue and get your water pressure back to normal.
How to Remove the Aerator
Depending on your faucet, this might be the easiest part or it might take a little extra effort.
If your faucet aerator sticks out at the end:

Try twisting it off by hand first. If it’s stuck, wrap some masking tape around the metal to protect the finish and use a pair of pliers to loosen it gently. I have these pliers with a rubber grip on the end, so finishes won’t get scratched. They’re great!
If your faucet has a recessed aerator:

You’ll need an aerator key. This is a tiny tool designed to fit inside the faucet and unscrew the hidden aerator. Most new faucets come with one, but if yours is old or you tossed the packaging, you can find a universal aerator key online for around $10. It’s one of those random tools that’s totally worth having around.
Aerator keys usually come with multiple sizes so they’ll work for kitchen faucets, bathroom faucets, and more.
Step-by-Step: How to Clean a Faucet Aerator
Step 1: Remove the Aerator

Follow the directions above based on your faucet type. If it’s removable, twist it off. If not, grab your aerator key and gently unscrew it.
Step 2: Disassemble and Inspect

Once it’s off, take note of how the parts are stacked. You’ll usually see a rubber washer, a flow restrictor, and a mesh screen. Look closely and if you see white crust or build-up, that will likely be calcium deposits or hard water residue.
Step 3: Soak in Vinegar

Fill a small bowl with part vinegar, part water. Drop the aerator pieces into the bowl and let them soak for 20–30 minutes. If the buildup is really bad, add a drop of mild dish soap.
Step 4: Scrub and Rinse
After soaking, use an old toothbrush or small brush to gently scrub away any mineral buildup. Pay close attention to the screen. Then rinse everything under hot water.
Step 5: Reassemble and Reattach

Put the pieces back in the correct order and screw the aerator back onto the faucet. Turn on the water and test it out. You should see a big improvement in the water stream and pressure.
What About Shower Heads?

This method works for shower heads, too! If you’re noticing less water or uneven spray, give it a soak in vinegar. Fill a plastic bag with your water and vinegar mixture, tie it around the shower head, and let it soak.
You’ll be amazed at the difference. Especially if you live in an area with hard water, this should be part of your regular maintenance.
How Often Should You Clean Aerators?
I recommend doing this once or twice a year, especially if you’ve had any plumbing issues, recent construction work, or a water main break in your area. This goes for your kitchen faucet, bathroom faucets, pot filler – anywhere you’ve got a screen at the faucet end that might be affecting the flow of water.
Need help staying on top of this home task? Check out Your Home Playbook. It’s my digital guide with a monthly home maintenance checklist to keep you on track!
A Tiny Task That Makes a Big Difference

Cleaning your faucet aerators might not be glamorous, but it’s one of those little things that keep your home running smoothly. It’s an easy win, and with just a few minutes of effort, your faucets will be flowing like new again.
If you’ve got a faucet that’s been acting up or spraying weird, take 15 minutes and give this a try. It’s such a small task, but wow, does it make a big difference.