How to Re-Caulk a Bathtub (Step-by-Step Tutorial)
Re-caulking your bathtub is an easy DIY project that instantly makes your bathroom look cleaner and more watertight. With the right prep, supplies, and a few pro tips, you can tackle this affordable upgrade in just an afternoon.
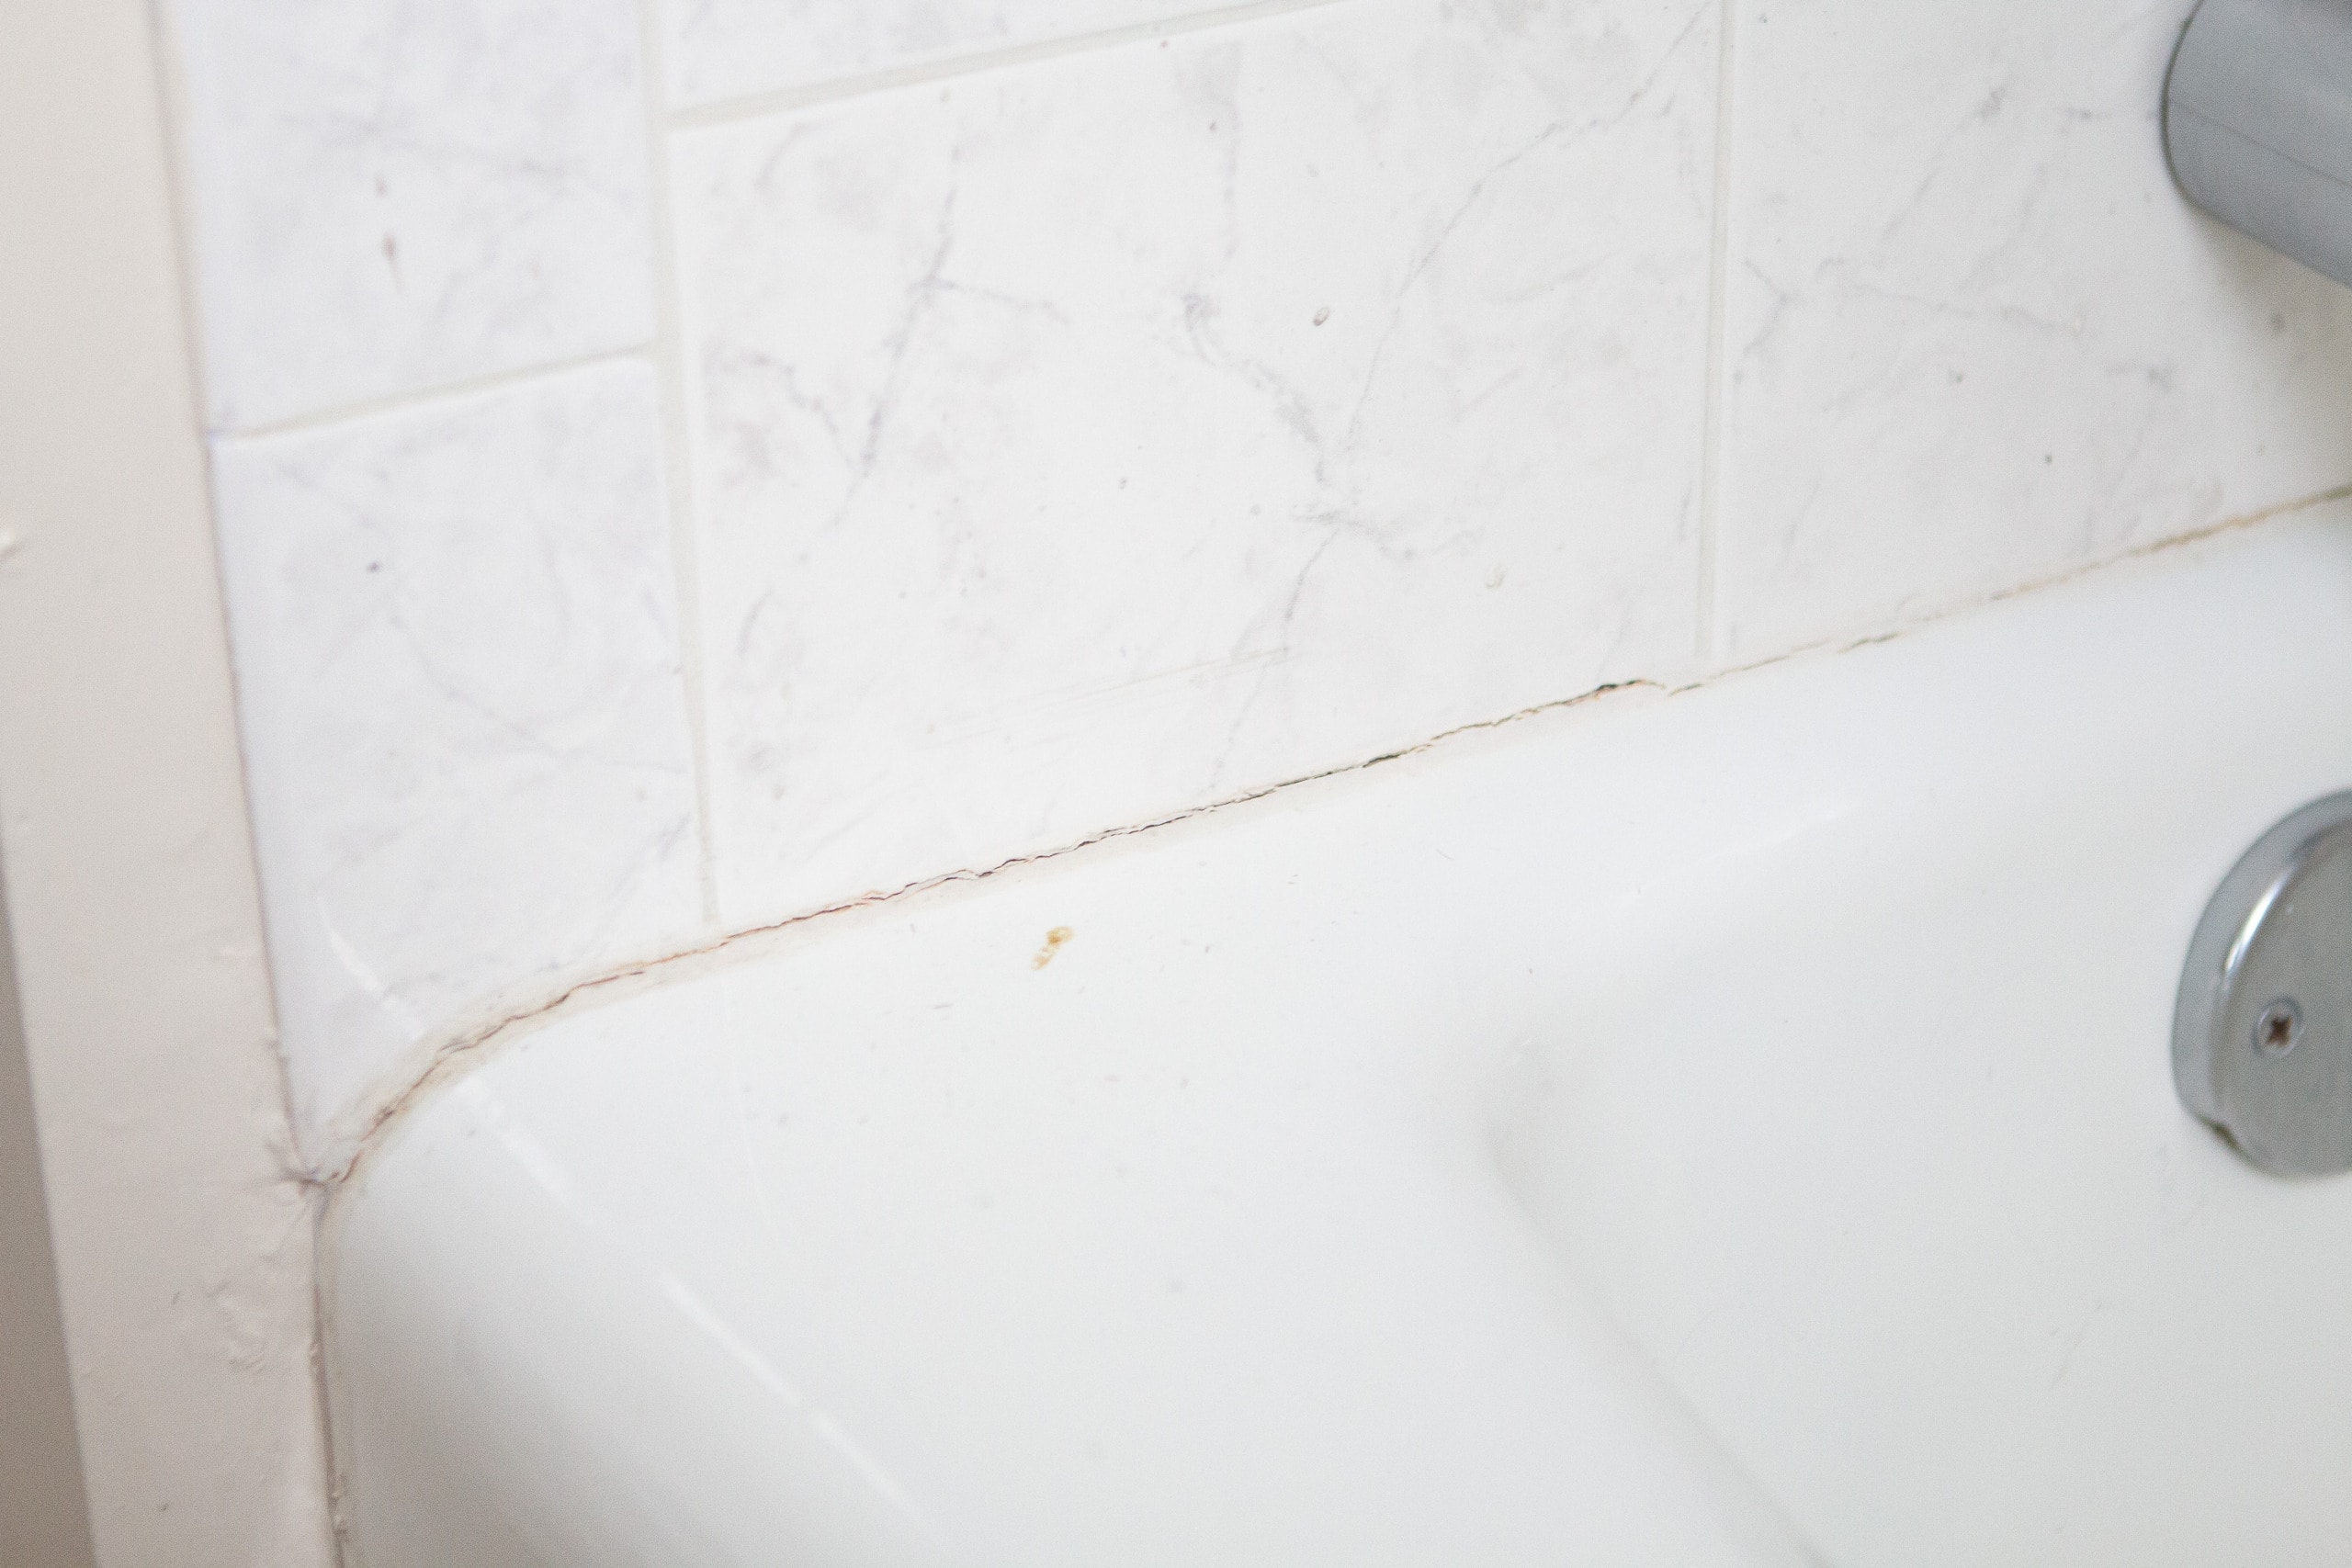
When we first moved into this house, the caulk around the bathtub was in rough shape. It was loose in some spots, moldy in others, and just plain dingy — the kind of detail that instantly makes a bathroom feel grimy, no matter how much you clean.
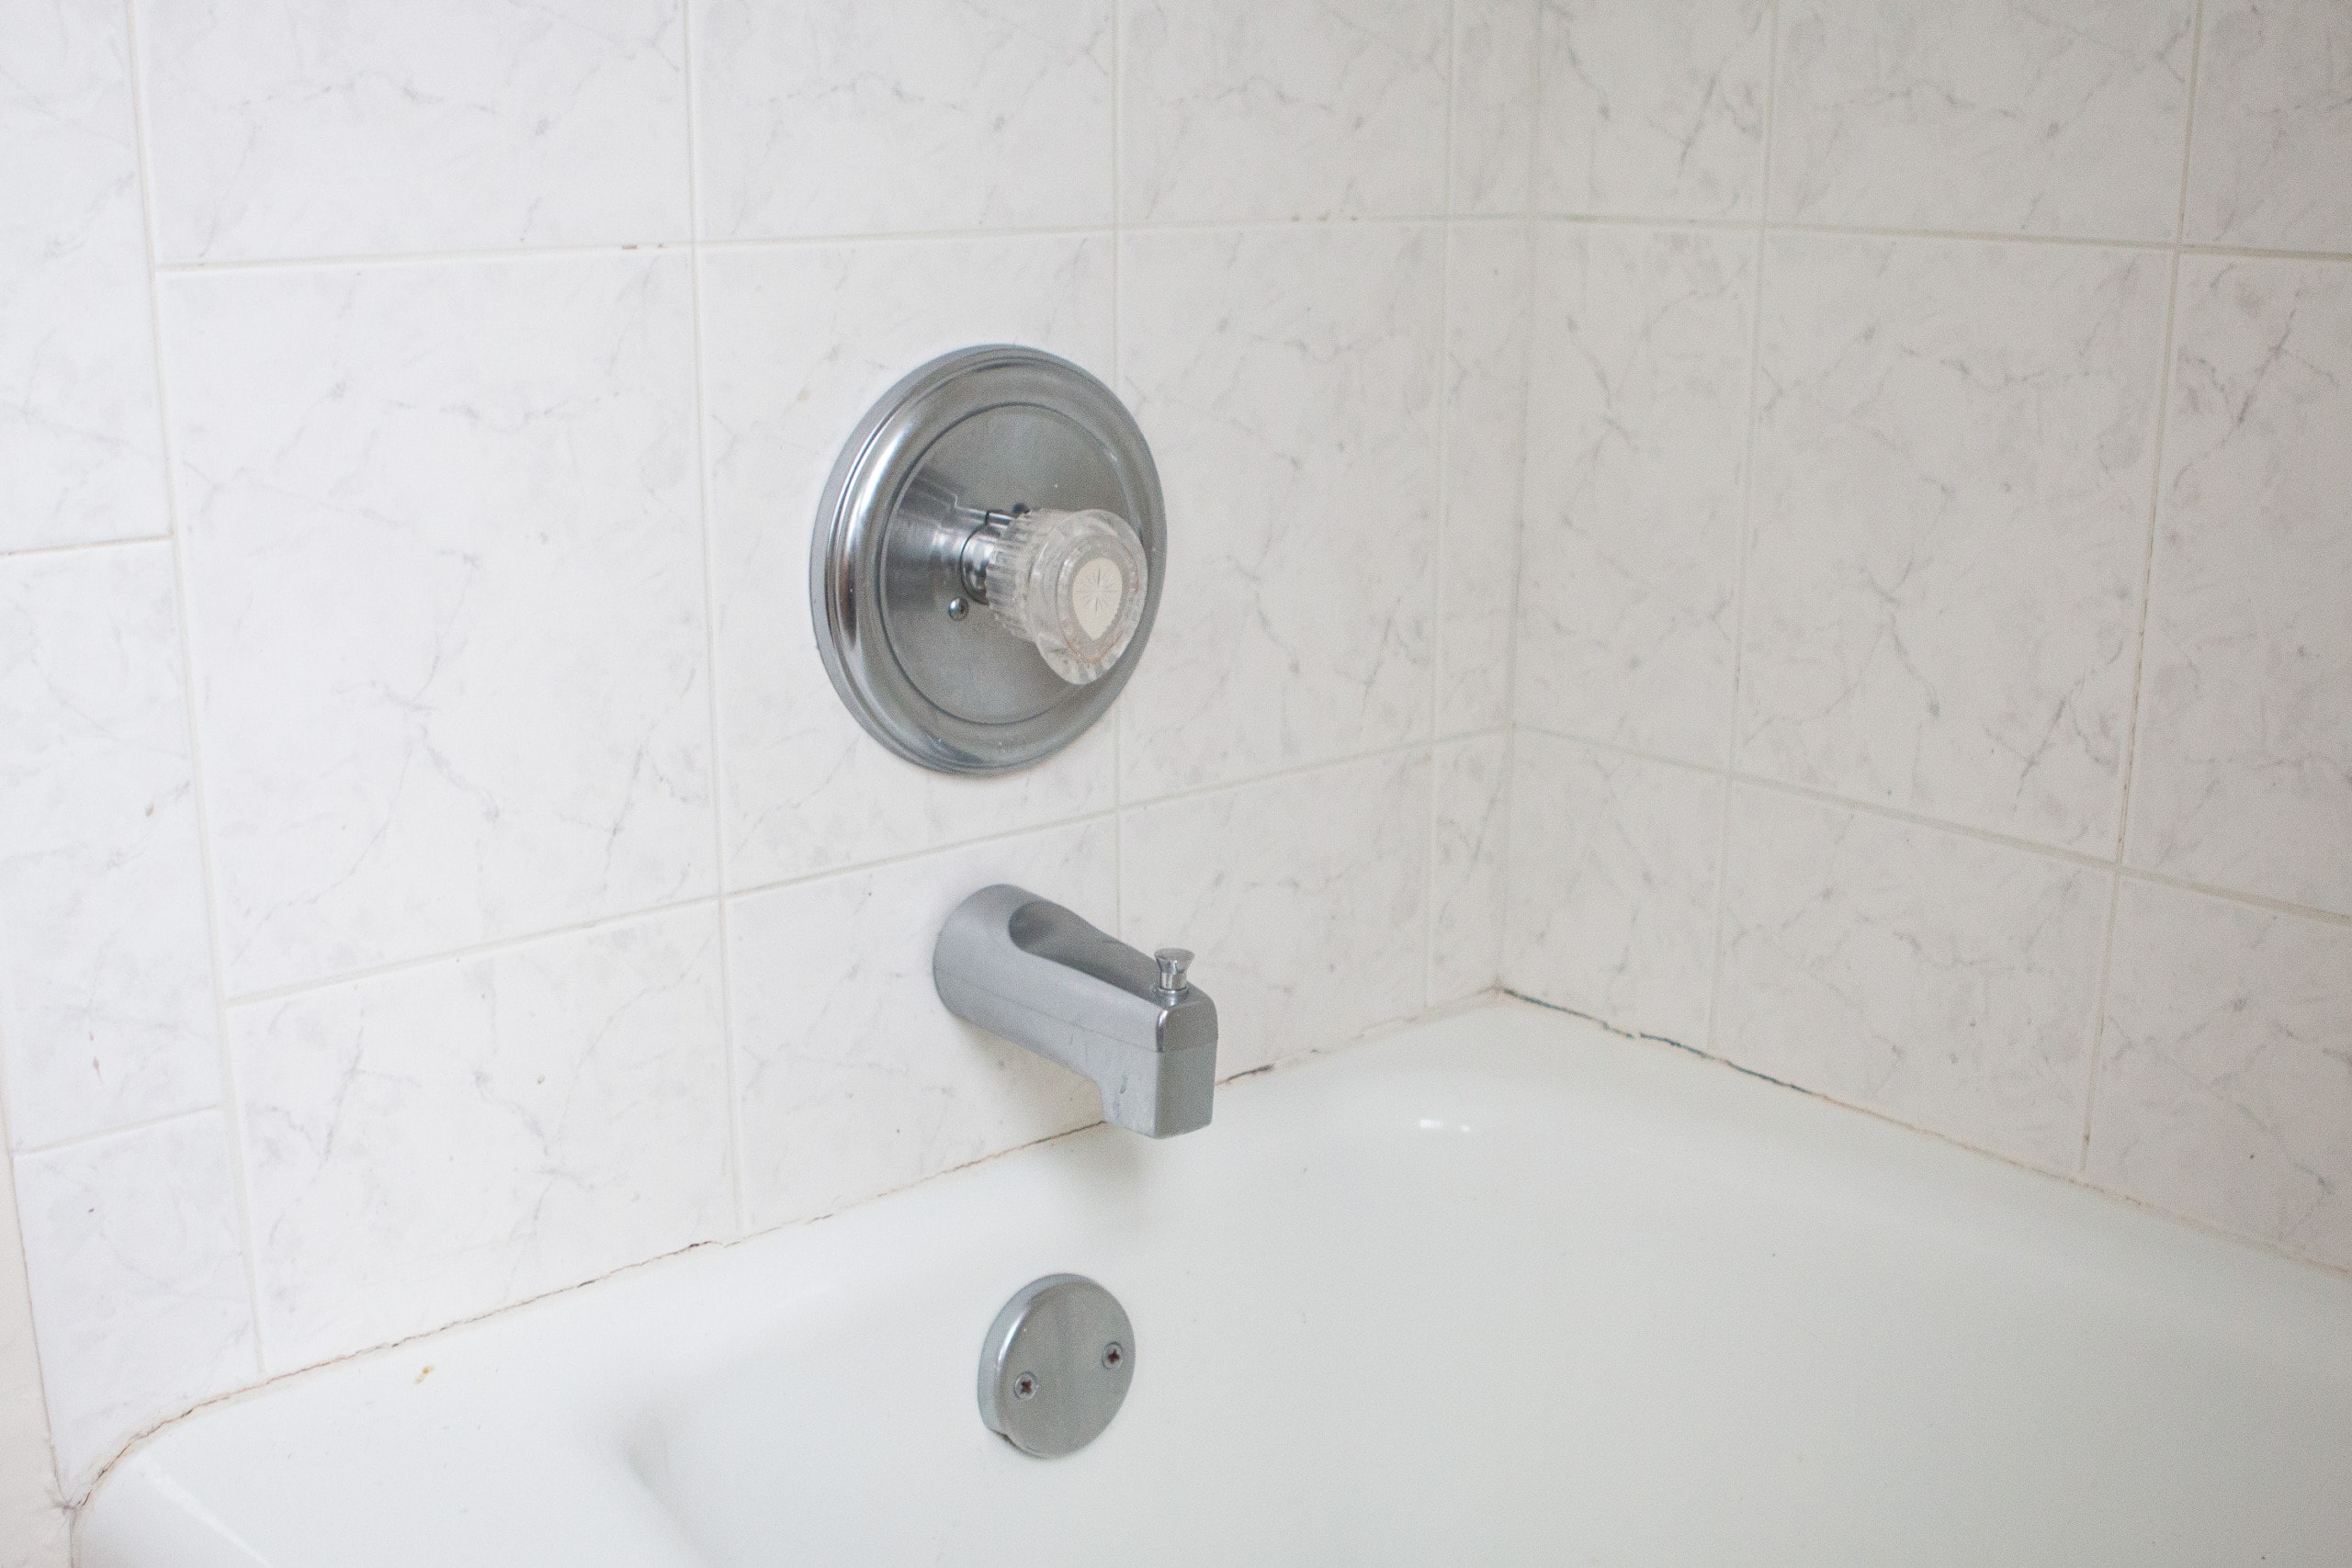
I knew right away it needed to be replaced, but like a lot of small home maintenance projects, it was easy to push it down the to-do list.
Eventually, I tackled it, and wow! What a difference. Fresh caulk instantly made the tub and tile look cleaner, brighter, and more polished. It’s one of those little upgrades that doesn’t cost much, doesn’t take long, but pays off big in how your bathroom looks and feels. And trust me, if you’ve never tried it before, it’s not nearly as intimidating as it sounds.
Why This DIY Project Matters
Re-caulking isn’t just about appearances, it’s about protection. A clean bead of caulk seals the gap between the tub and tile, keeping water from sneaking behind the walls where it can cause hidden damage.
It also prevents mold and mildew from taking hold in those damp crevices, which keeps your bathroom healthier. And as a bonus, fresh caulk gives your tub an instant refresh, making the whole space look cared for, even if the rest of the bathroom hasn’t been updated in years.
Project At A Glance:
| Difficulty: ⭐️ ⭐️ of 5 | Time: 1-2 hours (plus, dry time) |
| Supplies needed: Silicone Caulk Caulk Gun Painter’s Tape Gloves Rubbing Alcohol (or some sort of cleaner) Rags | Tools needed: Utility Knife Caulk Removal Tool Shop Vac (or vacuum) |
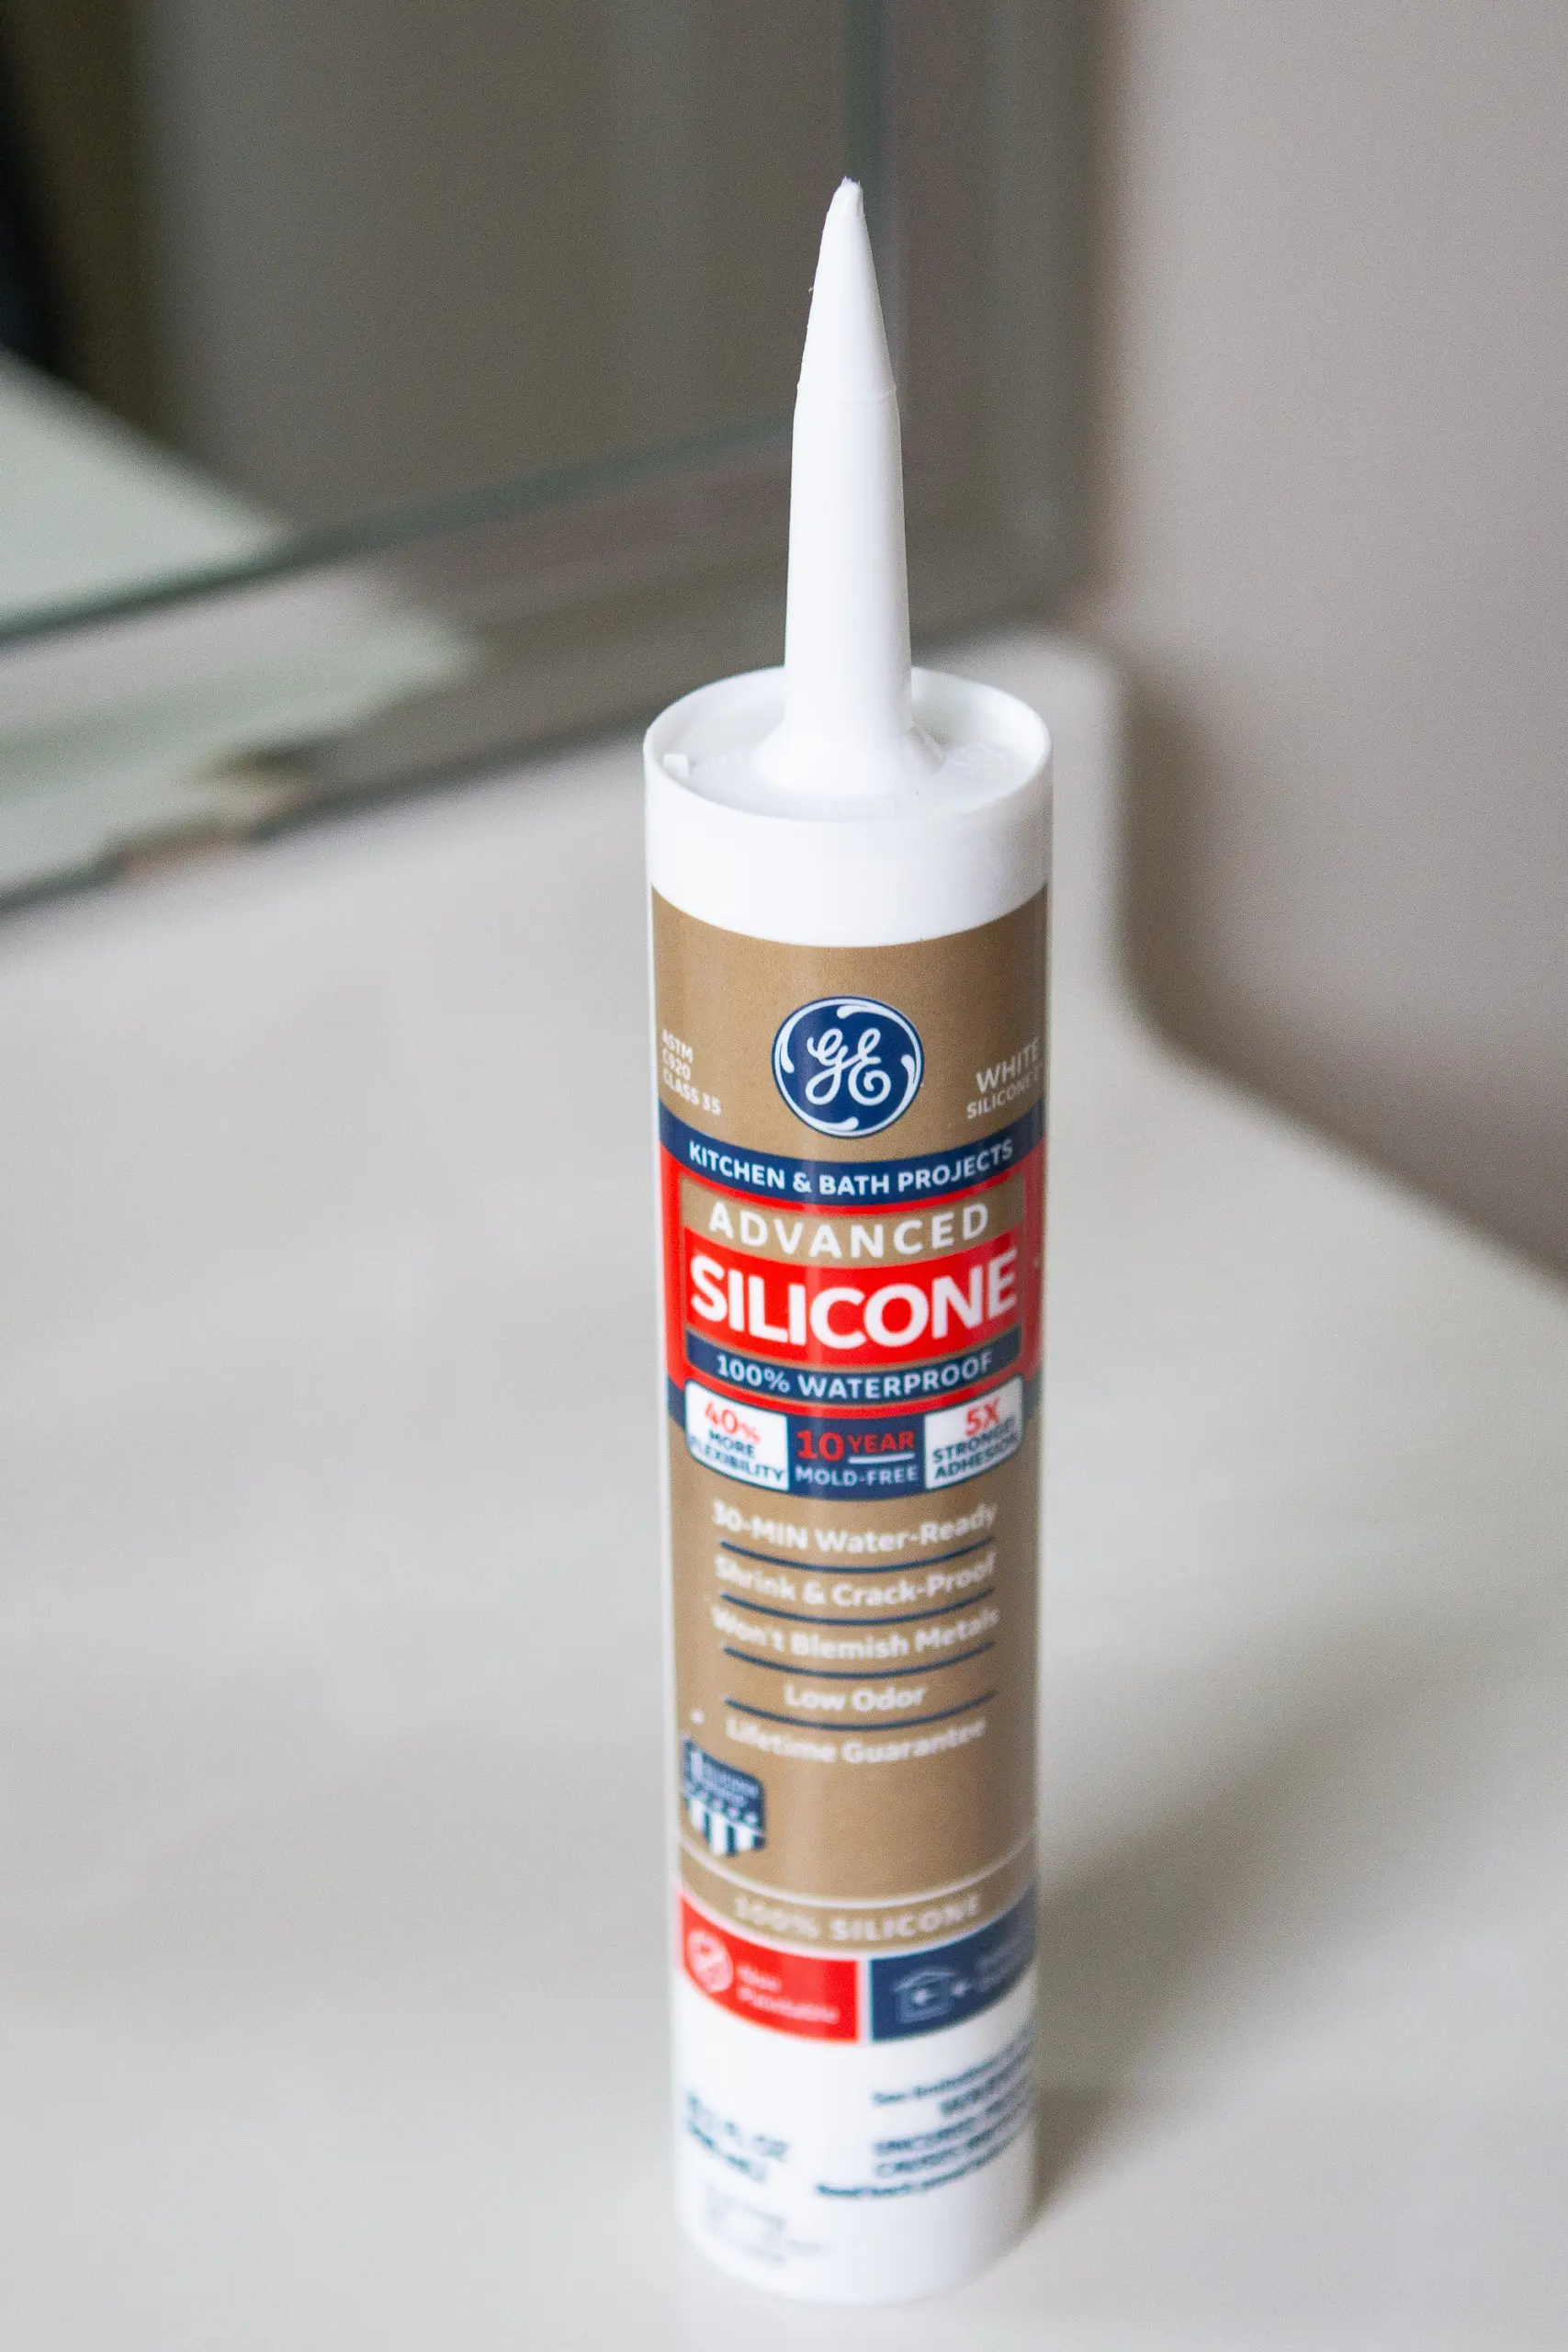
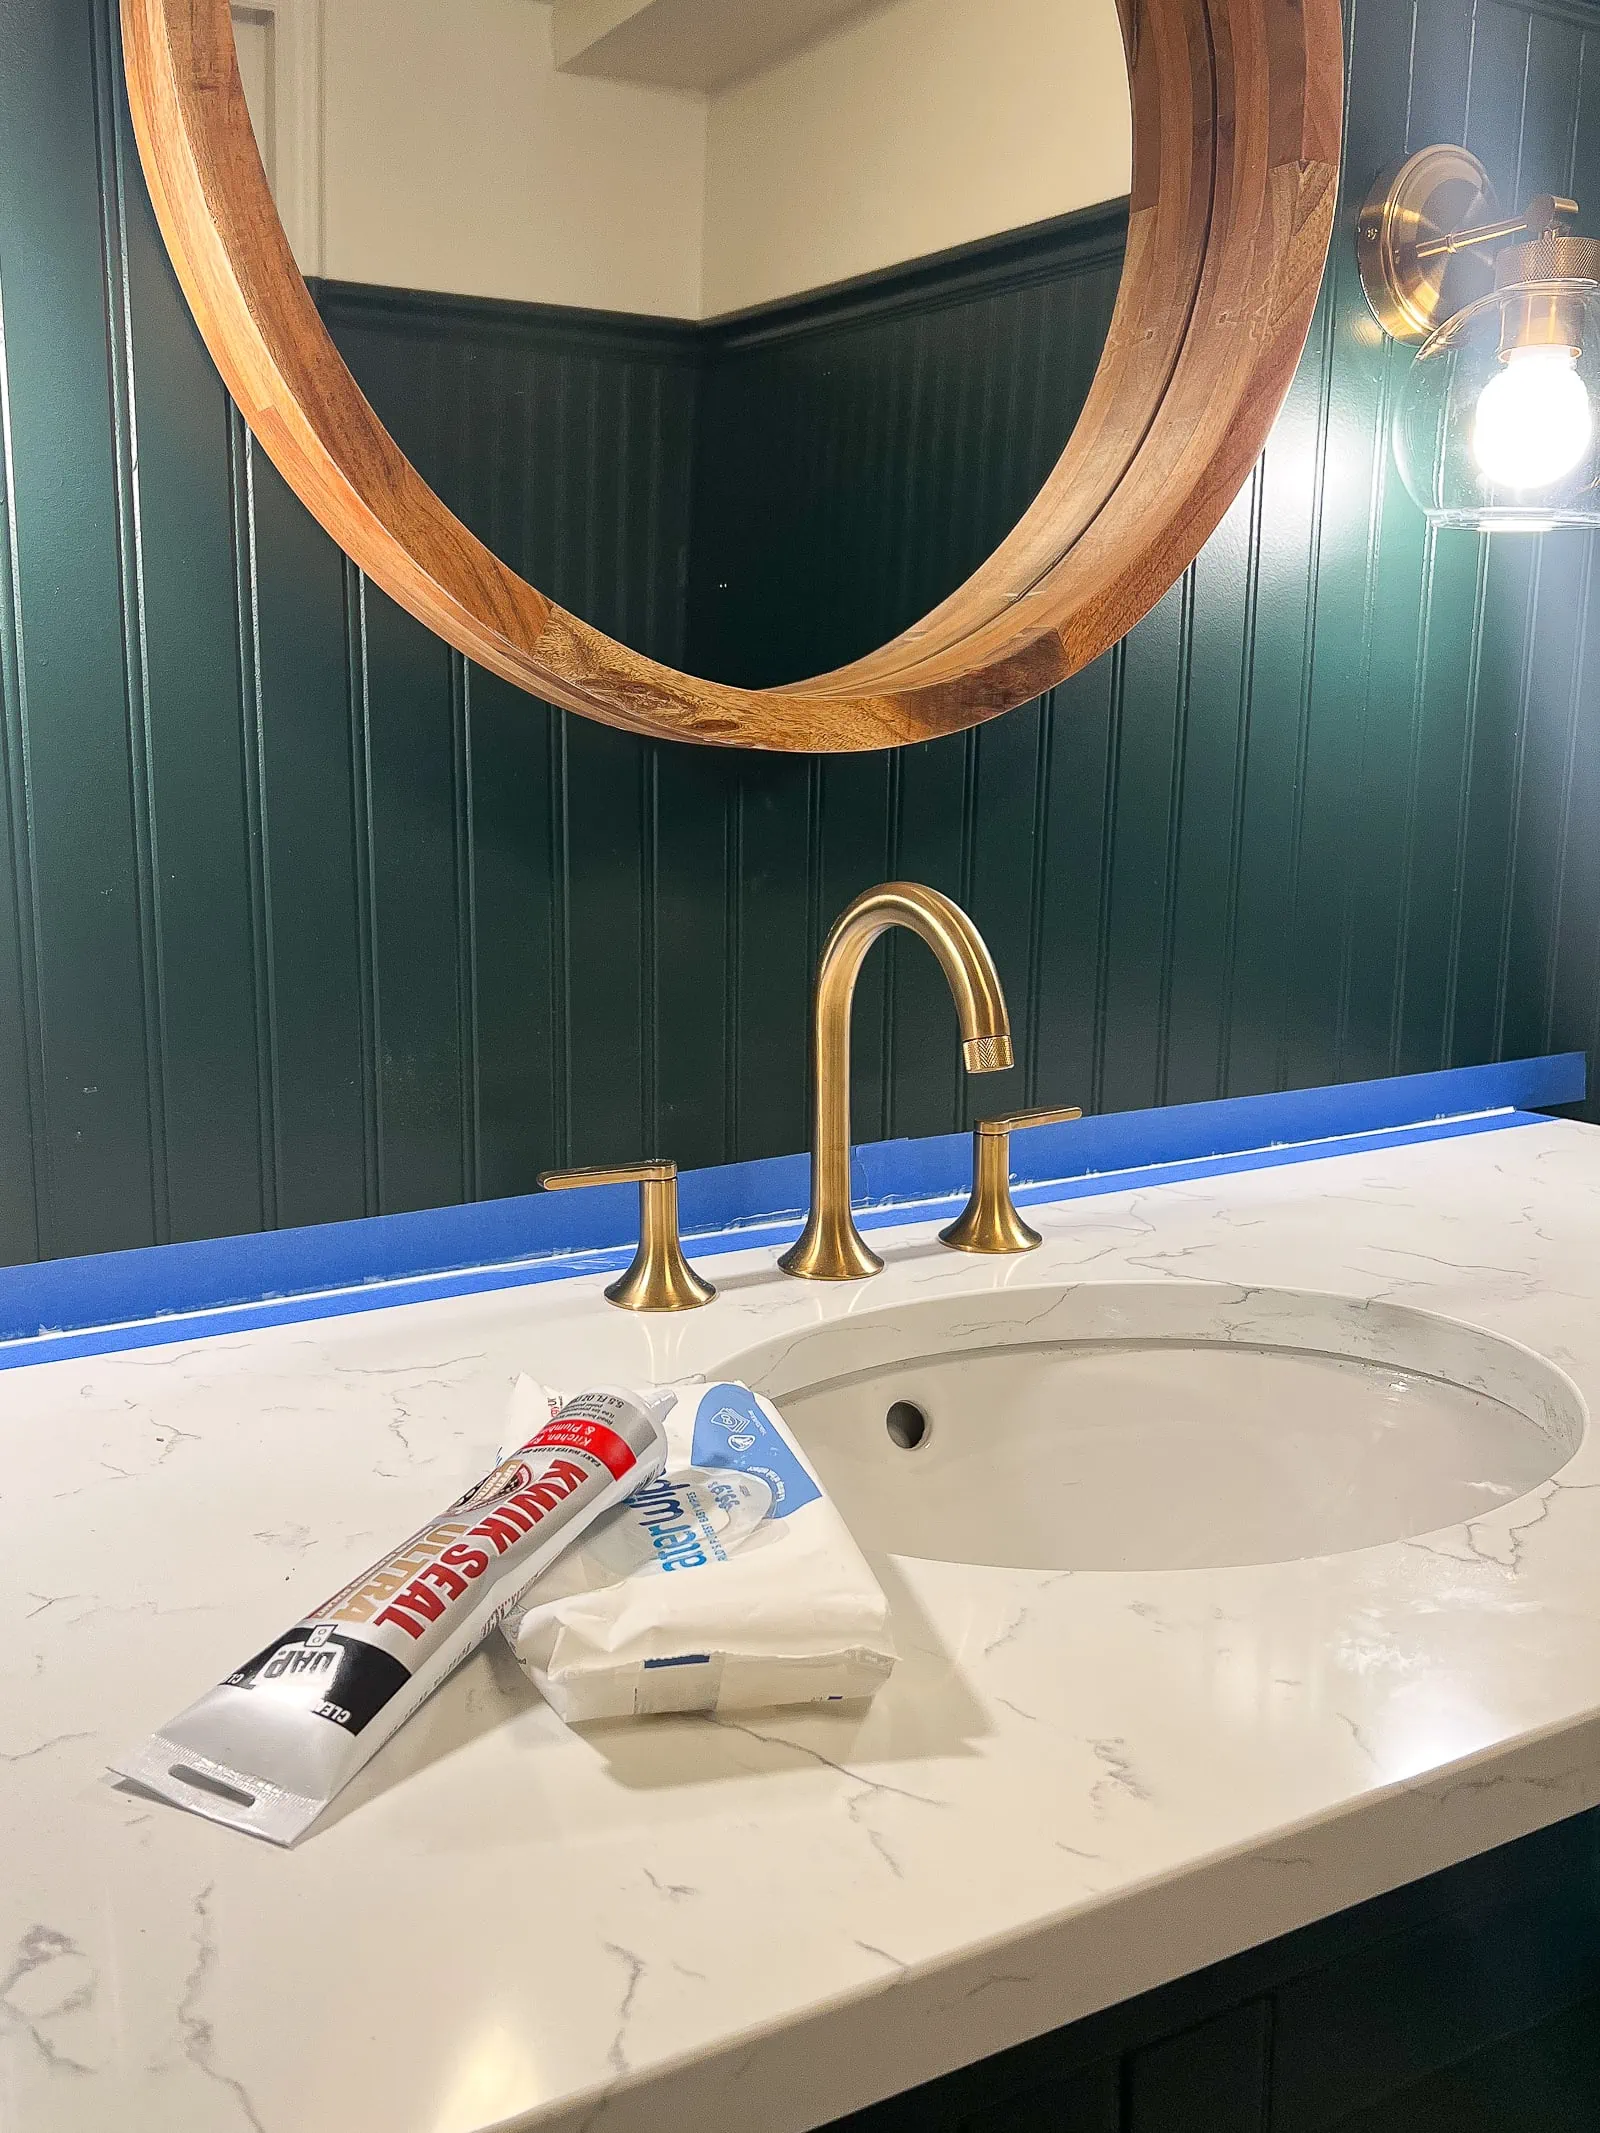
The caulk is the most important part of this project and you want to make sure you buy the correct kind.
When doing woodworking projects, you’ll always use acrylic caulk, which is fairly easy to use. I walk you through my best caulking tips in this blog post.

For a project that needs to be waterproofed, like this one, silicone caulk is the way to go. This is the exact one we used for this project. I bought two tubes just to be safe, but I only needed one tube for our bathroom. Silicone caulk is a lot harder to work with than acrylic, and it’s super messy, but don’t worry, I have tips to get the job done right.
How to Re-Caulk a Bathtub: Step-by-Step Guide

Now that you’ve got your supplies ready, let’s walk through the exact steps to re-caulk a bathtub. This isn’t a complicated project, but it can be messy and a little tedious, so having a clear process makes all the difference.
Here’s how I tackled it — and what I learned along the way.
Step 1: Cut the Old Caulk with a Utility Knife

You’ll first want to cut the edges of the old caulk so it’s easier to scrape out. Just go around the bathtub with a utility knife and score the top and bottom edges. Be careful not to scratch the bathtub while you do this.
Step 2: Scrape Out the Old Caulk
The hardest part of this project is definitely scraping out the old caulk. It takes a little muscle to get all that gross, gunky caulk out of there, but it’s so important. Never put new caulk over old, because it won’t stick and won’t last.
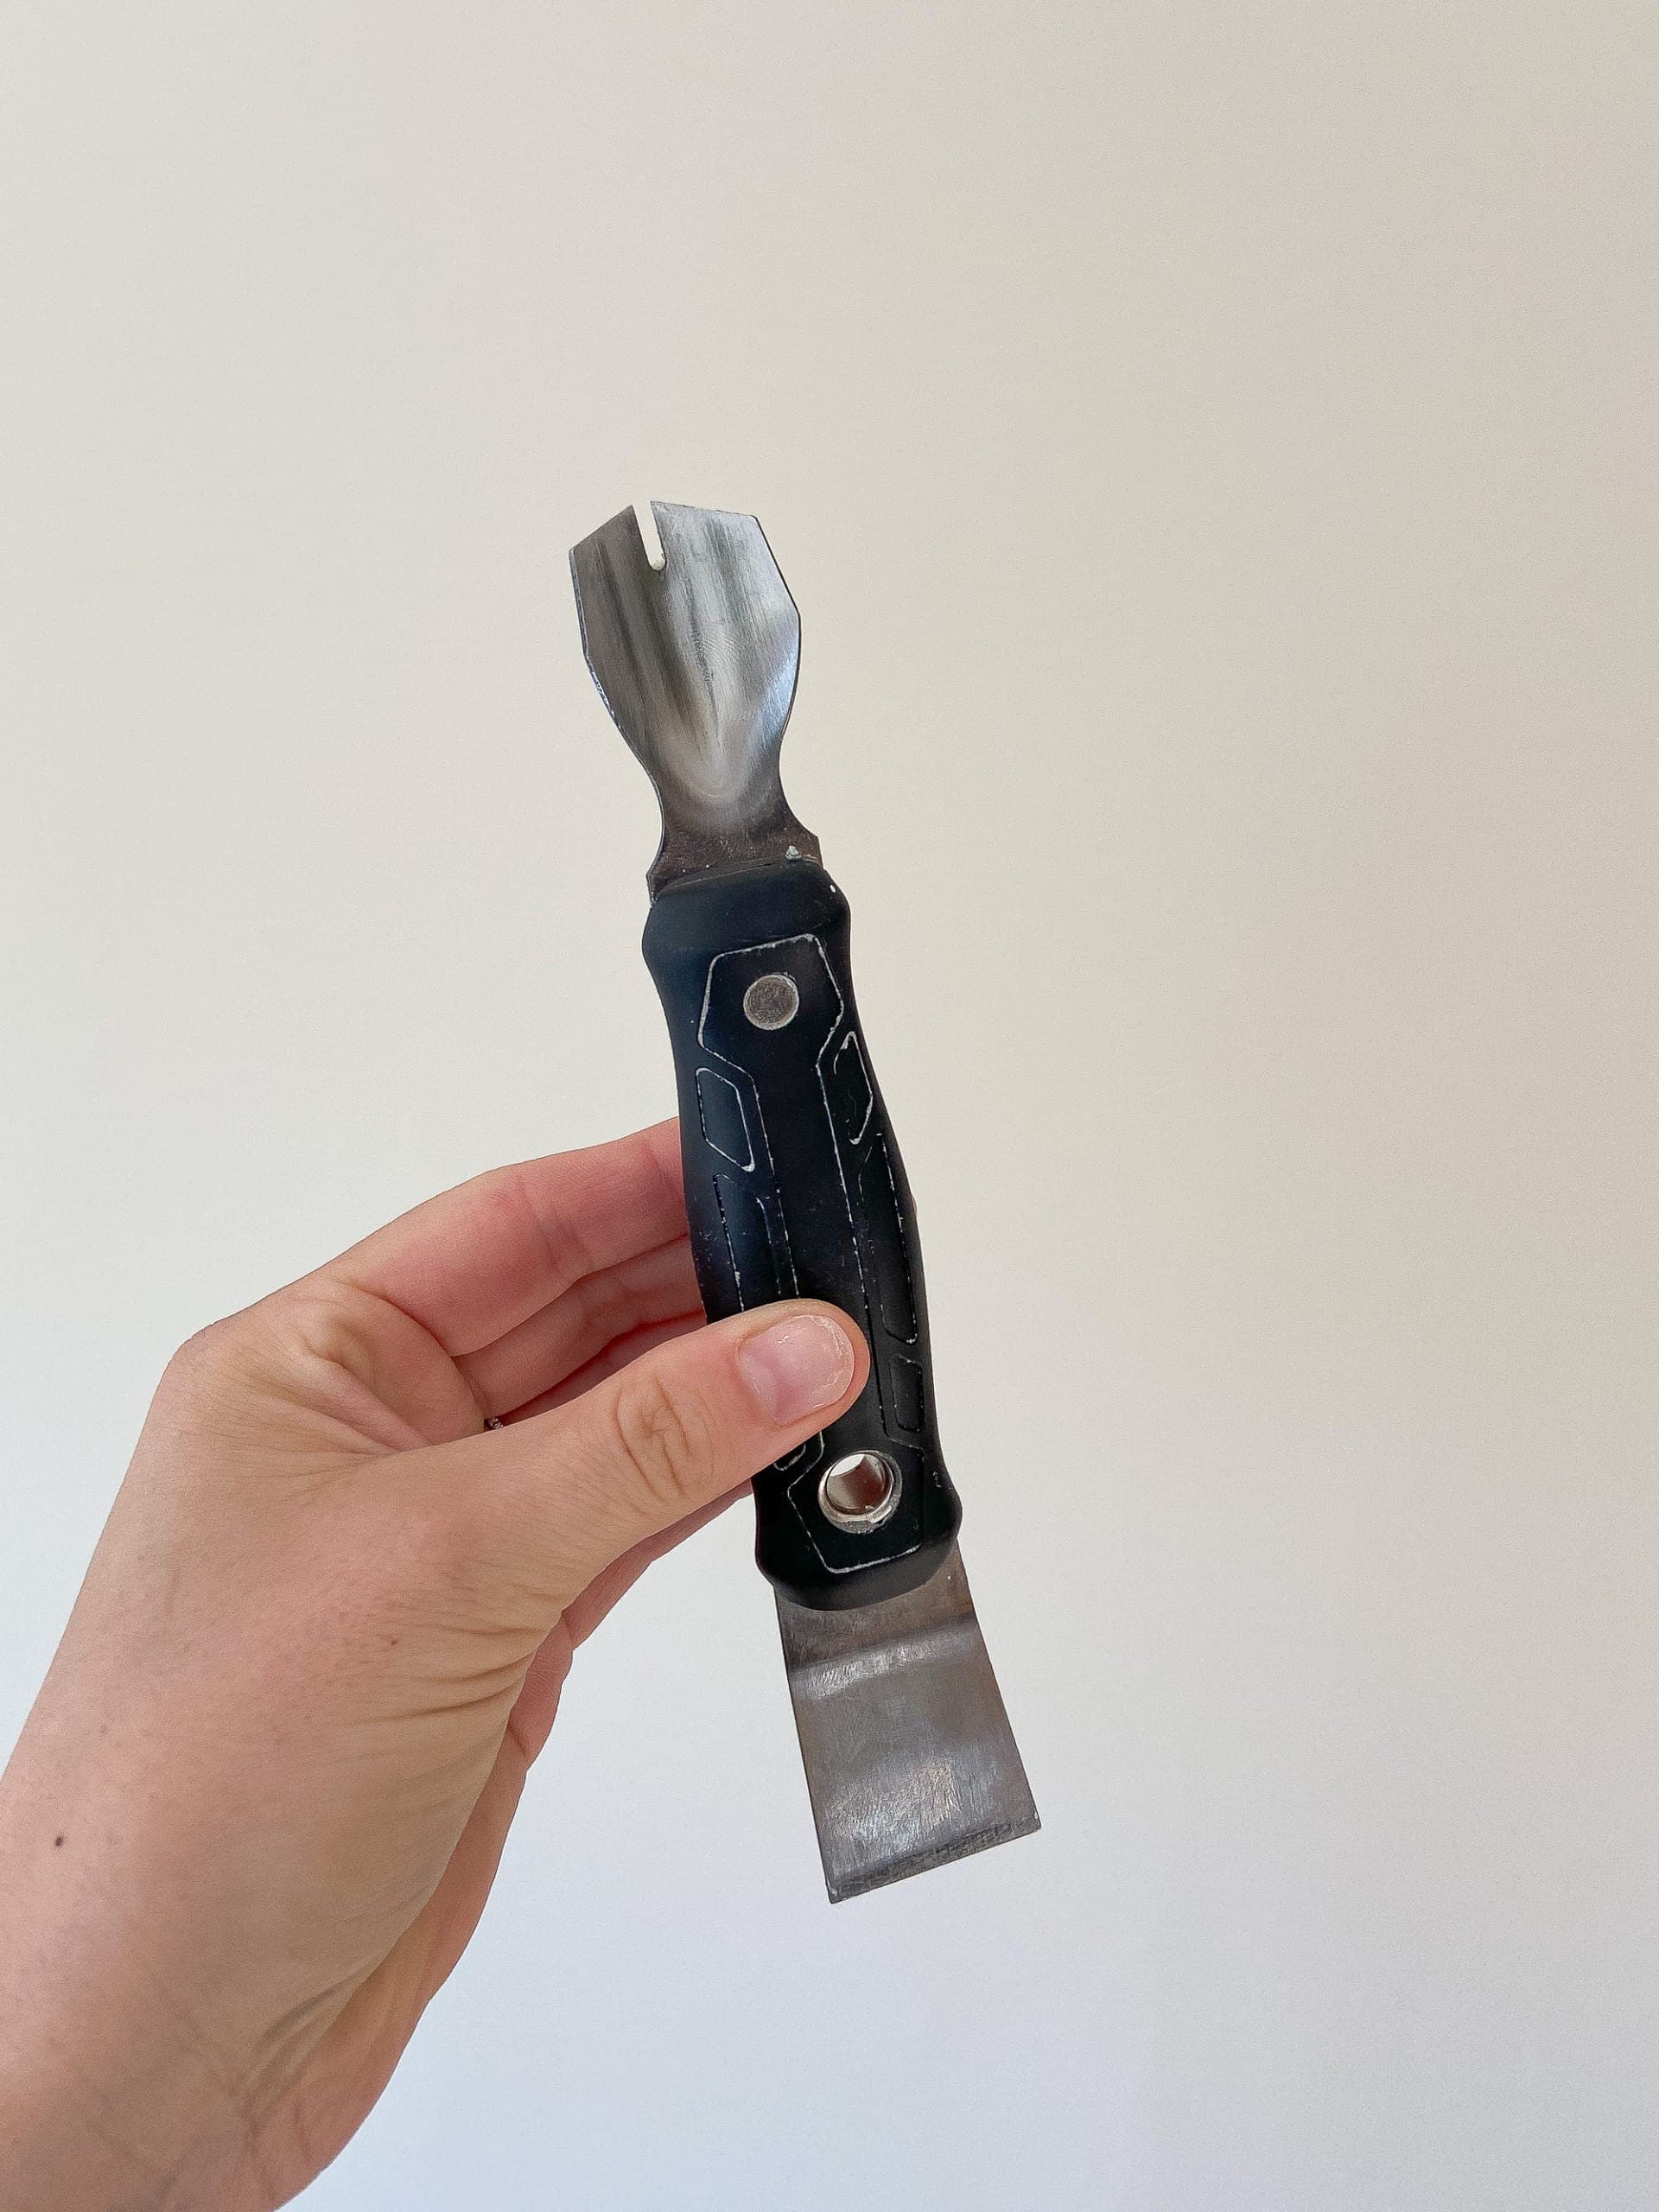
I used a caulk removal tool and it worked really well. I went back and forth using both sides, but the pointed end was especially helpful for digging into the crack and making sure every bit of the old caulk was gone.
This is the most time-consuming part, so once you’re through it, you’re golden.
Step 3: Clean & Dry It Well
Once you scrape out the old caulk, it’s time to clean the area really well. I like to vacuum up any loose debris with our shop vac and then go over the line with rubbing alcohol and a rag to disinfect and remove any leftover residue.
After that, let it dry completely before moving on to fresh caulk — this step is key. If you’re in a hurry, you can even use a hairdryer to speed things up. Just make sure the tub itself is empty and dry first!
Step 4: Fill the Bathtub with Water
 I am not sure if this is 100% necessary, but a few of the tutorials I read said to fill the bathtub with water before you caulk. This makes sure that the tub is weighted down so your caulk line doesn’t “pull” when you actually use your tub.
I figured there was no harm in adding water, so I decided to go for it.
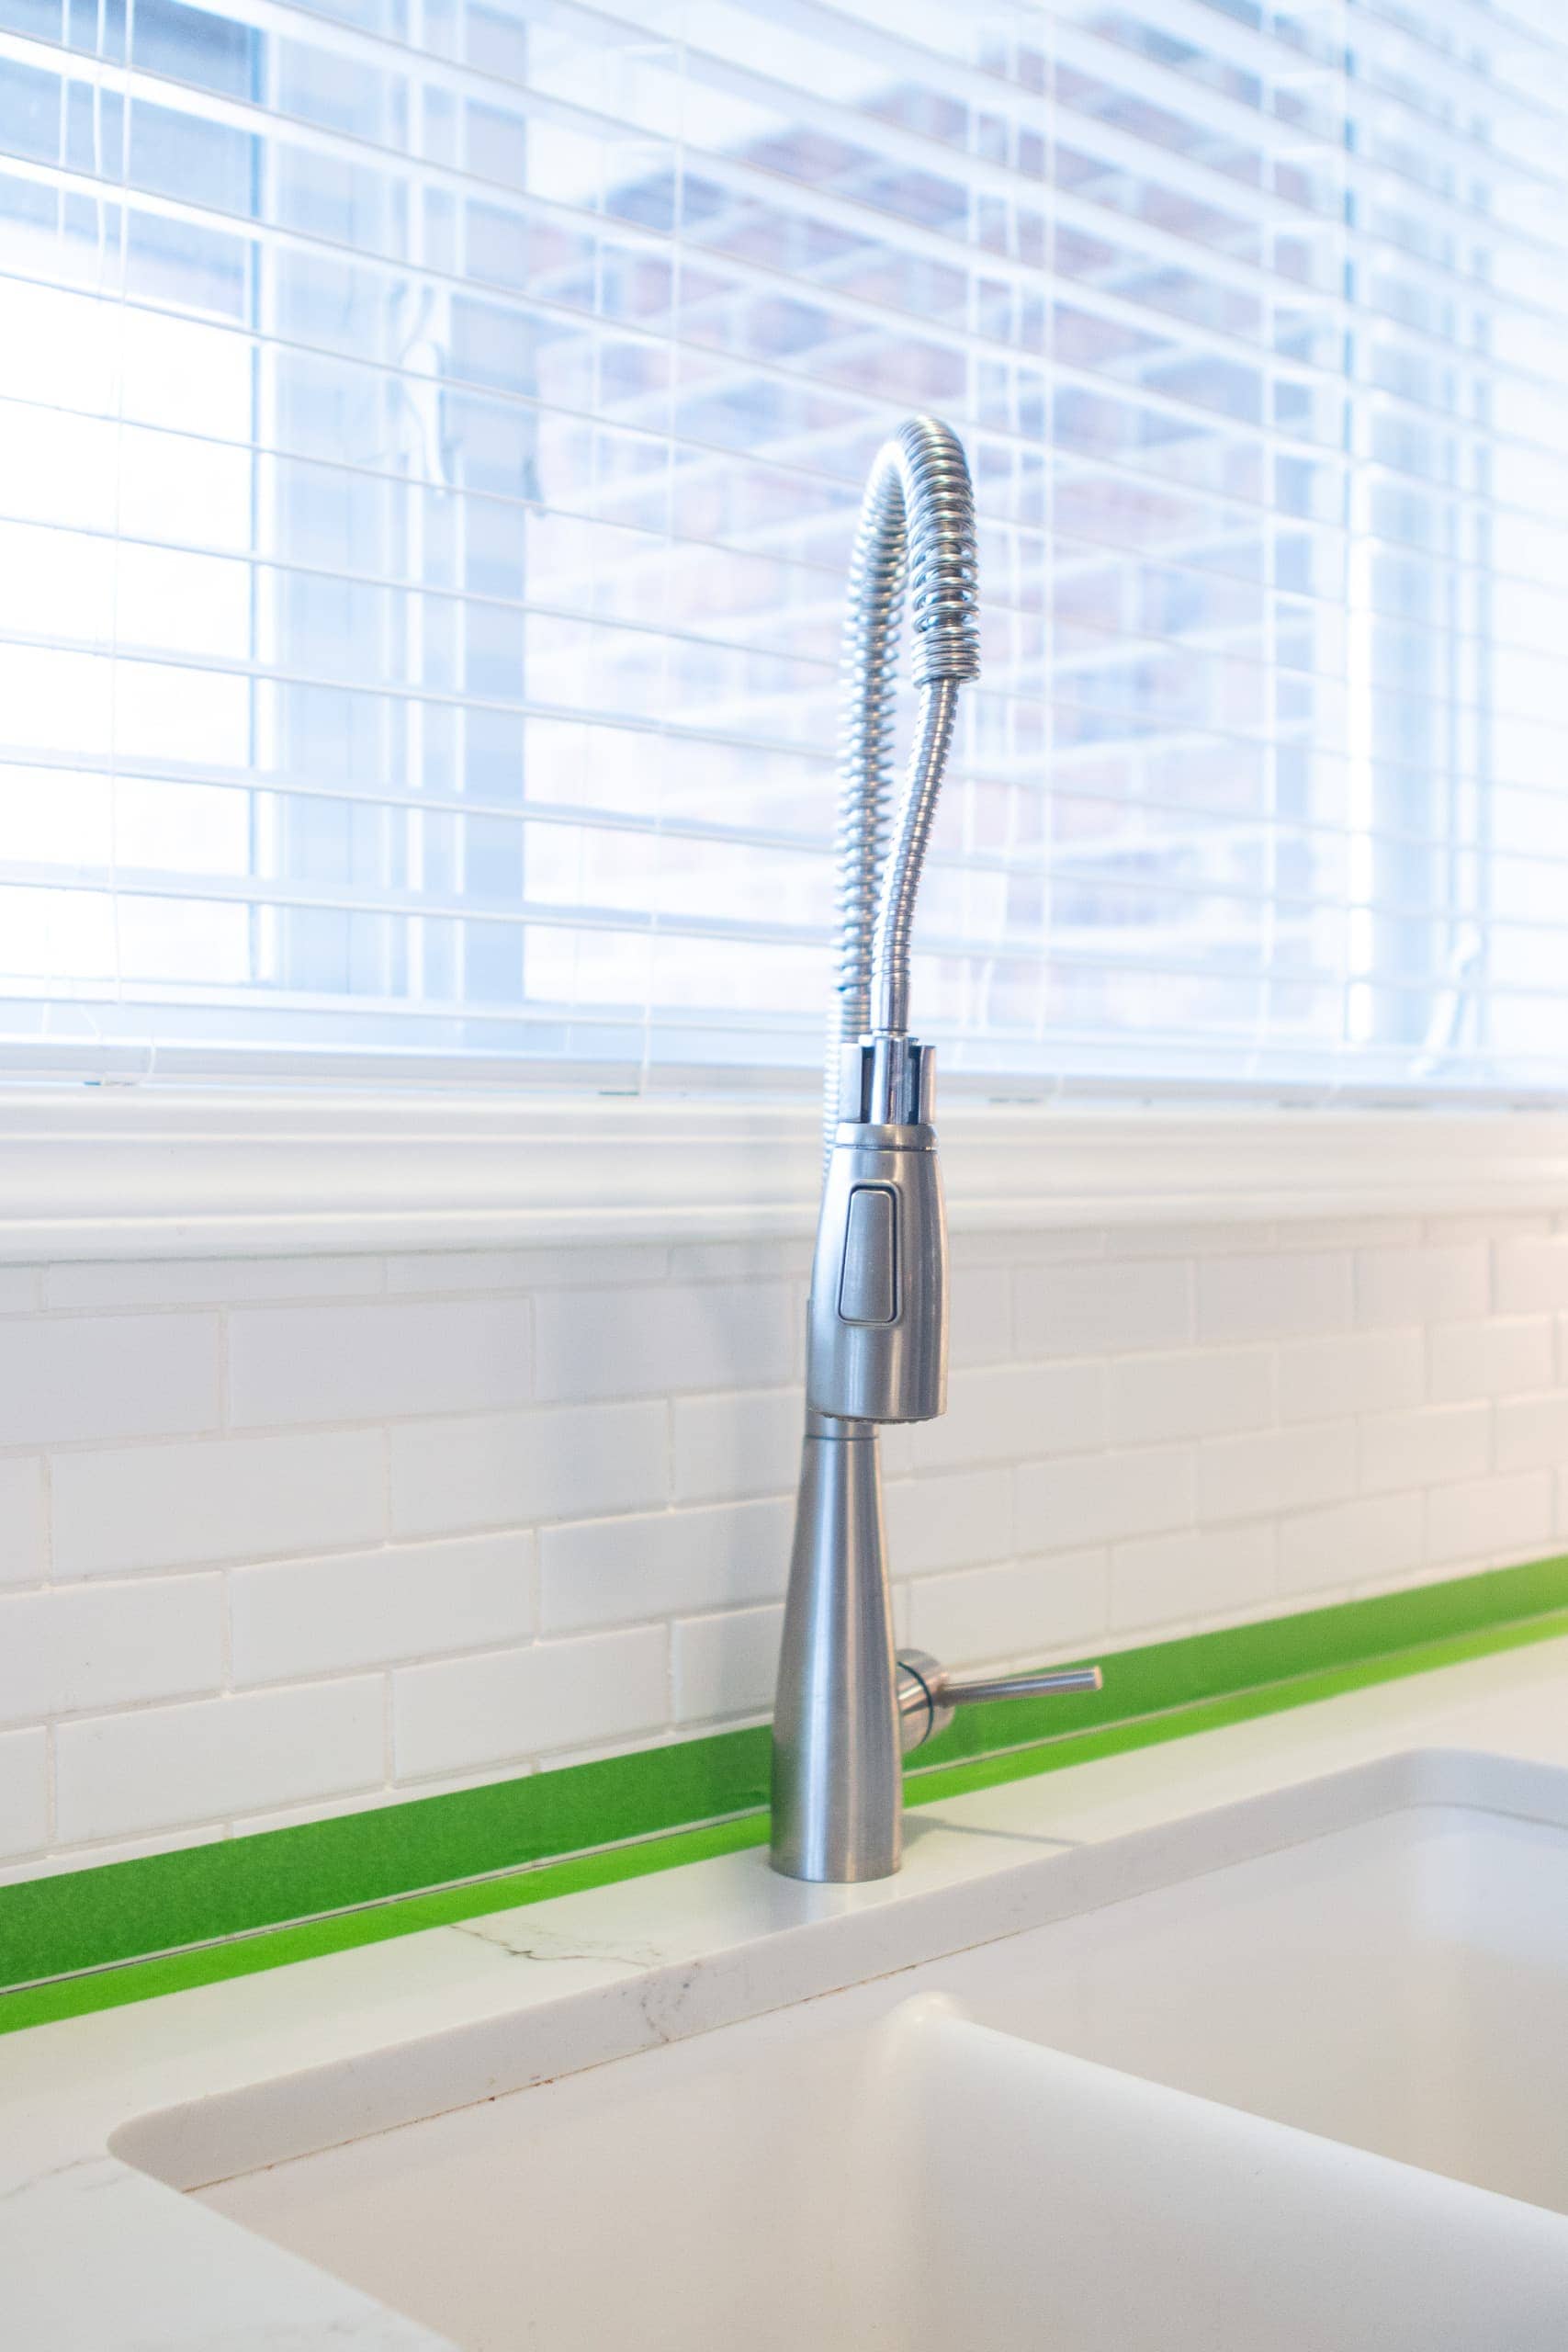
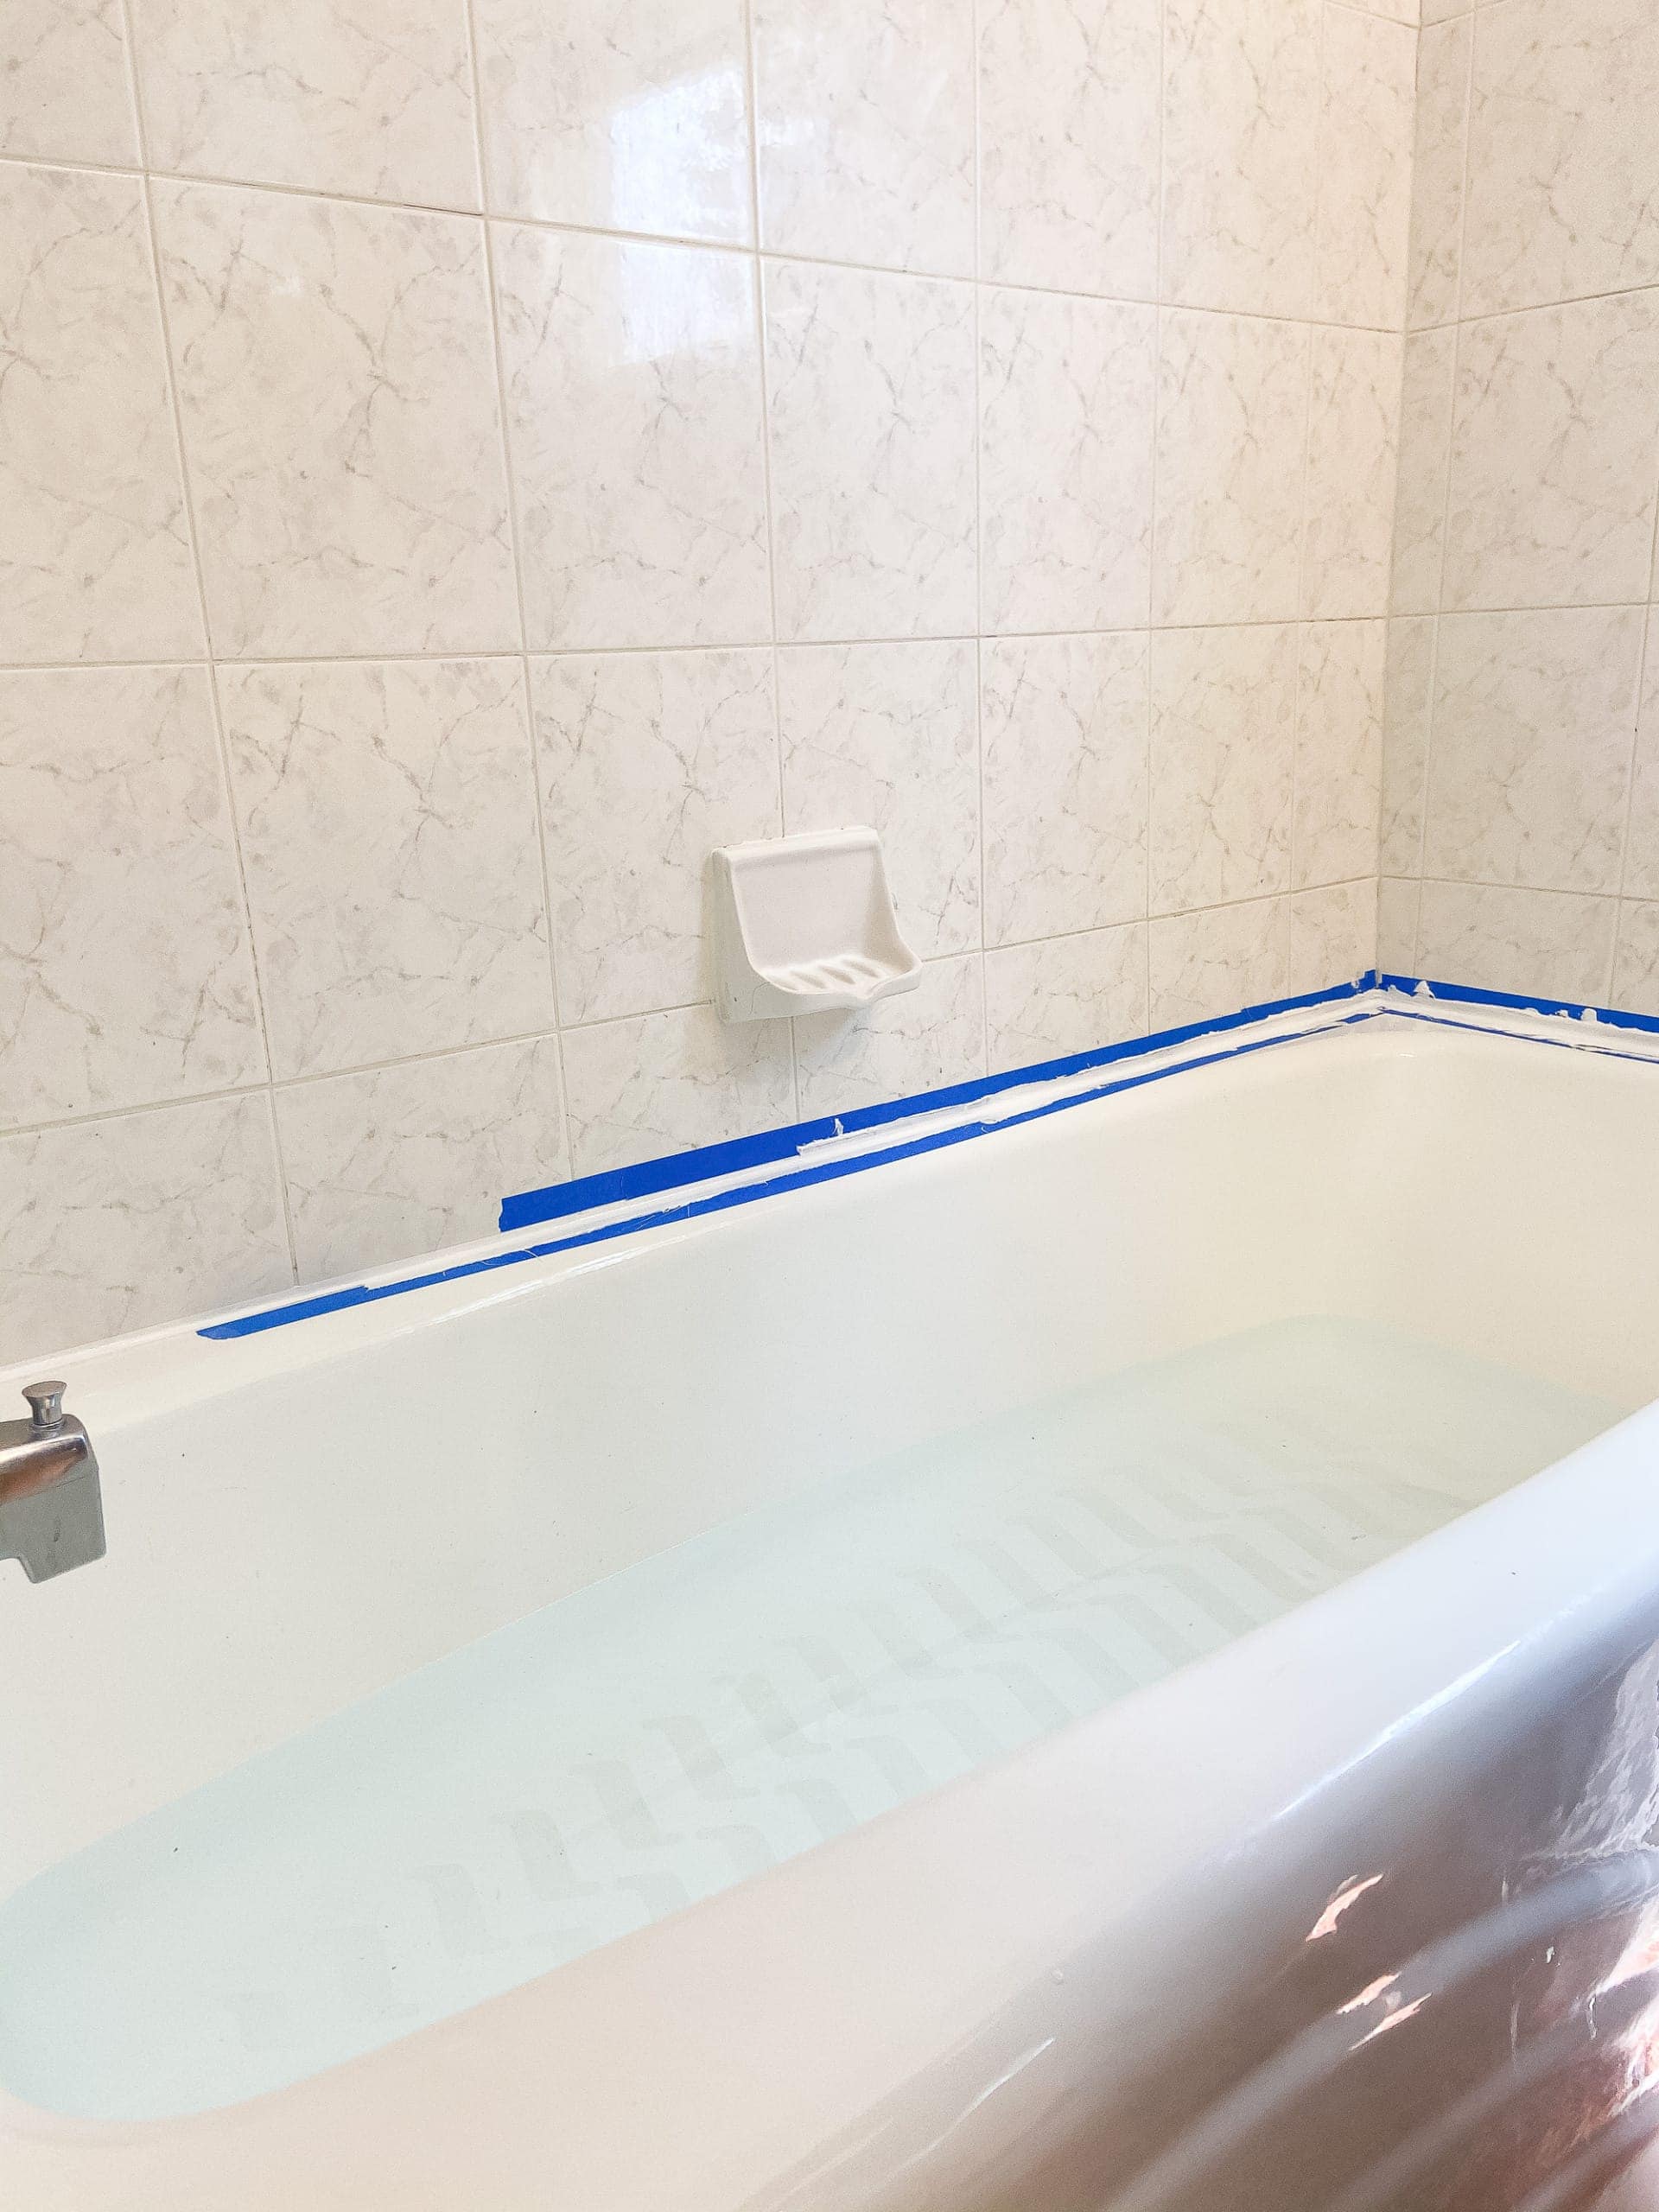
Step 5: Tape Off the Area with Painter’s Tape

If you take anything away from this post, I hope it’s this – use painter’s tape! It will be impossible to get a neat and straight line without painter’s tape!
Take the time to carefully apply painter’s tape to the top and bottom of where you want your caulk to go. You’ll want the caulk to be about 1/8 inch wide, so place your tape accordingly. This will ensure an even line and will make things a heck of a lot less messy.
Step 6: Apply the Silicone Caulk

Cut your silicone caulk at an angle with a 1/4″ inch opening. Place it in your caulk gun and give it a few squeezes onto cardboard to get the gun working. Once it’s ready, apply steady pressure and make a continuous line all the way around the tub. Go slow and be sure to adequately fill in the hole, without overloading it.
If a spot needs more caulk, now is the time to add it.
Step 7: Smooth the Bead for a Clean Finish

Once it’s all in, take a wet finger or baby wipe and run it along the line. You’ll want to have a rag handy to wipe the excess off your fingers as you go. The wetness of the baby wipe will ensure that the caulk doesn’t stick to you, allowing you to glide right over it. This is what makes a nice, smooth seal.
Step 8: Remove the Painter’s Tape
Once it’s all smooth, carefully remove the painter’s tape. You can fix any mishaps at this point too. Just be sure to be careful so you don’t smoosh your clean line.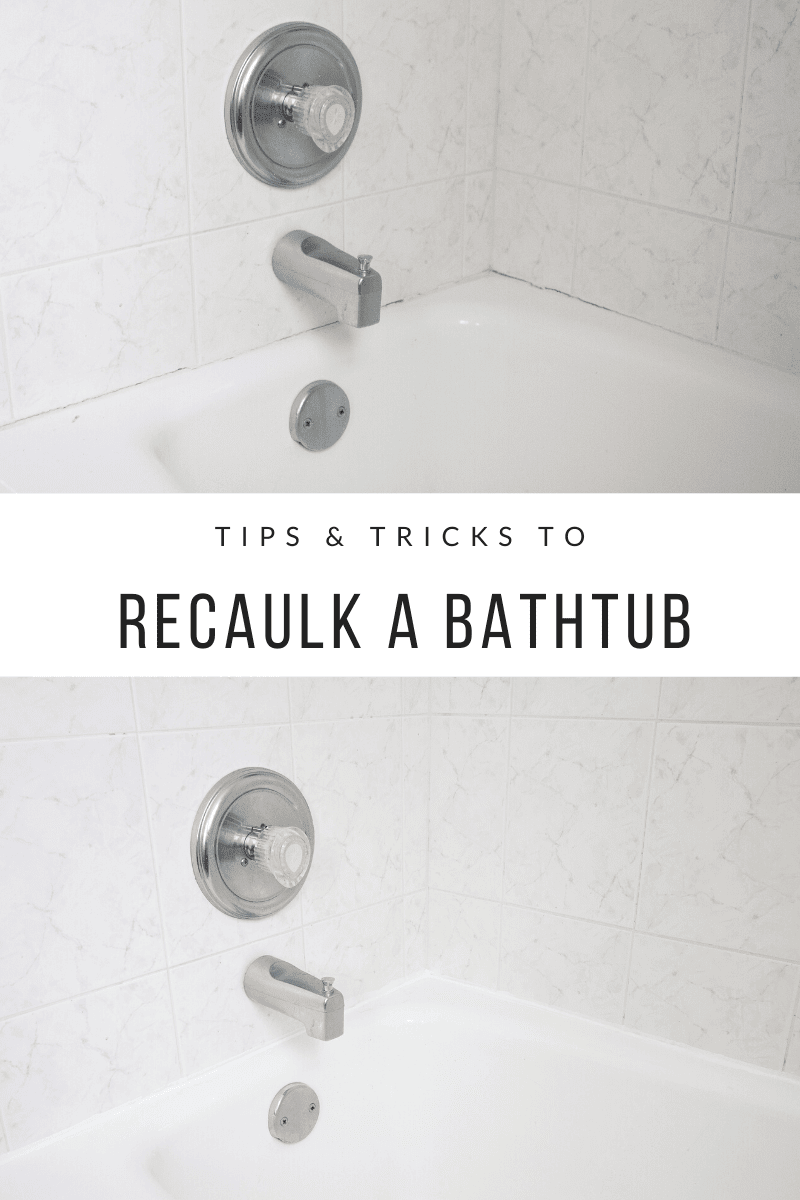
Wait at least 24 hours before using the shower or bath. And really…that’s it! From start to finish, this took about an hour, with the most time-consuming part being the scraping and cleaning.
Once you get to the actual caulking, this project flies by.
Before & After
Here’s a look at the difference a fresh bead of caulk can make…


I’m sure many of you have a shower or bathtub where the caulk is looking less than ideal. I’m telling ya, this is such a quick and satisfying project that anyone can do. Don’t be intimidated by this one!
If you’re ready to keep the momentum going, there are plenty of other easy projects that can make a big impact in a bathroom. Try painting your tile floors for a fresh new look, or painting your outdated vanity. Little upgrades like these don’t take a ton of time or money, but they add up to a bathroom that feels cared for and refreshed.
Casey