How I Made Free DIY Art for My Kid’s Room With His Fave Toys
Discover how I turned my son’s favorite toys into unique and meaningful wall art for his bedroom. This simple DIY project combines creativity and sentimentality, making it the perfect way to personalize your child’s space on a budget.
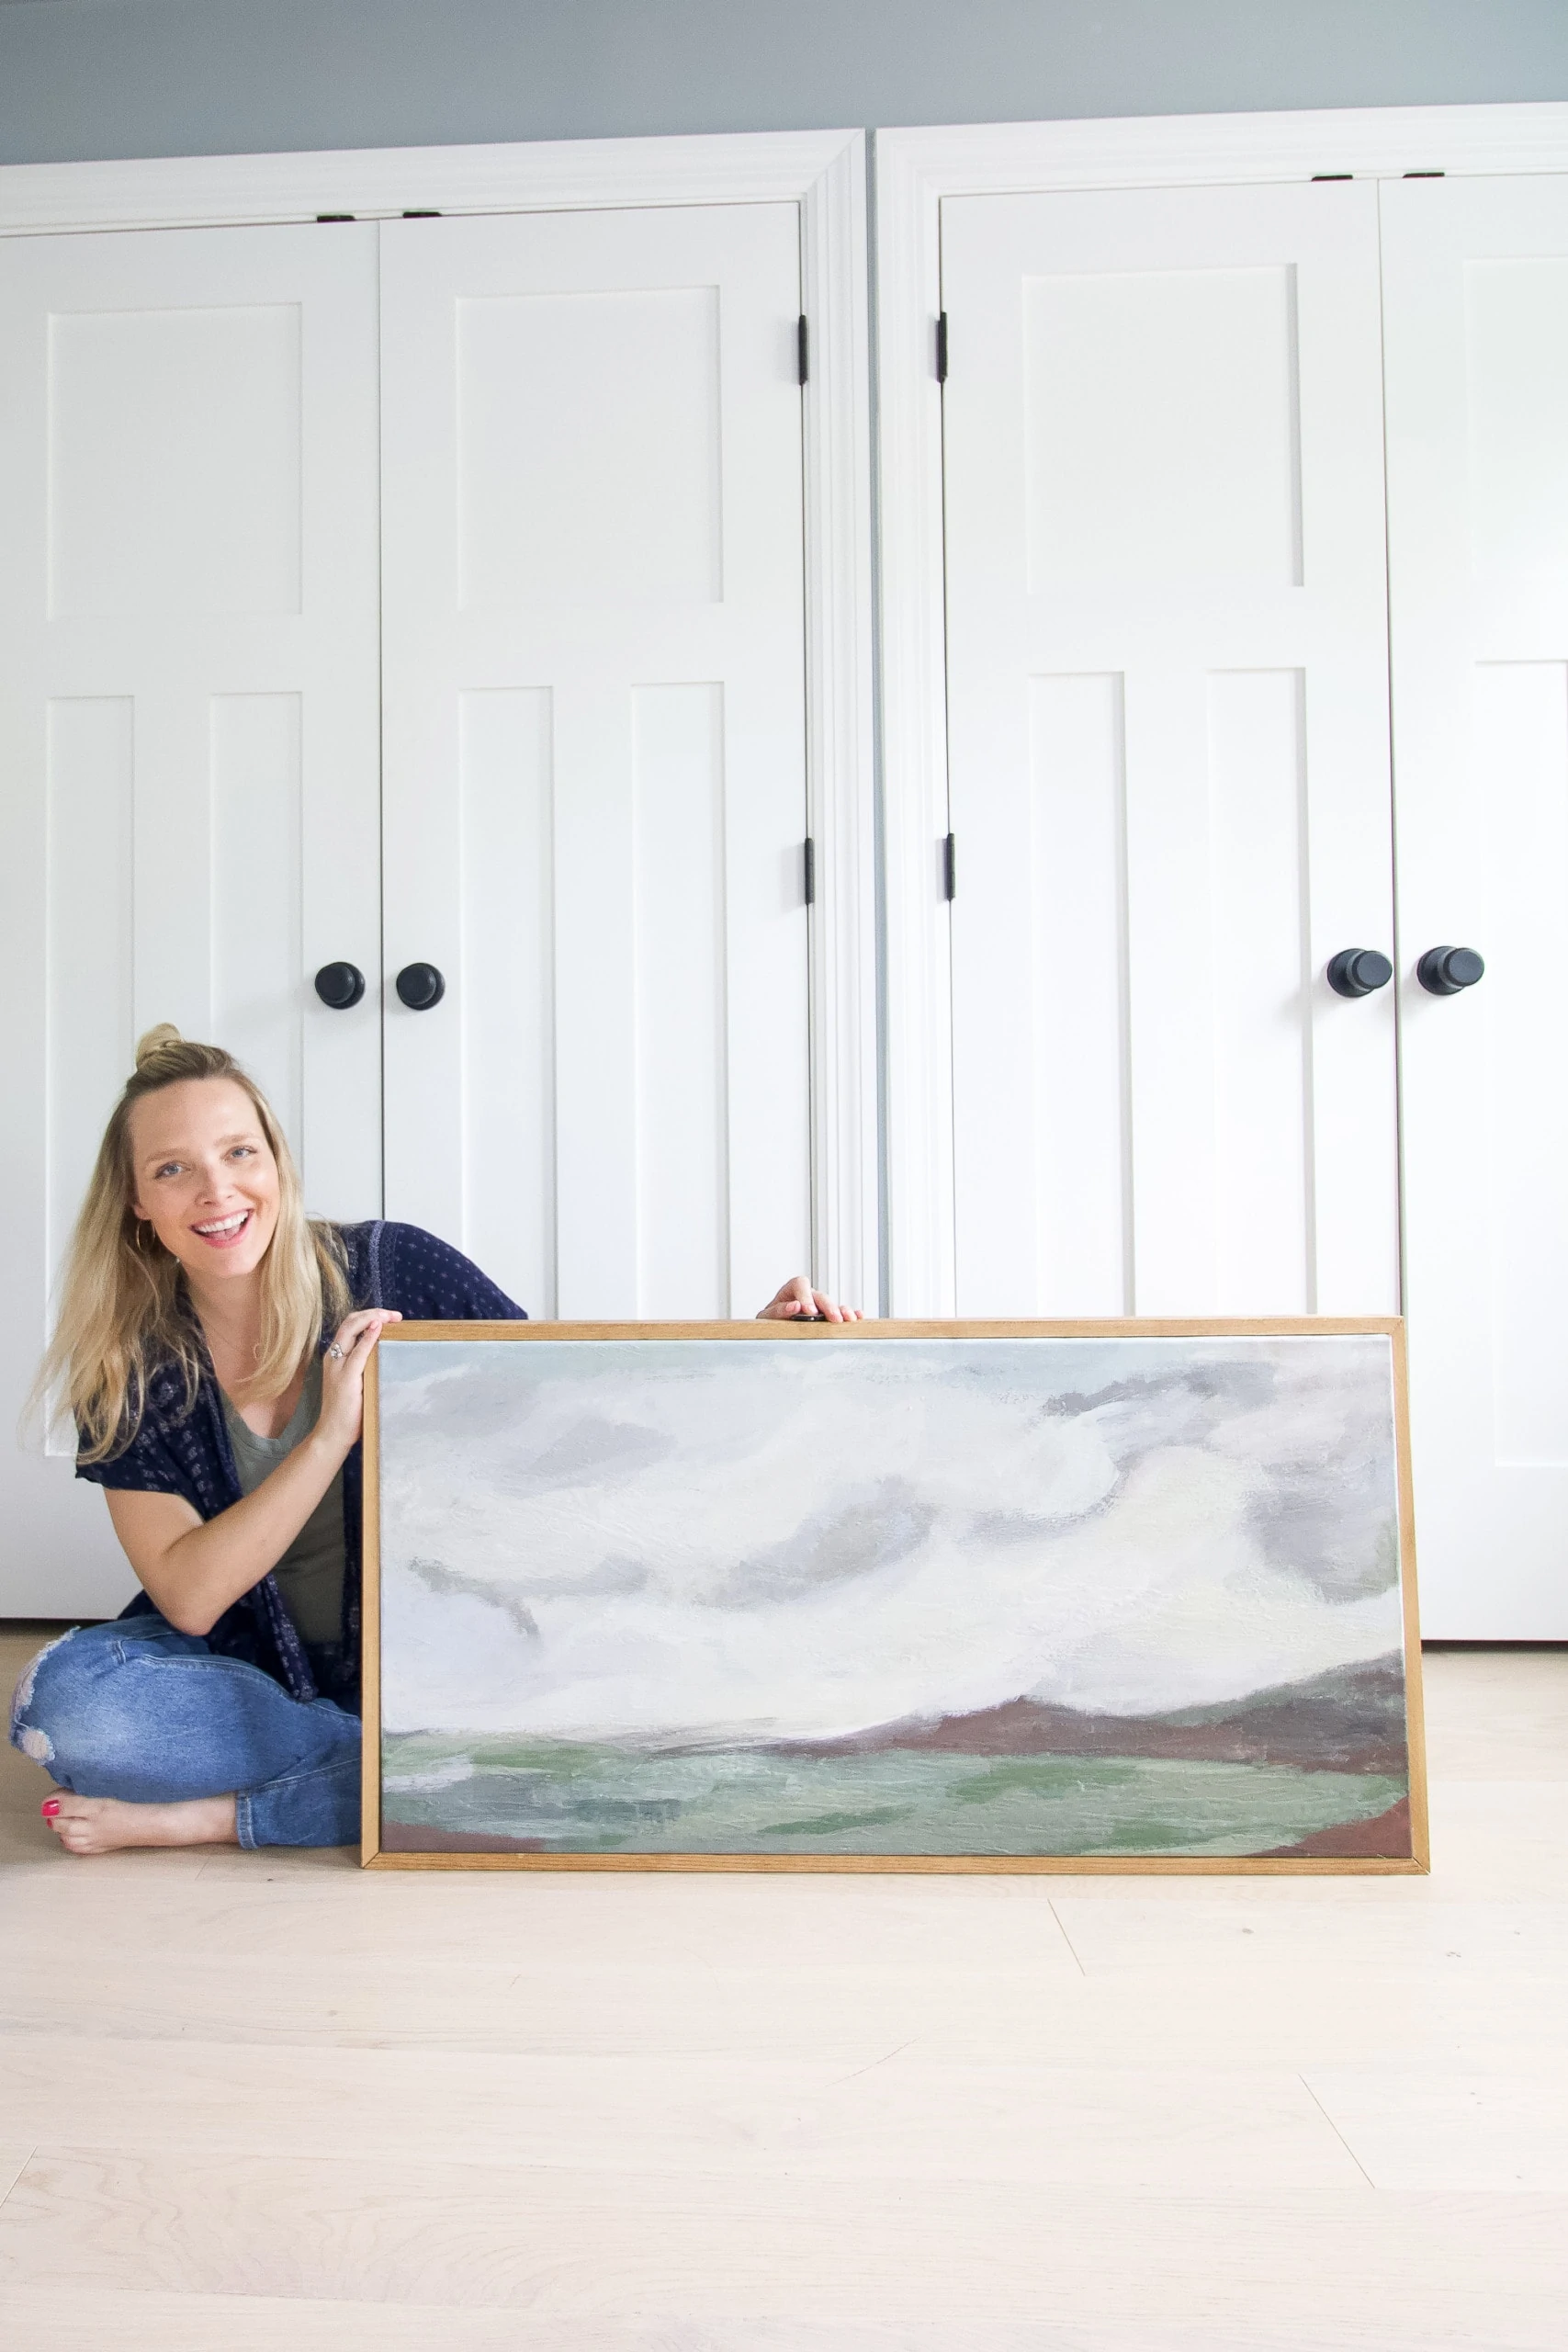
Over the past few weeks, I’ve been hard at work on Ellis’ new big boy bedroom. I recently shared my design plan to turn his nursery into a space that will grow with him for years to come. In that design, I featured a gallery wall over his dresser to replace the DIY canvas art I made for the space about four years ago.
When I started sourcing art for his gallery wall, I knew I wanted to highlight his favorite things – dinosaurs, trucks, his stuffed dinosaur “Dino,” and more. At first, I browsed some generic kids’ art online and wasn’t too impressed with the stuff out there. It all felt too babyish for me. That’s when I realized that I could make my own DIY wall art for his space!
Photographing Ellis’ Favorite Toys
The first step was gathering Ellis’ favorite toys – his beloved dinosaur, stuffed animals, monster truck, and a few other cherished items. I wanted each piece of art to represent something meaningful to him, so I carefully selected toys that he plays with daily. Including toys that reflect his favorite themes and colors (blue and green), made the process even more special.

Next, I set up a simple photo shoot at home. I purchased two pieces of white poster board from the grocery store and set them up in his room with lots of natural light streaming through the windows. That’s key—you want natural light!
I propped up a piece of poster board behind the toys and placed them on a second one. This setup ensured the toys would pop in the final photos and it gave a professional touch to the images. For a more creative approach, you could add a splash of wrapping paper or experiment with pops of color in the background.

I used my DSLR camera, but you can easily use your phone for this. I recommend shooting in portrait mode and making sure you wipe your lens before shooting so things are crisp. This setup created a clean look.
Edit the Photos (& Add a Shadow Effect)

Once I had all the photos, I uploaded them to Canva, my go-to tool for quick and easy edits. I wanted each piece to have the same lighting and background so it would be cohesive gallery wall in the end.

I used Canva’s background remover (a paid feature) to isolate the toys and make them stand out even more. To add depth, I applied a subtle shadow effect, which made the toys look like they were floating off the page. This small detail added so much dimension to the images and made them feel polished and professional. It’s an easy way to create professional-looking art pieces and make your child’s room feel extra special.
Print Your Pictures

With the photos edited and ready to go, it was time to print! I chose Walgreens for convenience, but other great options include Mpix for high-quality prints.
I opted for 8×10 prints, which were the perfect size for the gallery wall above his dresser. The finished prints turned out crisp, vibrant, and full of personality, perfectly capturing Ellis’ favorite things. Choosing the right size is important when balancing large pieces with smaller ones on a gallery wall.

I really loved the dinosaur and monster truck, but his stuffed Dino prints just turned out kinda weird. Like a floating little green blob. Ha!

I decided to do a re-shoot and this time I had Ellis hold his beloved lovey. Putting the stuffed animal in a real setting worked out much better. So feel free to play around with different arrangements and creative ways to feature your child’s favorite items.
Find the Right Frames
Next came the fun part – finding frames to complement the prints and tie into the room’s overall decor. I opted for a mix of gold frames and black frames to create a cohesive look and keep the focus on the vibrant toys. I share some of my favorite frame styles in this blog post. You can also find some really great inexpensive frames at local thrift stores.
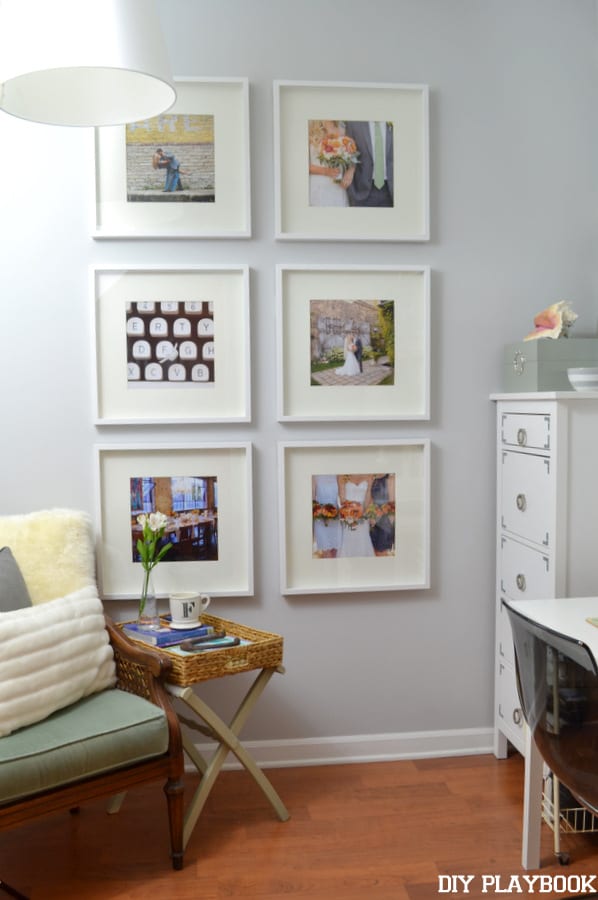
When creating a gallery wall, I always opt for a few larger frames rather than a bunch of teeny tiny ones. The smallest I’ll go is 8×10, and I usually like thick mats to really make photographs pop. Using different frame styles in varying colors, like modern metal frames or wood frames, can create a more eclectic look and add a touch of personality to your home decor.
Figure Out Your Gallery Wall Layout

Here are my best tips when it comes to laying out your gallery wall. Don’t be afraid to try out different arrangements until you get it just right.
- Choose at least two frame materials. In my case, I went with gold and black picture frames.
- Use a wide assortment of sizes, but try not to go smaller than 8×10. Including larger frames helps create balance. I also usually start with the largest piece when working on my layout.
- Make sure you go with both horizontal pieces and vertical pieces.
- Mats are always a good idea when showcasing photos. (More on choosing the best photo mat in this blog post.)
- An odd number of items is always pleasing to the eye.
- Try to keep the frames no more than three inches apart. If they’re too spread out, it won’t look like one cohesive gallery wall.
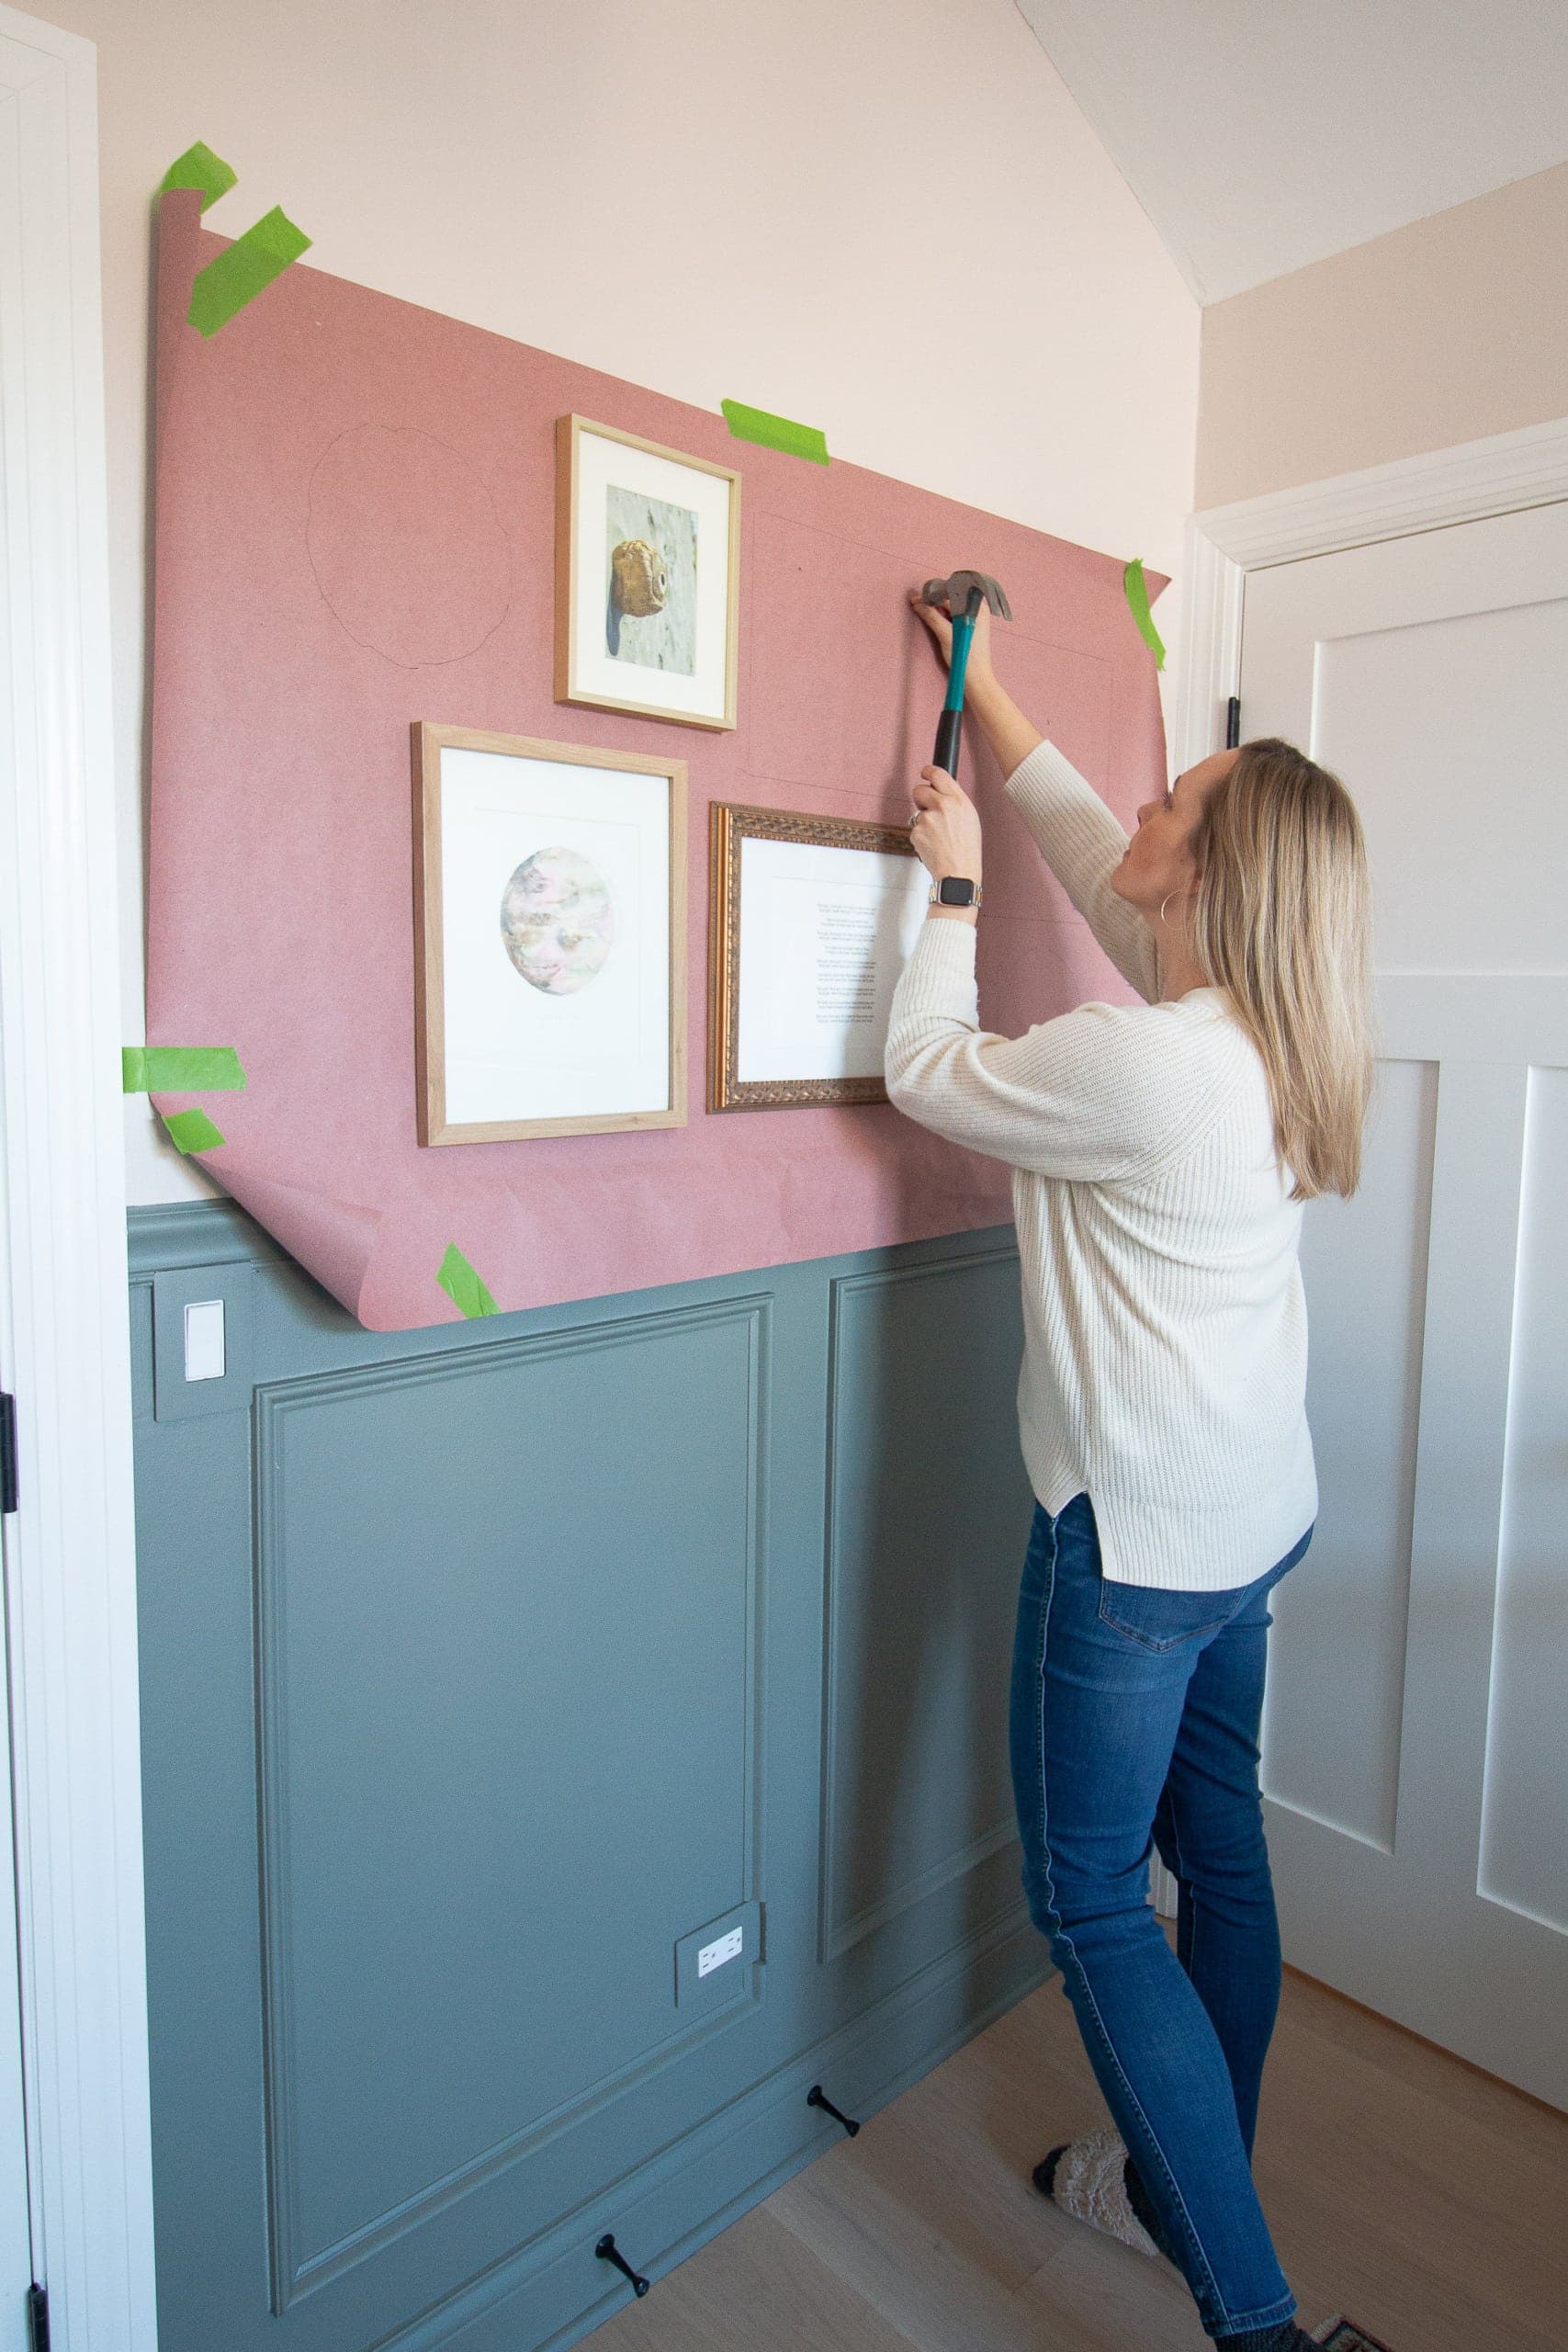
- Find your best layout and then put the frames on a piece of wrapping paper (or in my case, rosin paper) on the floor. Then, trace each piece directly onto the paper, marking the holes on the back for easy hanging. This blog post dives into this process further.
- Follow the rules in this post to figure out the best height to hang your gallery wall.
I used all of those tips as I figured out Ellis’ gallery wall layout. Once I had my “blueprint” for the layout, I put it up on his wall and made sure it was level.
Hang Your Gallery Wall

With my blueprint up, it was time to start hanging. Here are my go-to supplies…
- Painter’s Tape and Rosin Paper (or Wrapping Paper)
- Pencil
- Measuring Tape
- Nail Box Assortment
- Hammer
- Level
- Command Strips
- Museum Wax
Once all of the nails are added to your paper template, remove it and hang your frames, making sure they’re level as you go. With everything exactly the way I wanted it, I used Museum Wax on the bottom corners of each frame to keep them in place and level. This is my best tip to keep all frames from budging in your home!
Ellis’ Fun Gallery Wall

Here’s his new gallery wall. Isn’t it adorable? This was such an inexpensive way to personalize his room since the art was just about free!

Guys, I can’t even tell you how excited he was when he saw this hung up. He couldn’t believe his toys were featured in real pictures frames.

It was like he was seeing celebrities in his room. So funny!

I think this could be such a fun way to decorate a playroom too. Or how about a symmetrical gallery wall layout where you feature all of your children’s favorite toys or kids artwork?

I love how personal and special this idea is. No generic wall art allowed, just creative ways to highlight their treasures.
Big Boy Bedroom Reveal…Coming Thursday!

Benjamin Moore “Tarrytown Green” // Picture Frame Molding Tutorial // Dresser, Wood Box, & Lamp no longer sold // Faux Jade Plant // Pennant // Night Sky Art // Gold Frames // Black Frames // Blue Art Mats
This DIY gallery wall has quickly become my favorite thing in my son’s room. It’s a daily reminder of the little things he loves most and it adds so much personality to the space.
Want to see the rest of his room? Come see the reveal of his new big boy bedroom right here!
More Inexpensive Wall Art Ideas

13 Inexpensive Art Ideas For Your Home (with lots of FREE DIY projects)