How to Patch Small Holes in Drywall (Easy DIY Repair)
Small to medium drywall holes (about ½ inch to 3 inches wide) are easy to repair with the right patching method. Here’s everything you need to fix them and create a smooth, seamless surface that blends perfectly with the surrounding wall.
Back when I was setting up my son Ellis’s nursery (You can see how his room turned out here!), I tackled a few drywall repairs before starting the design. The closet had several small to medium holes left behind from old shelving, so it became the perfect test run for learning how to patch drywall and get a smooth, even finish.
Ellis’ Closet Before
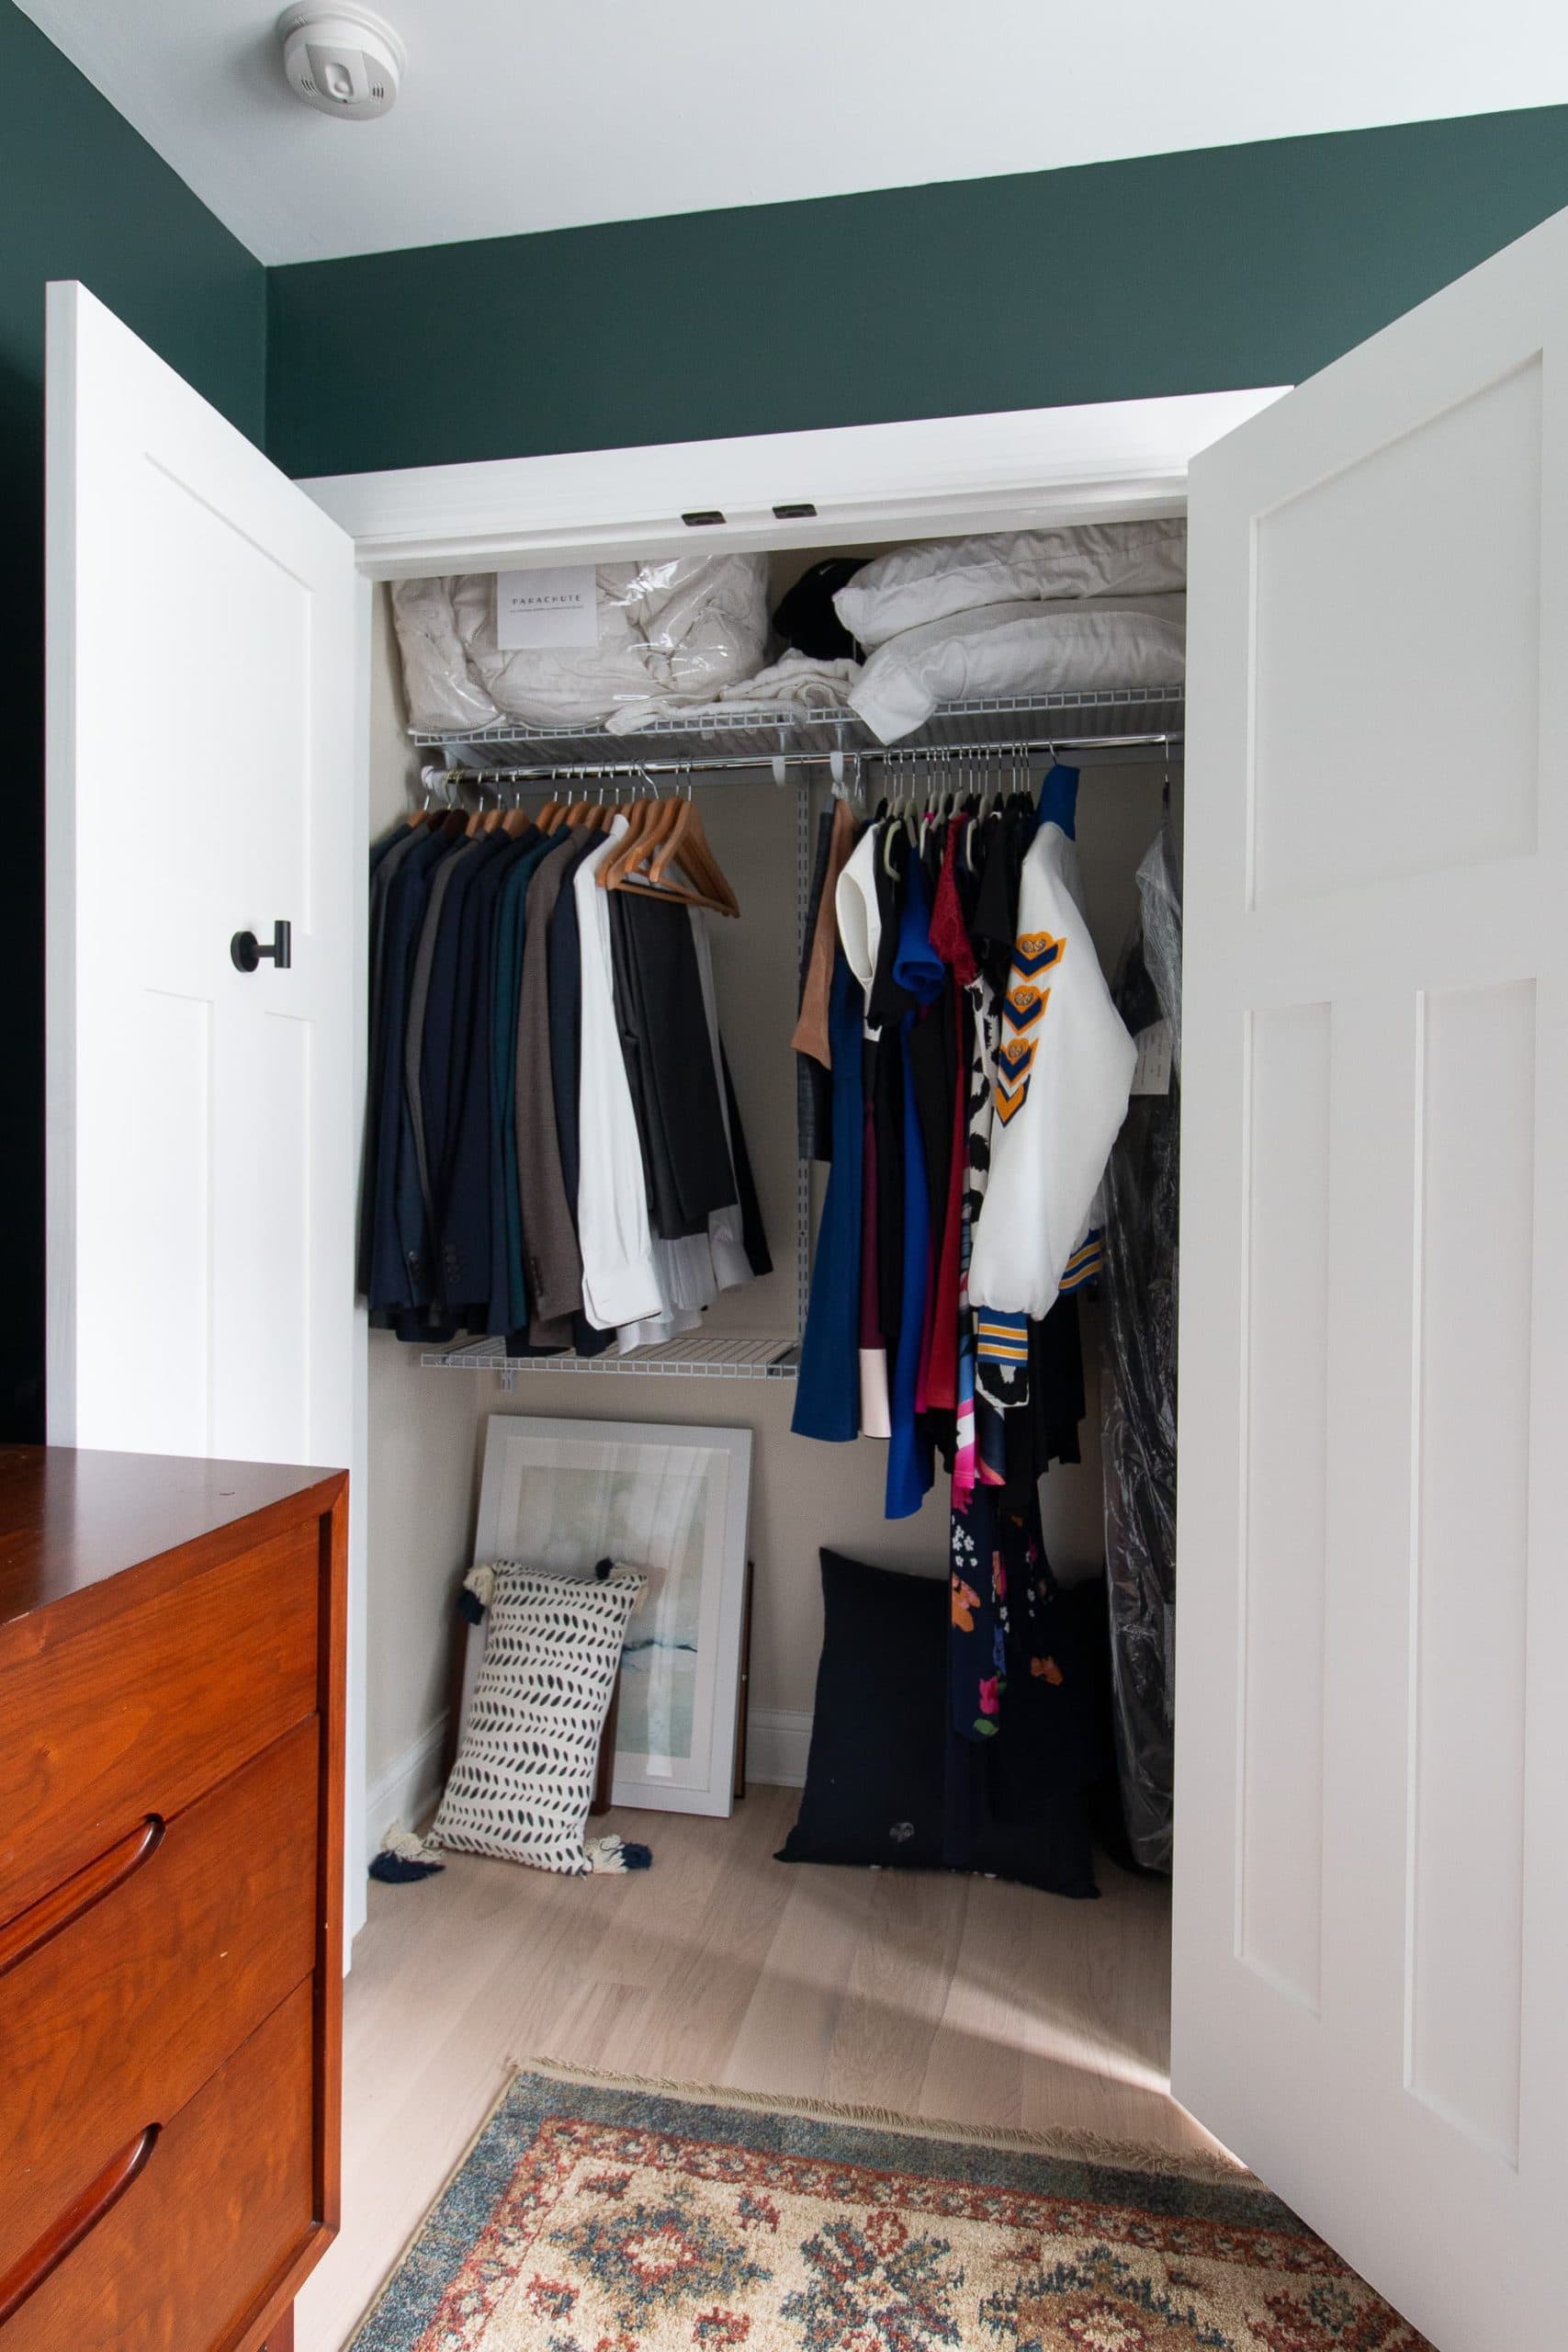
Here’s a look back at the closet setup when I first started working on Ellis’s nursery. At the time, it had basic wire shelves, but they never really worked for long-term storage. The space held extra clothes, linens, and random overflow items from around the house.

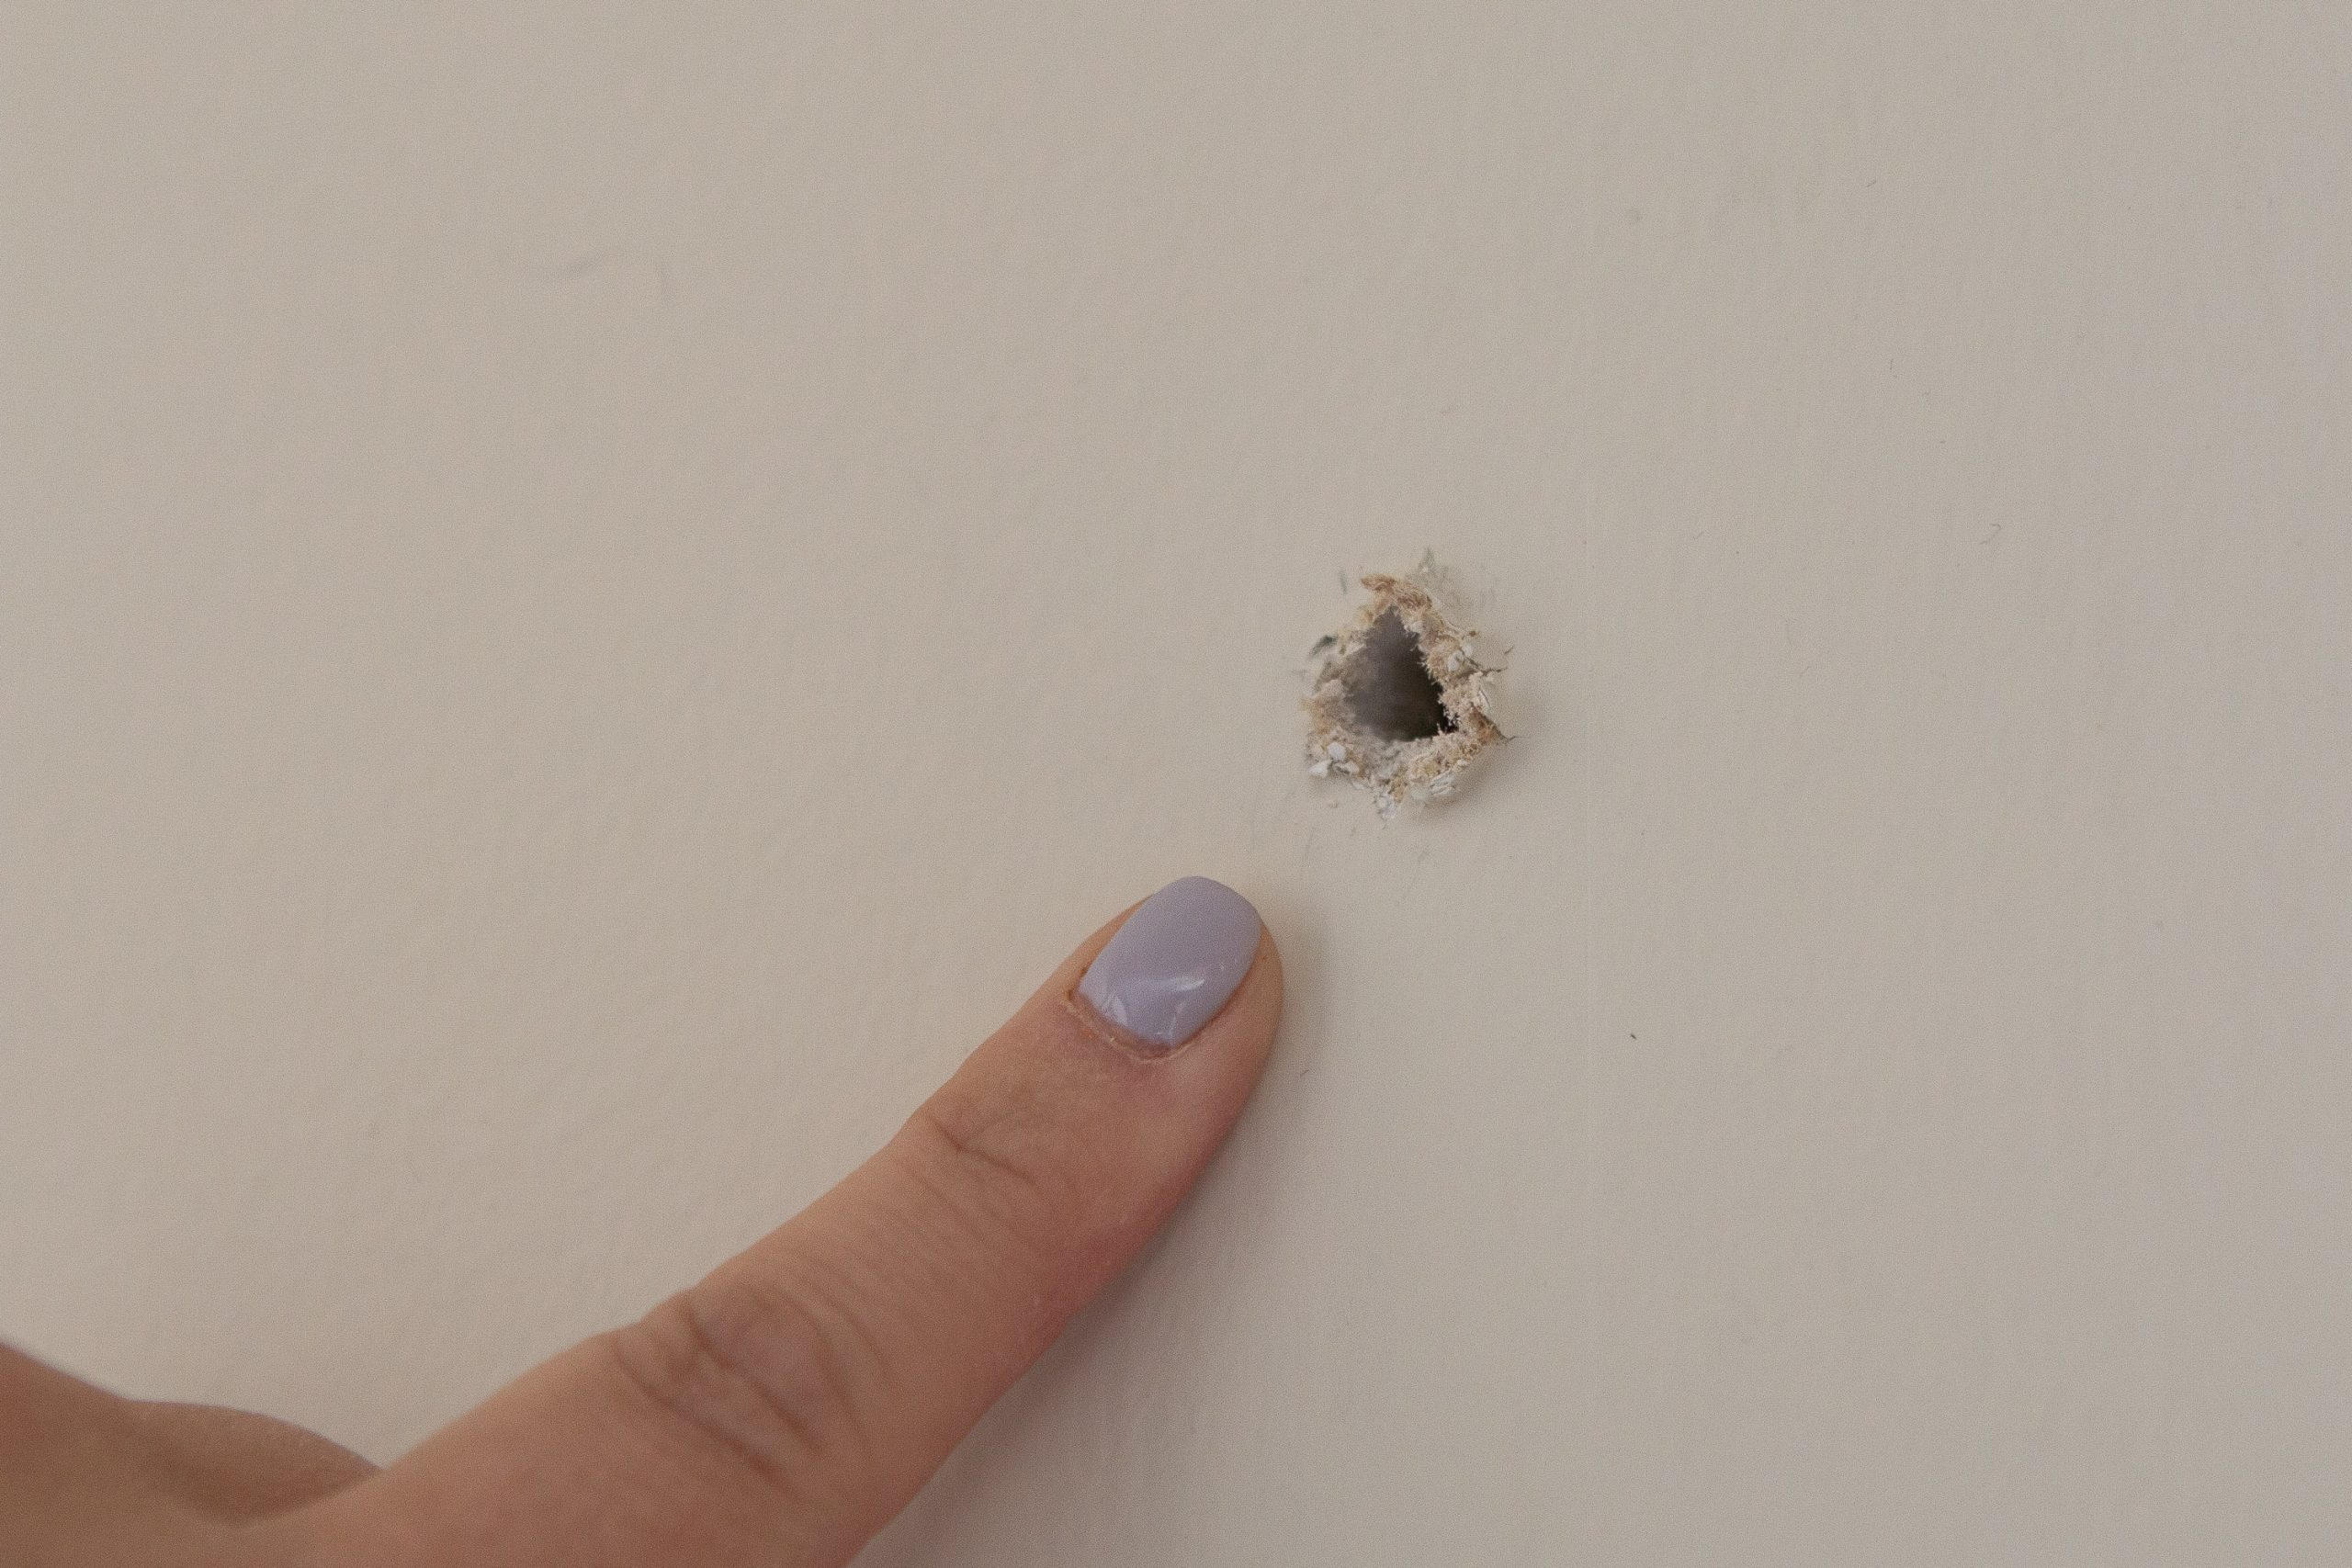
When I finally cleared everything out, I was left with seventeen holes in the drywall—some small screw holes and others from old wall anchors.
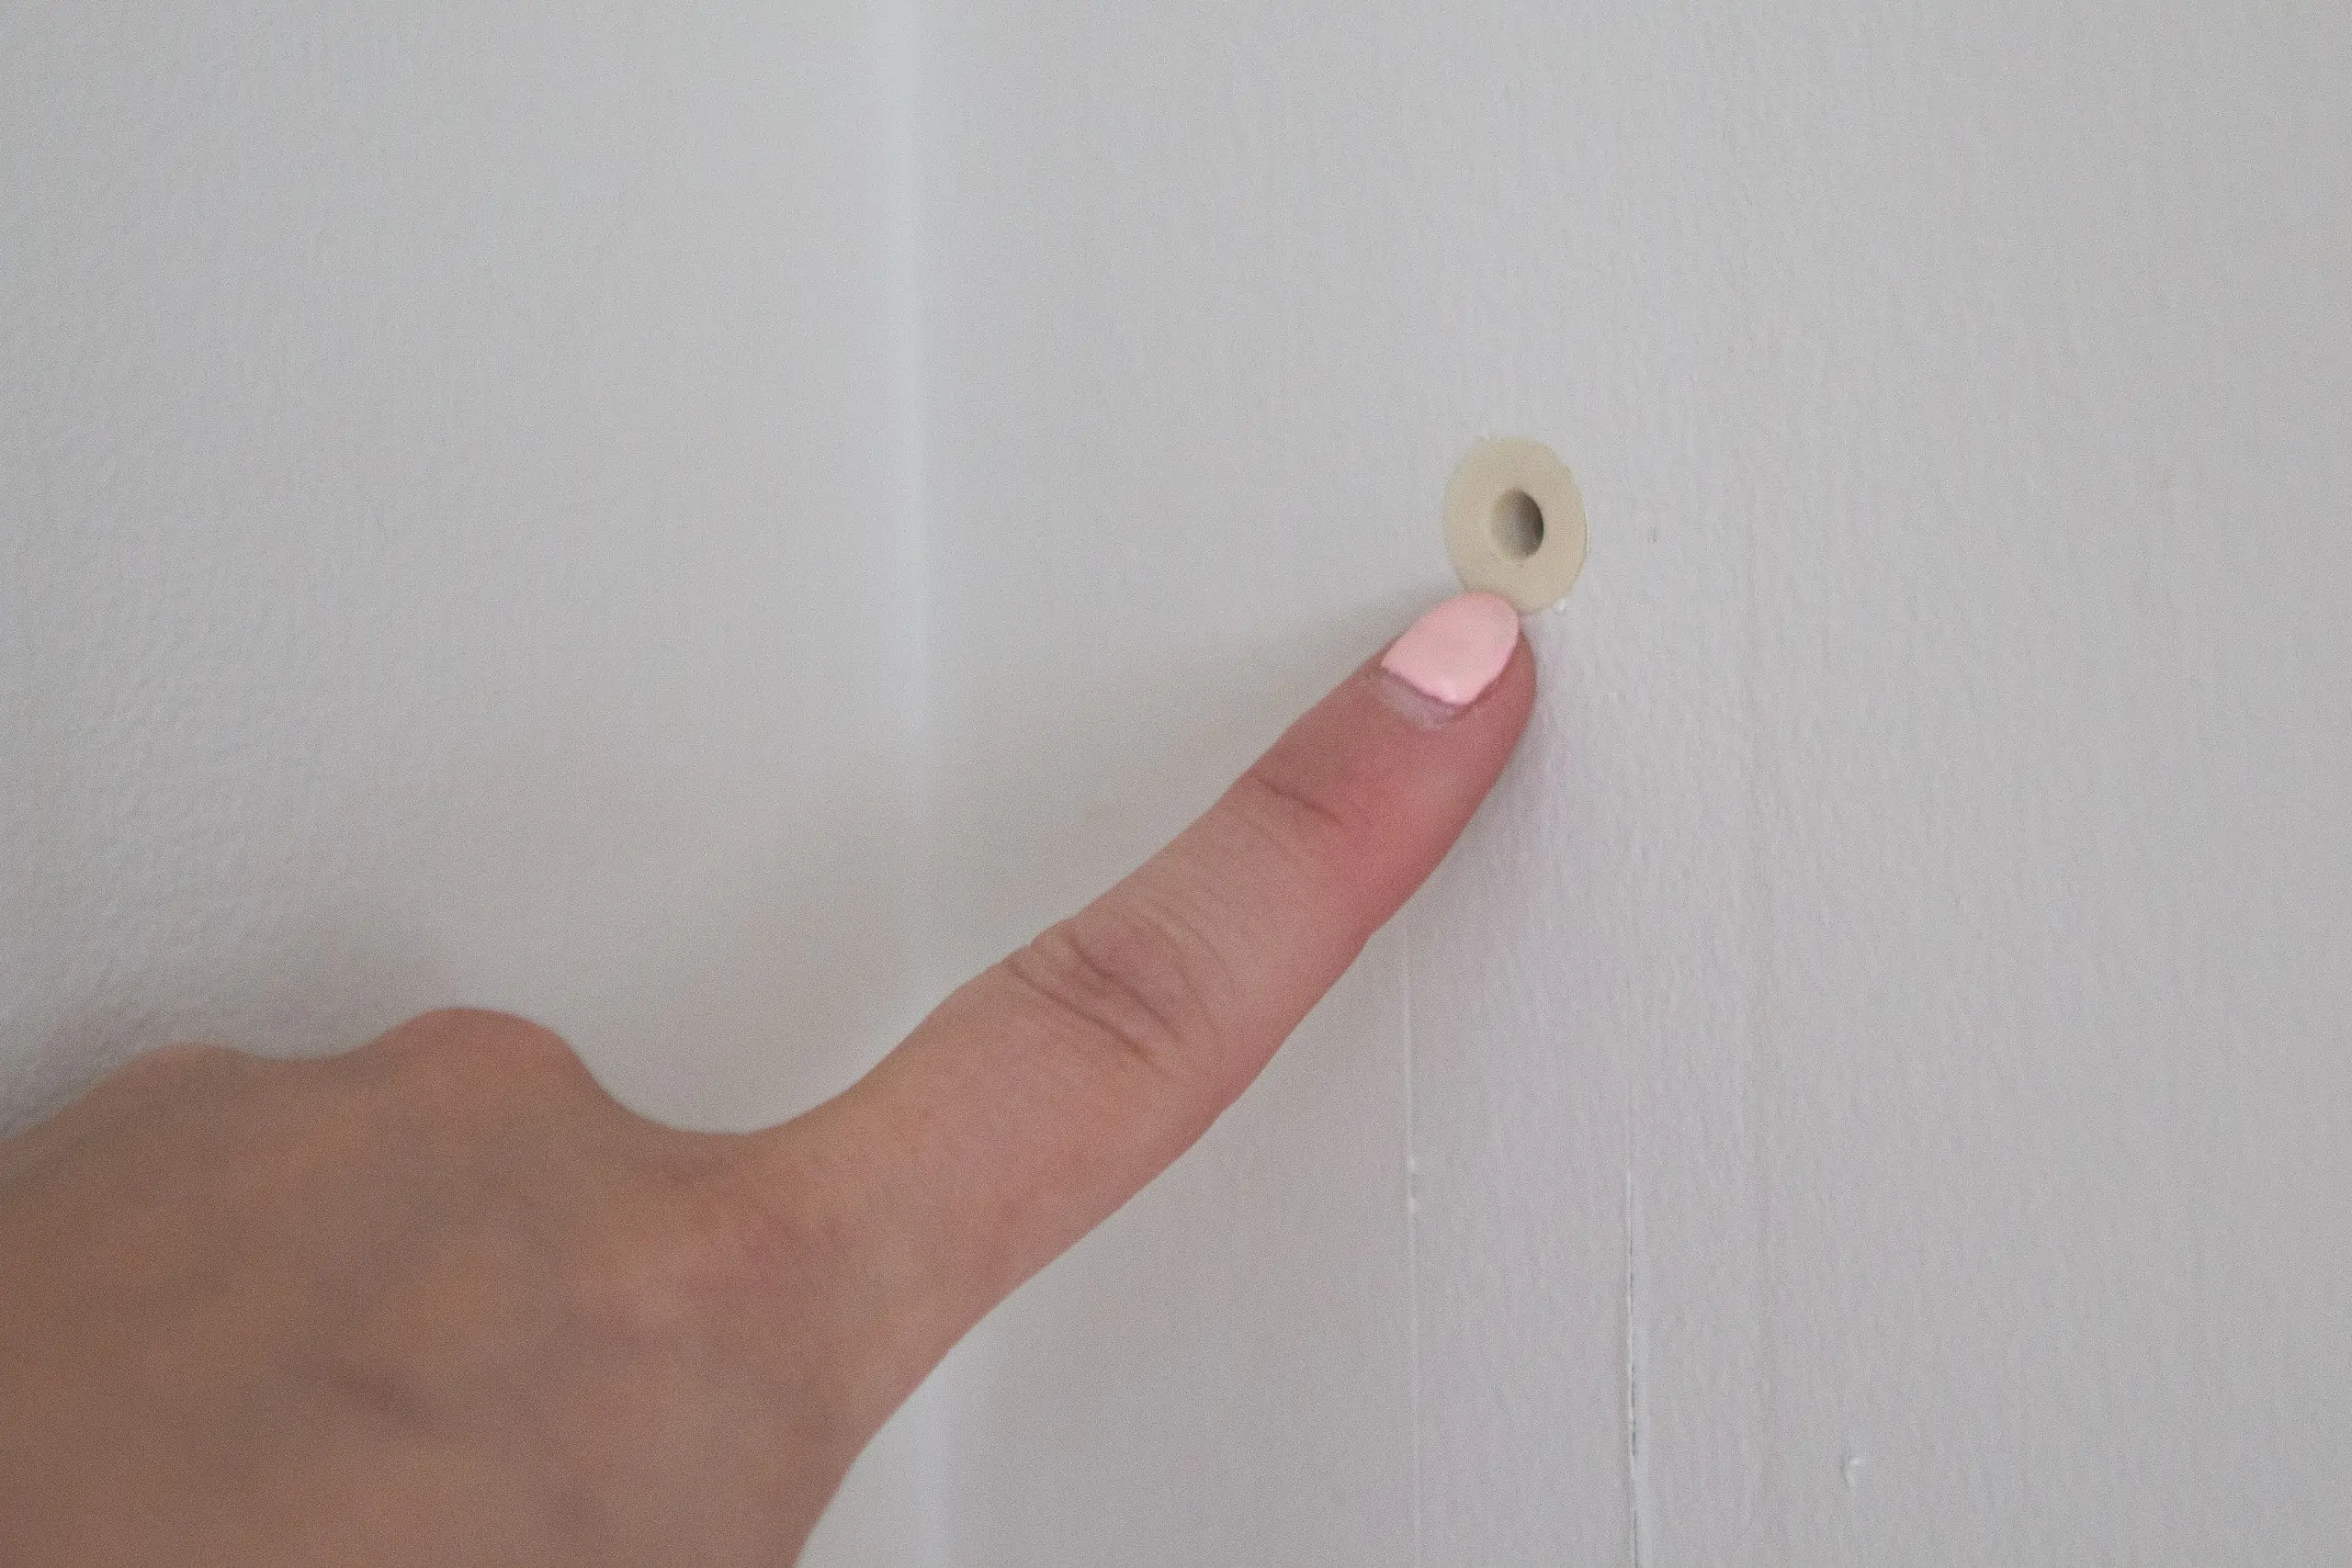
If you’re dealing with anchors too, you can either grip them with pliers and gently pull them out or, if they won’t budge, use the handle of a screwdriver to push them into the wall cavity. Once the surface is even, you’re ready to start patching.

If you want to see how this nursery closet turned out, you can check out the full reveal here. It’s one of my favorite transformations!
Which Drywall Repair Tutorial Do You Need?

Not all wall damage is created equal. Before you dive in, figure out which type of drywall repair fits your hole size. Here’s a quick guide to help you choose the right tutorial:
- Nail or Screw Holes (⅛ inch or smaller):
These are the tiny holes left behind from hanging wall art. Use my quick tutorial on How to Fill Nail Holes in Drywall. It’s a 5-minute fix with spackle and sandpaper. - Small Holes (¼ to ½ inch):
If your holes are about the size of a dime or a drywall anchor, this post is for you! Follow the small hole repair tutorial below, using a small hole repair kit or spackling compound. - Medium Holes (½ inch to 3 inches):
For larger anchor damage or small accidental dents, scroll to the medium hole repair section in this post. You’ll need a self-adhesive mesh patch or repair screen for a smooth, seamless finish. - Large Holes (3 inches and up):
For bigger damage – think doorknob dents or cutouts – use my How to Patch Large Drywall Holes tutorial. It features the California patch method with a new piece of drywall for a pro-level result.
Fixing Small & Medium Holes
| Difficulty: ⭐️ ⭐️ of 5 | Time: 30-60 minutes |
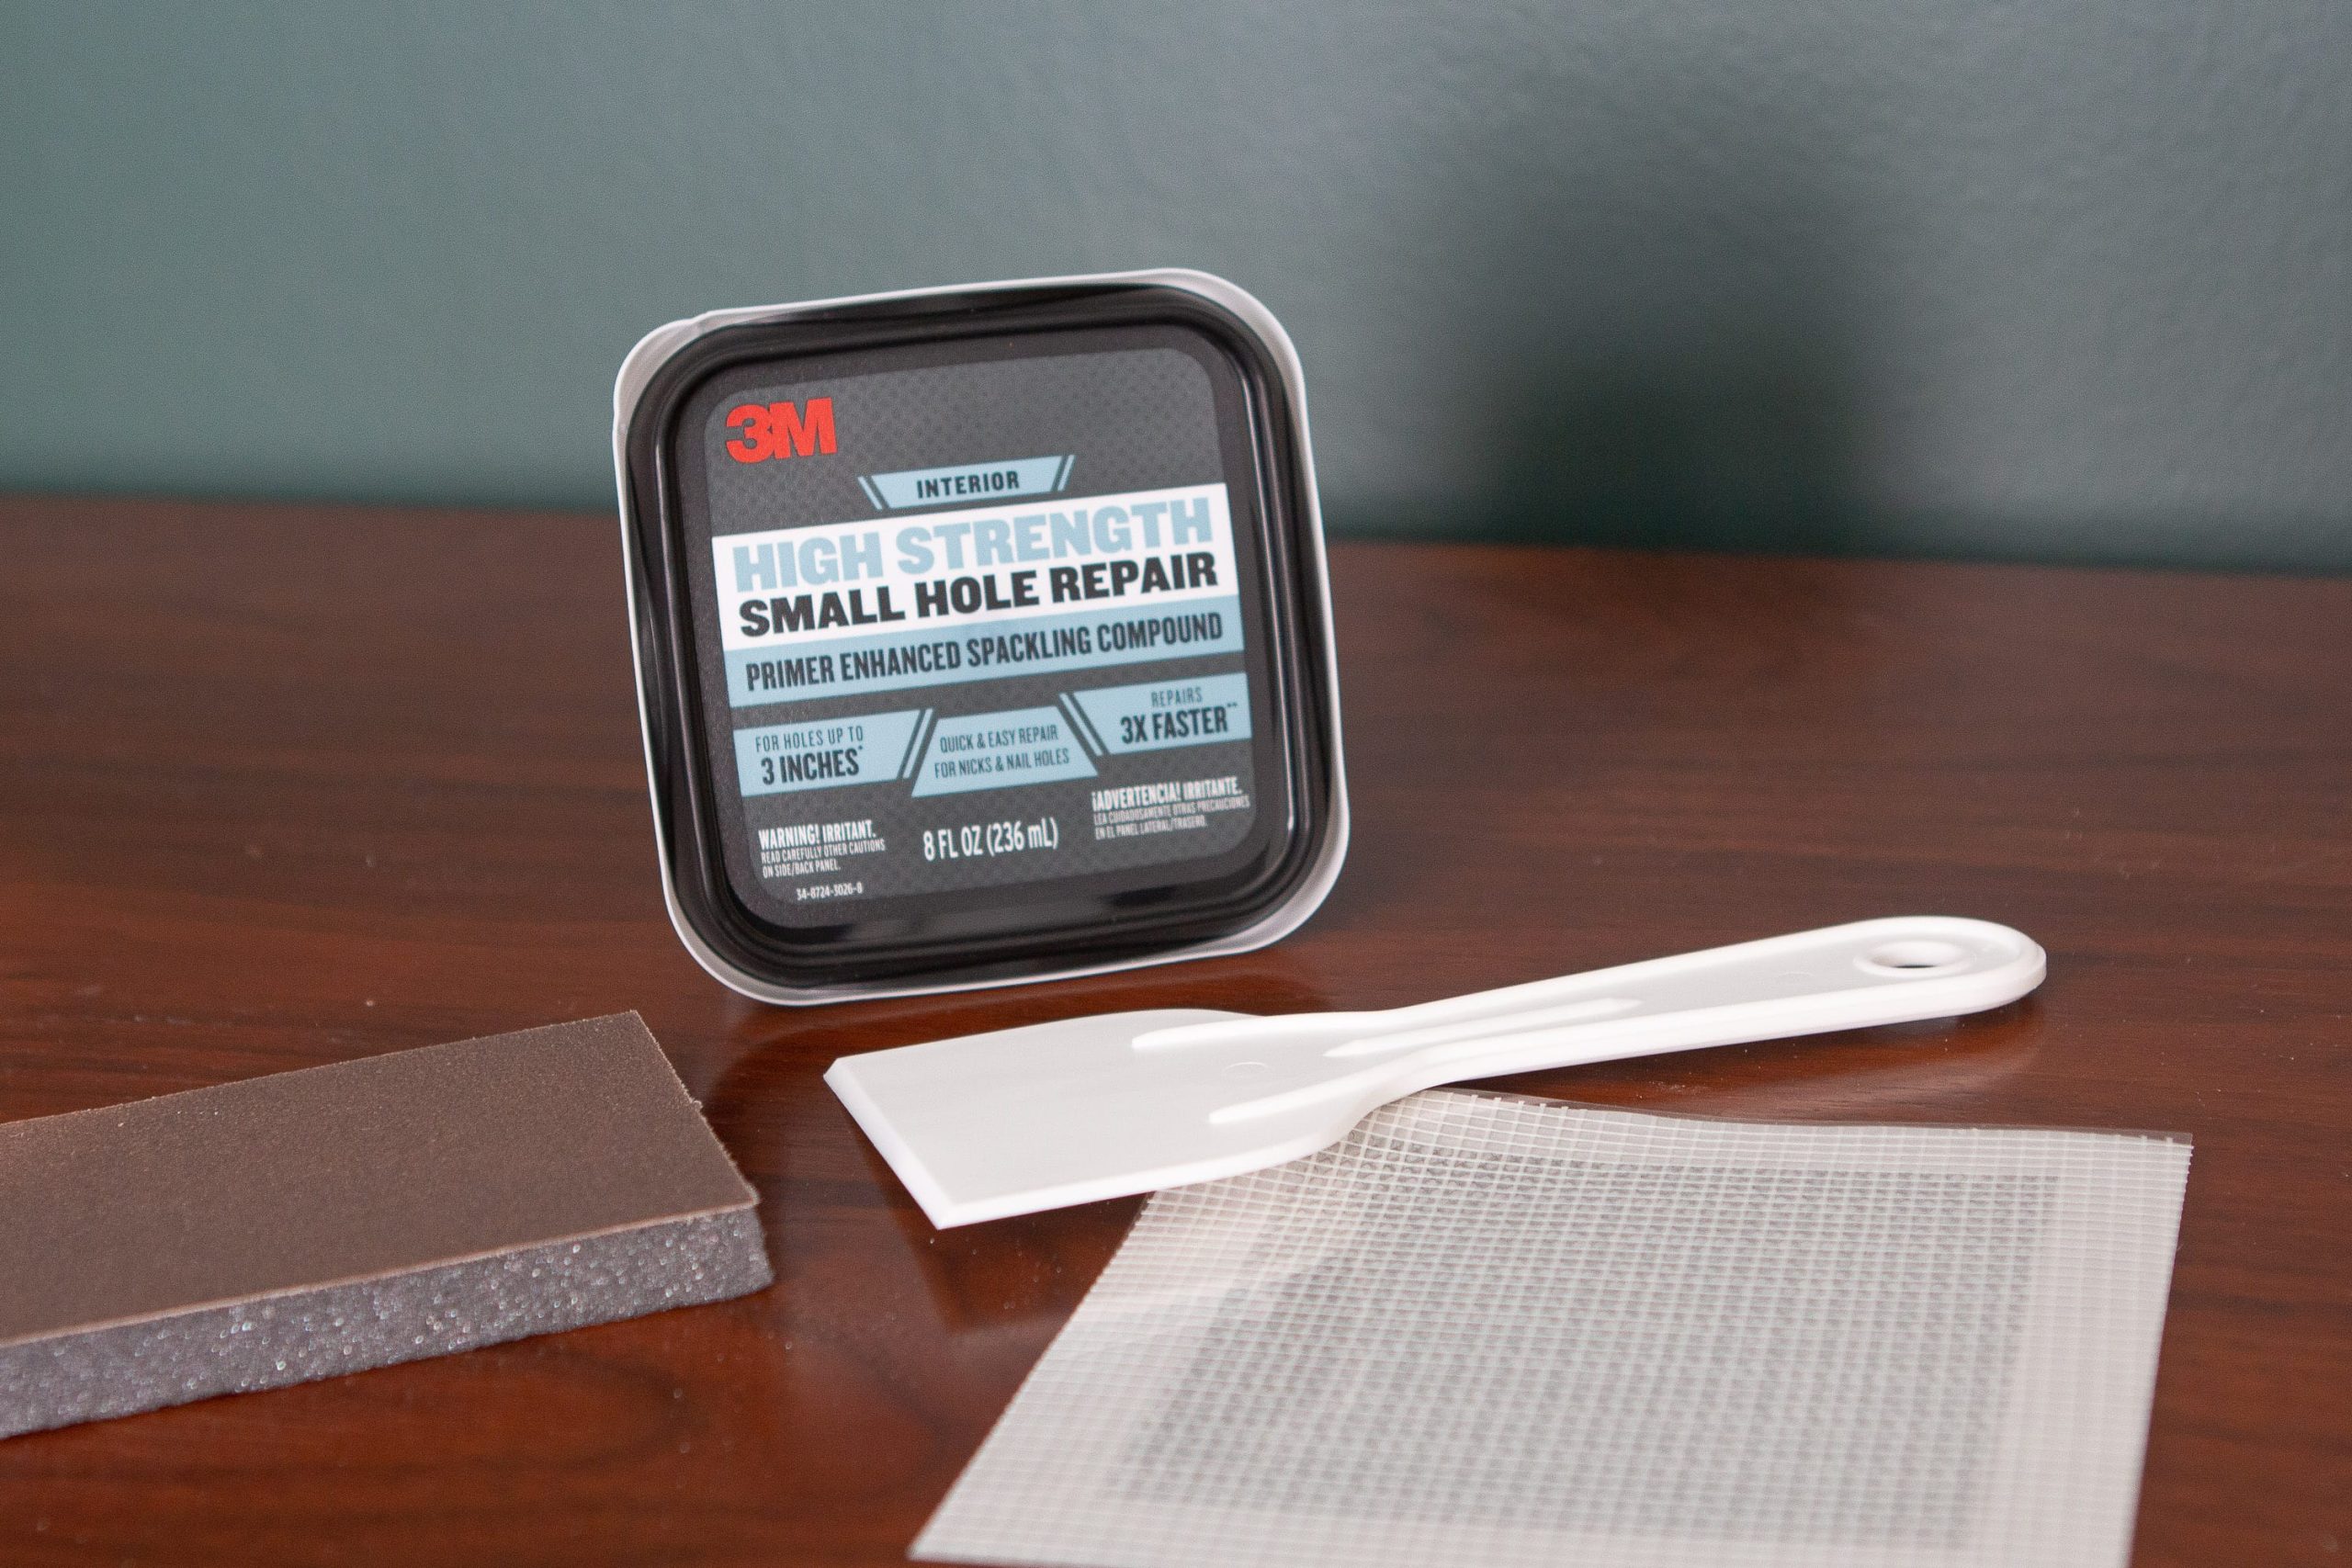
| Supplies needed: Small Hole Repair Kit All-in-One Applicator Tool Primer & Paint Supplies | Tools needed: Utility knife Flexible joint knife/Putty Knife Pliers Fine-grit sandpaper (120–150 grit) or Sanding Block Rags Dust mask |
How to Fix Small & Medium Holes in Drywall – Video
I know drywall repairs can seem intimidating, but once you see it in action, you’ll realize how easy it really is. In this short video, I break down exactly how to patch small and medium holes so your walls look brand new again.
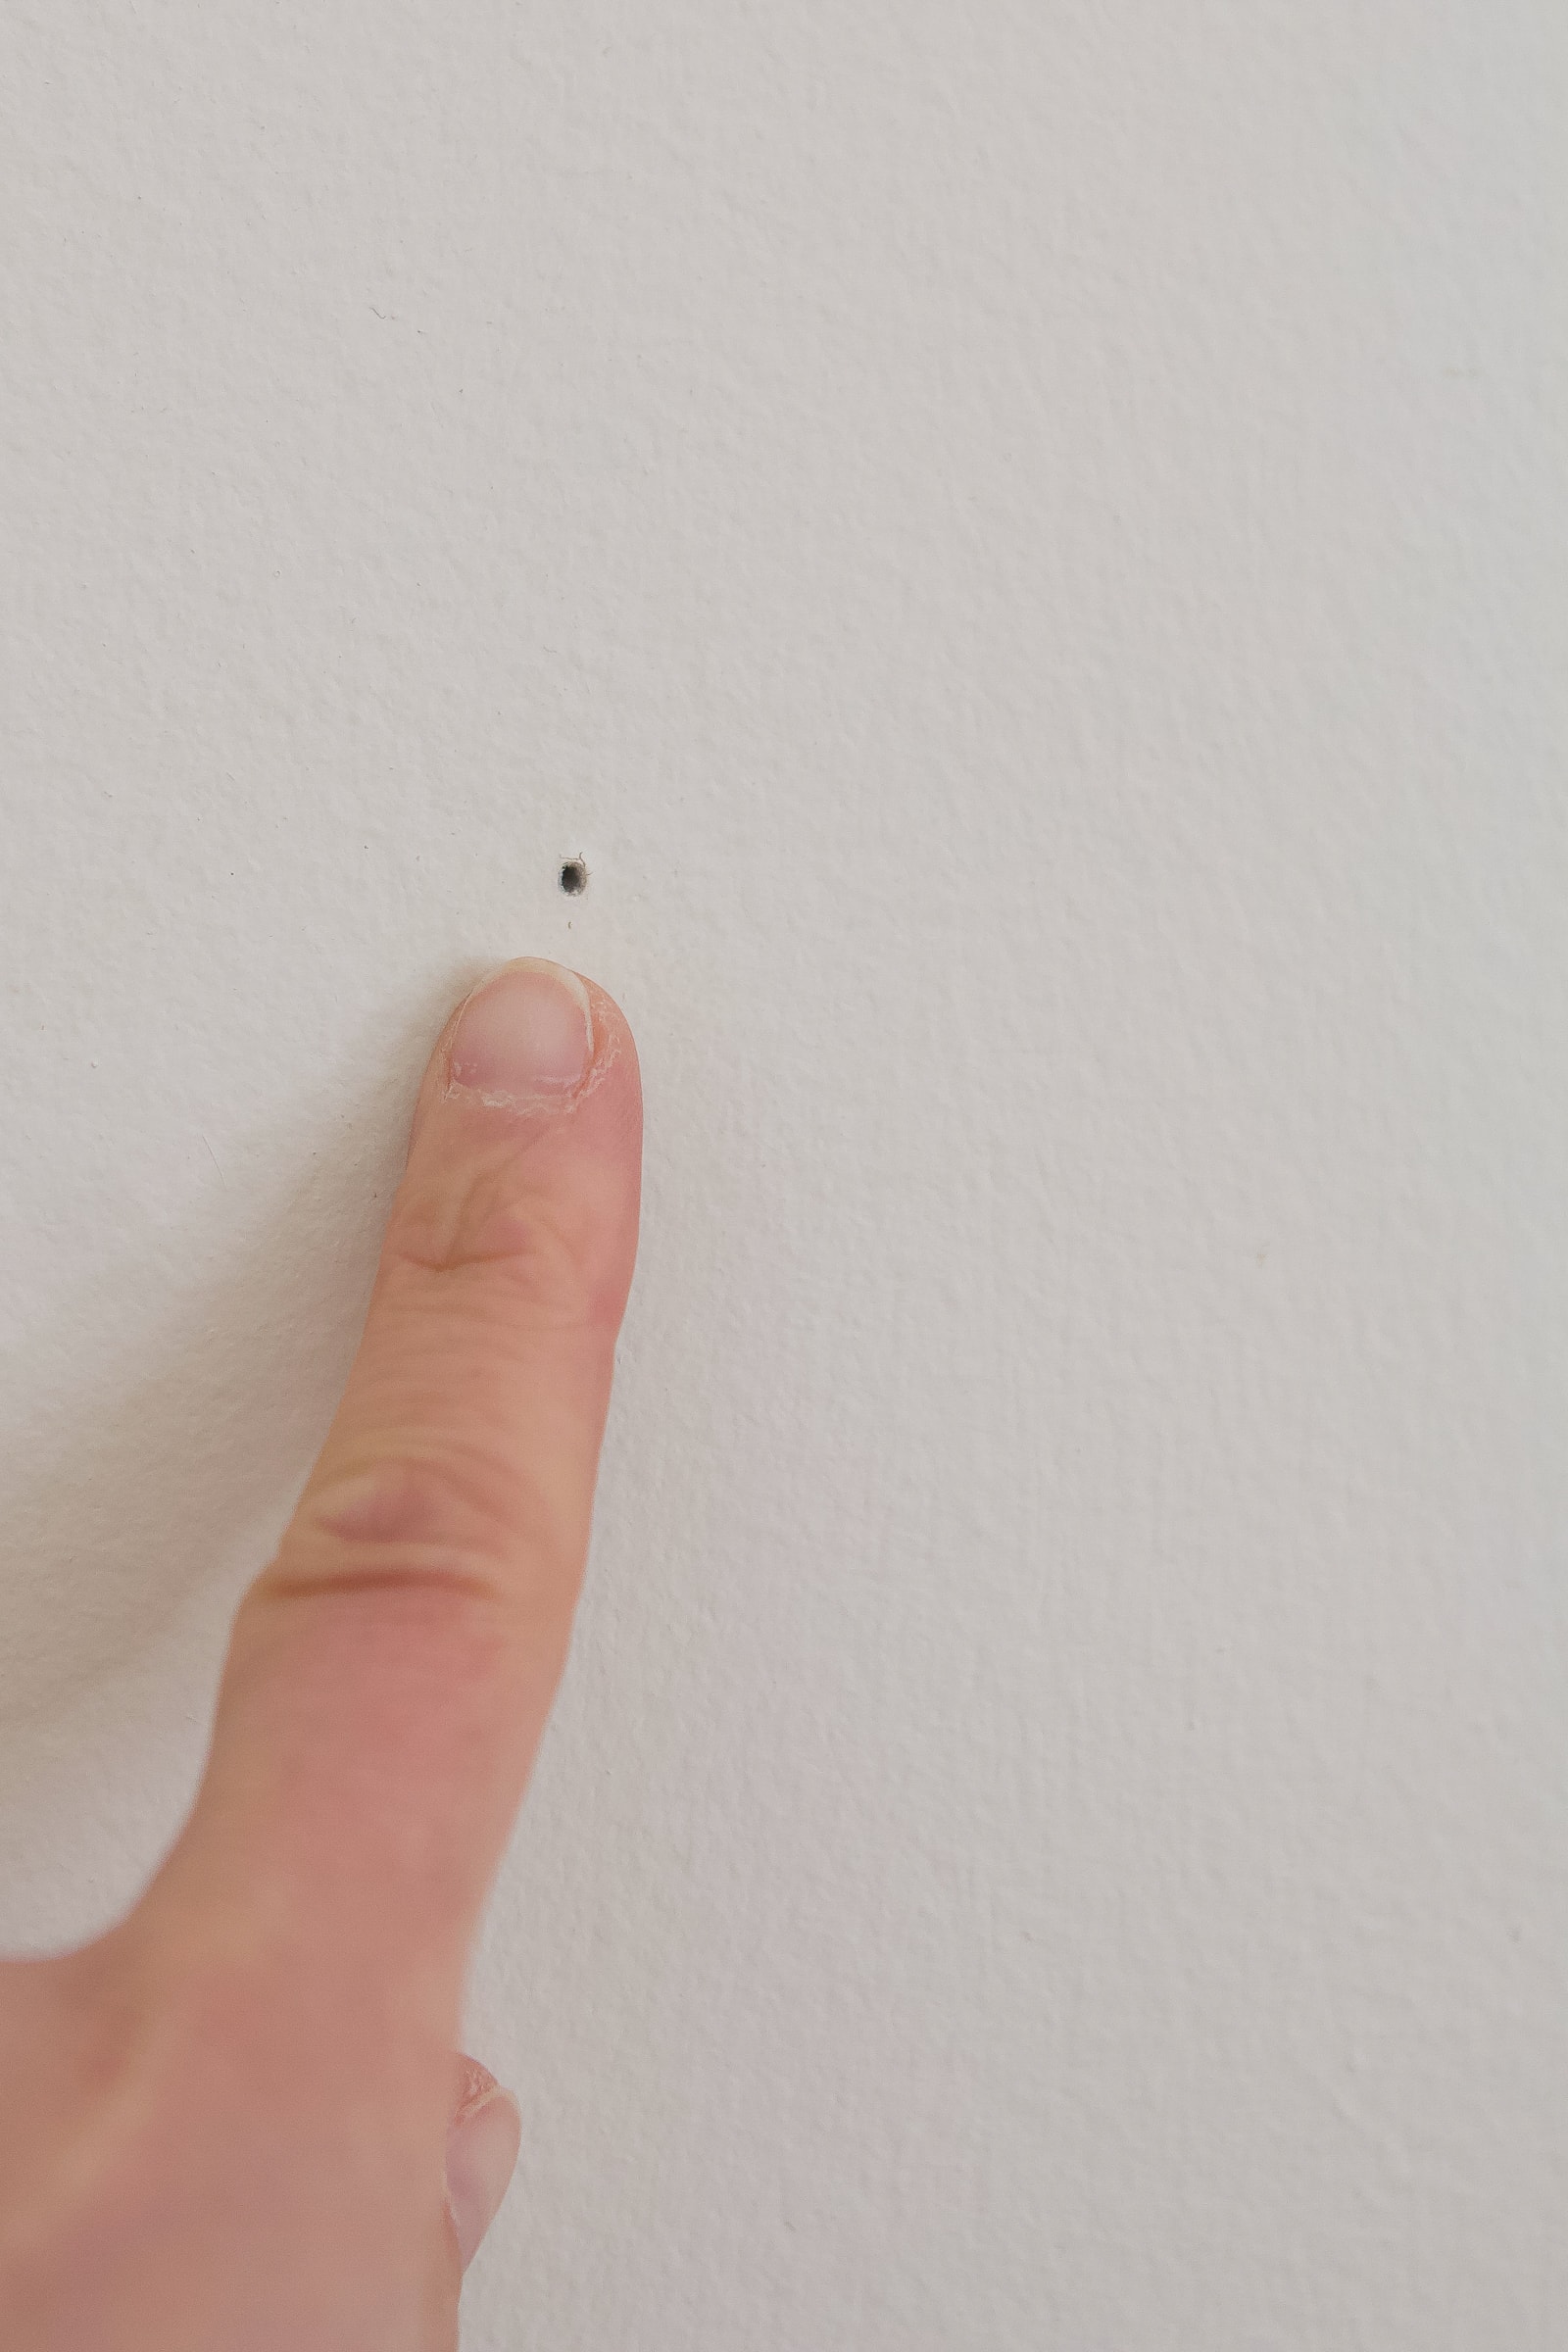
Small Holes (<1/2 inch): Step-by-Step Tutorial
For small drywall holes—anything under about ½ inch—you can fix them quickly with a simple repair kit and a little patience.
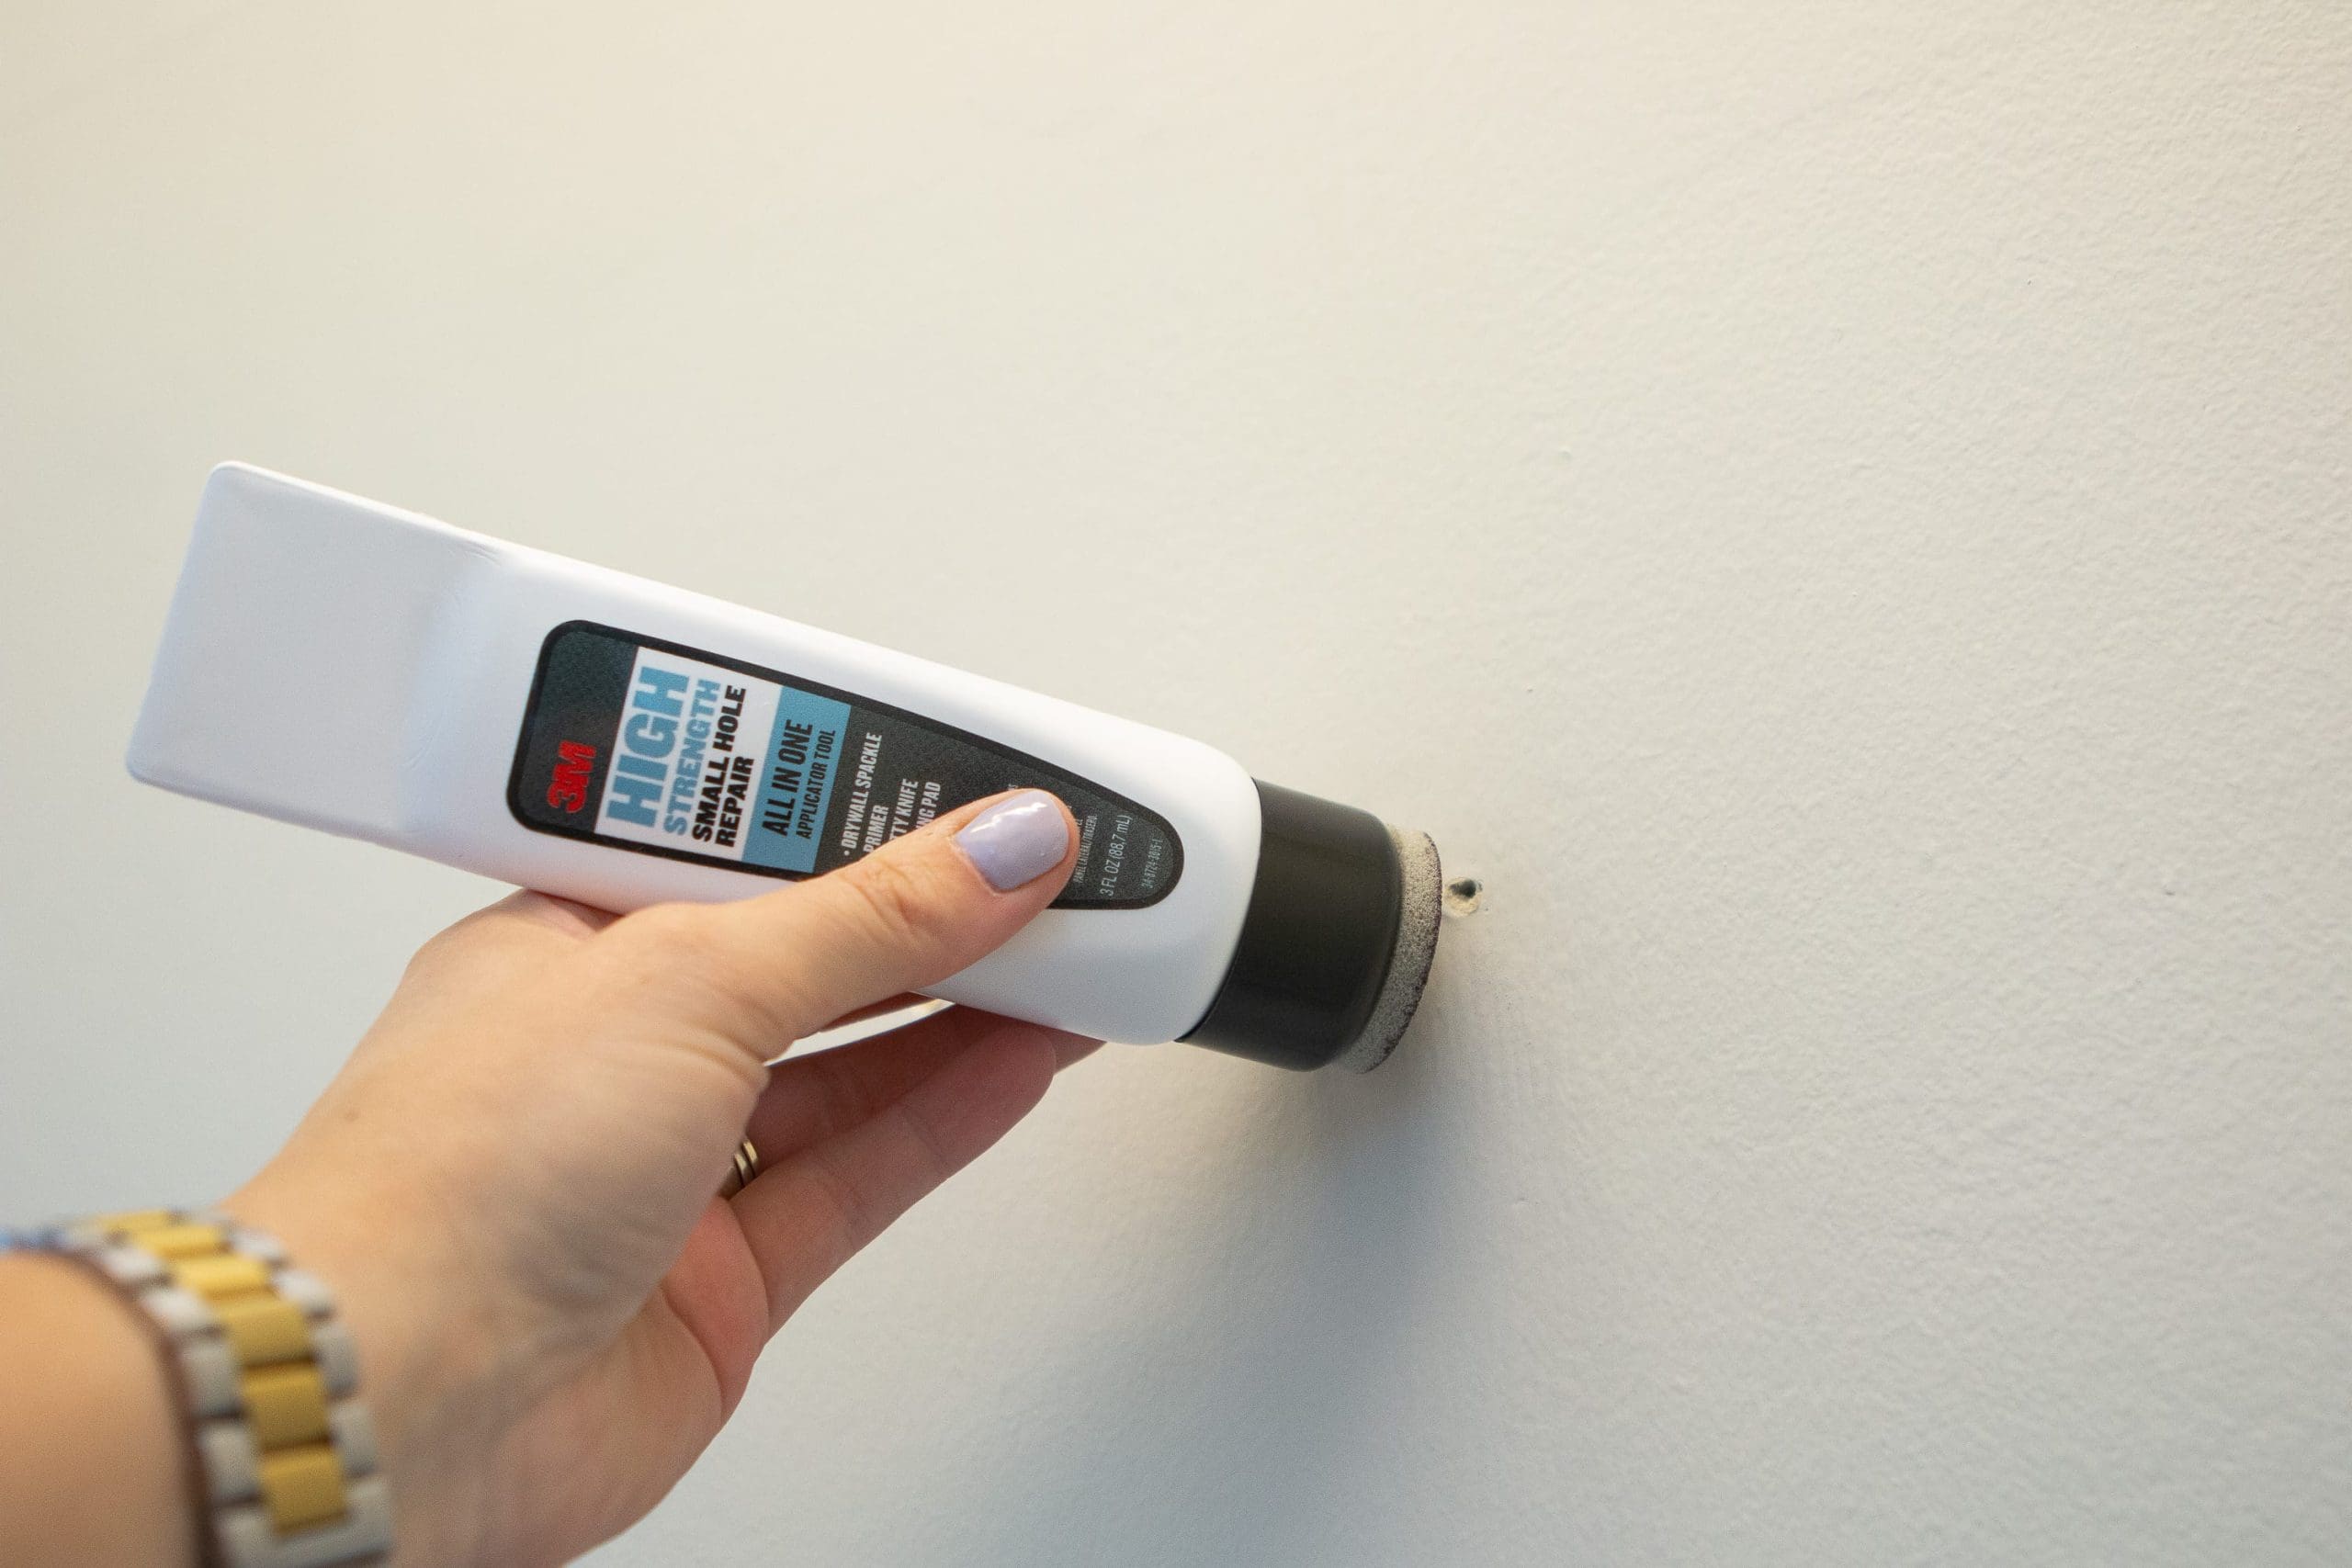
 For these, I used the 3M™ High Strength Small Hole Repair, All-in-One Applicator Tool. This little gadget is so convenient because it has everything you need all in one tool – a sanding pad, primer enhanced spackle, and a putty knife all in one.
It’s one of those tools I always keep in my toolbox because it makes small drywall repairs, nail holes, and tiny dents super easy. Whether you’re touching up a closet, hallway, or space where wall art used to hang, this method gives you a smooth finish with minimal mess.
Step 1: Prep the Area
Start by lightly sanding the surface of the drywall around the hole using fine-grit sandpaper (120–150 grit) or the pad on the applicator tool. This removes rough edges and helps the spackle adhere to the surrounding wall. Wipe away any dust with a rag before applying the compound.
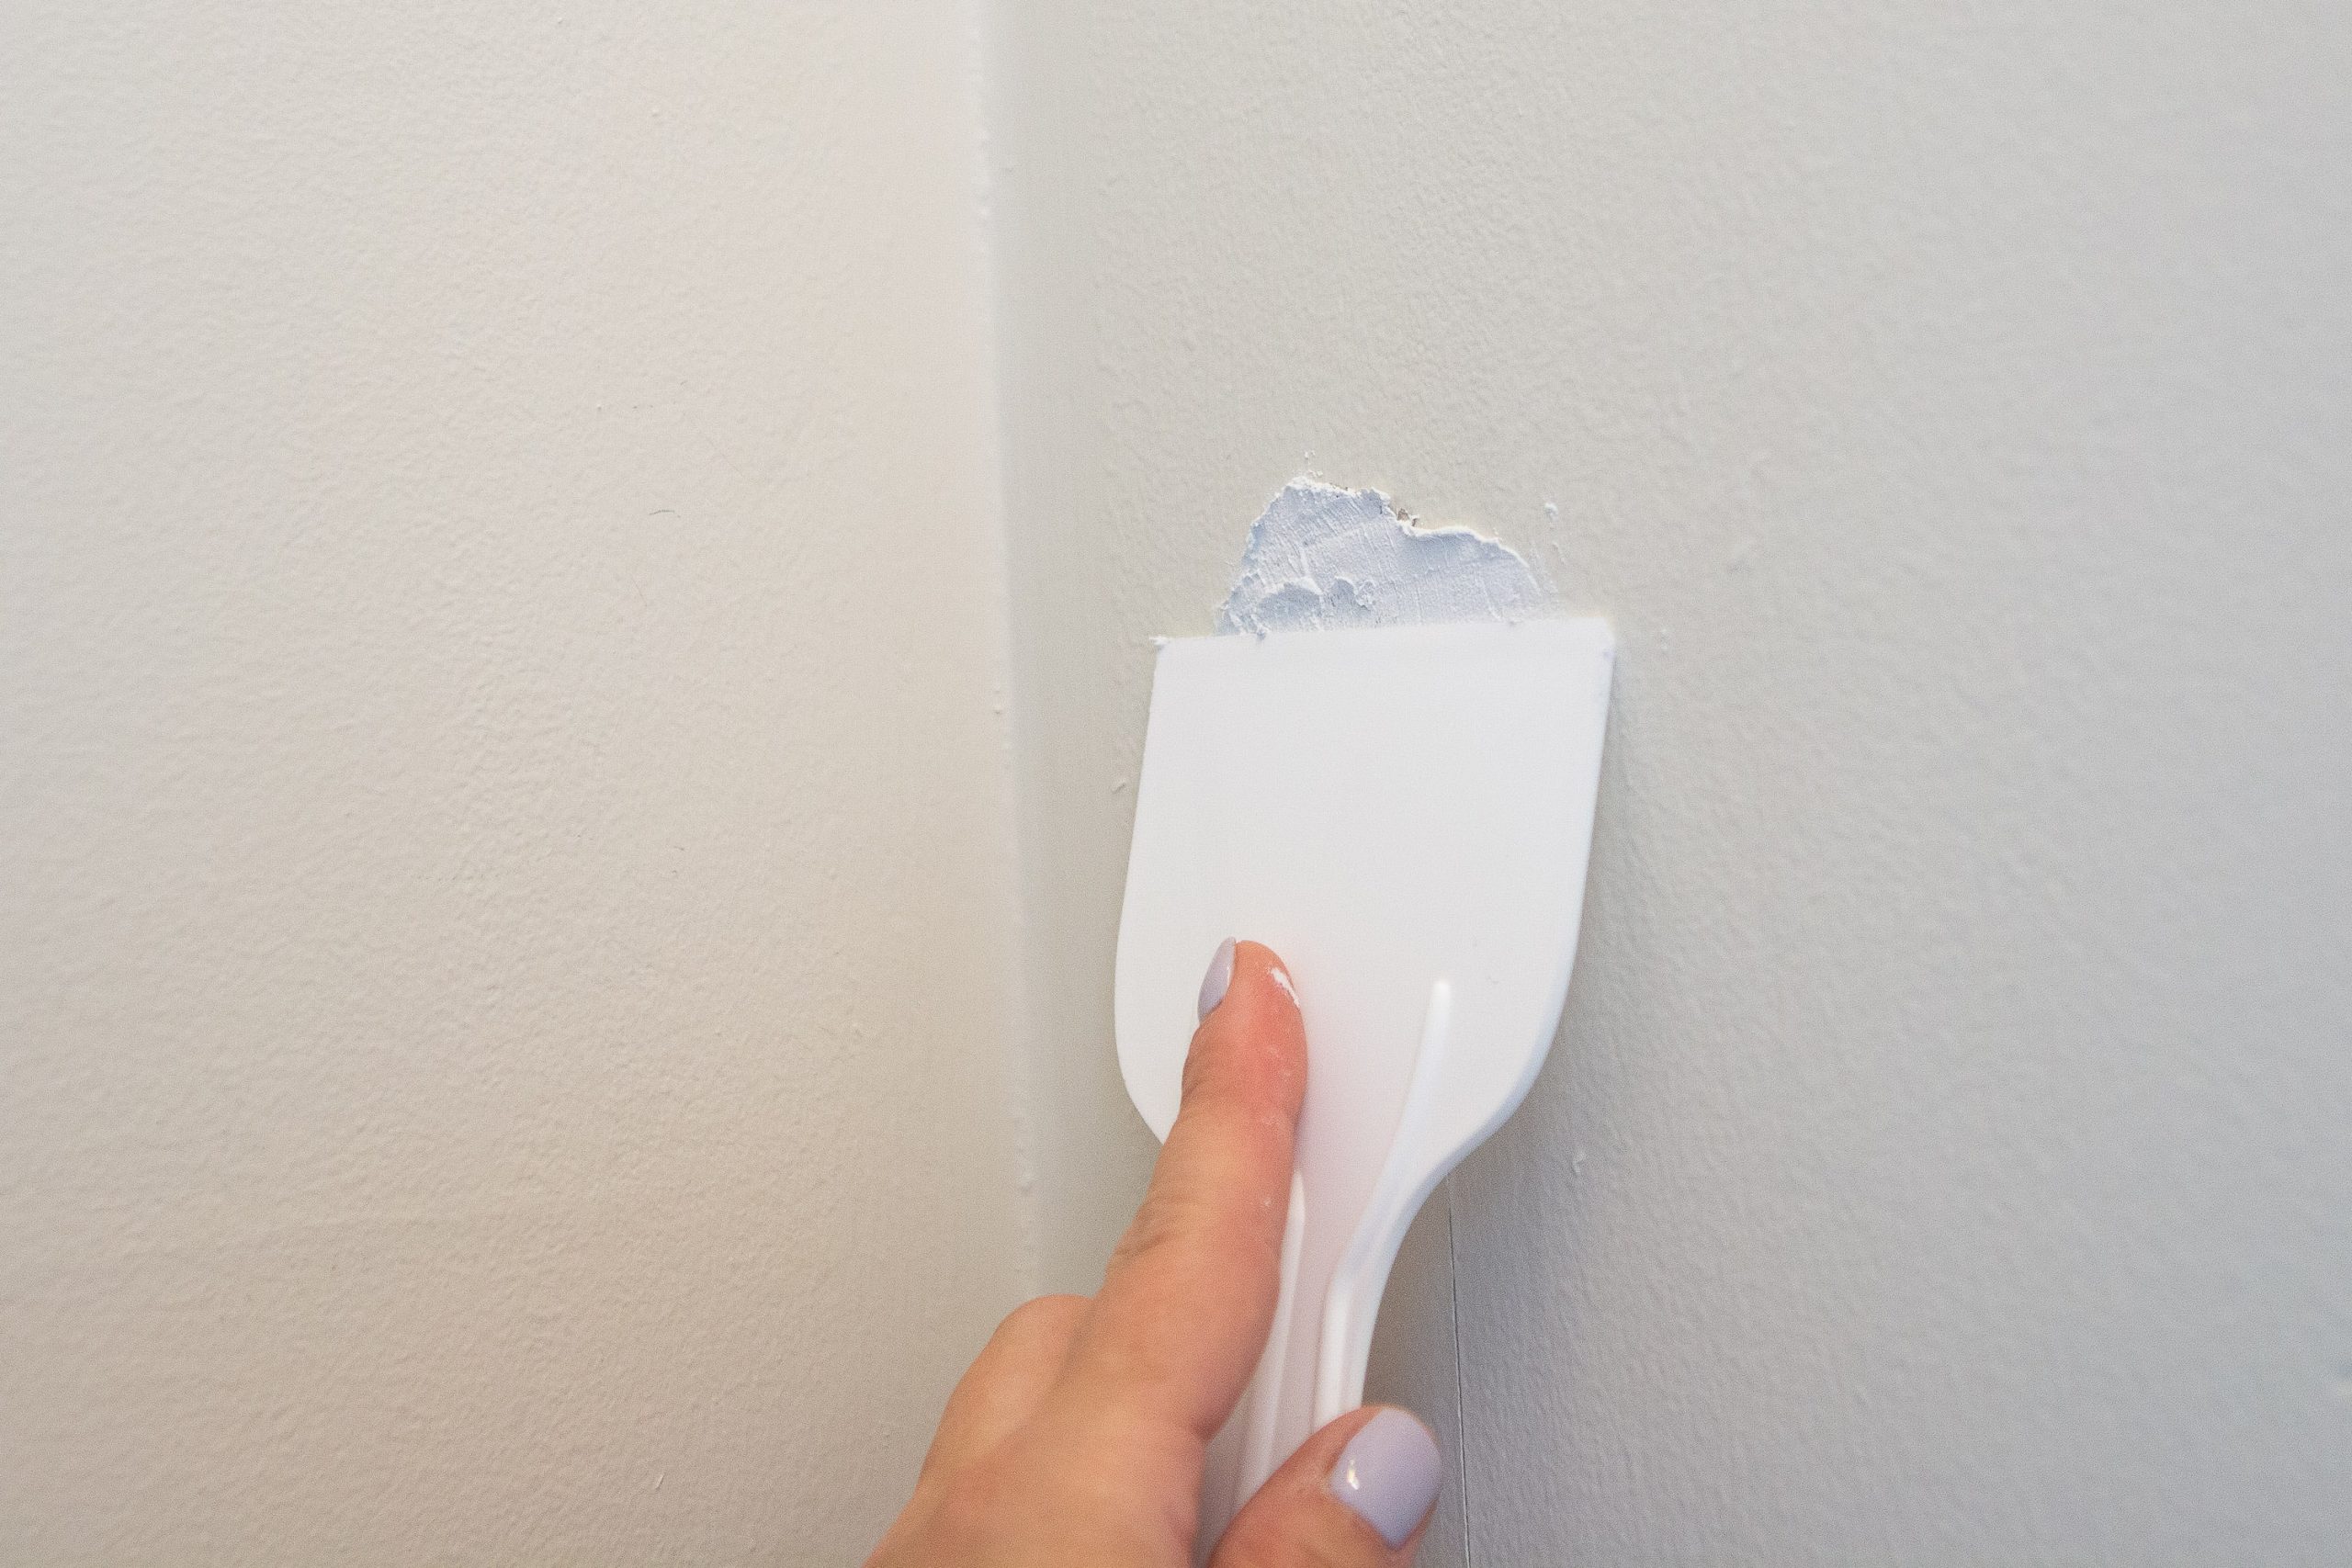
Step 2: Fill the Hole
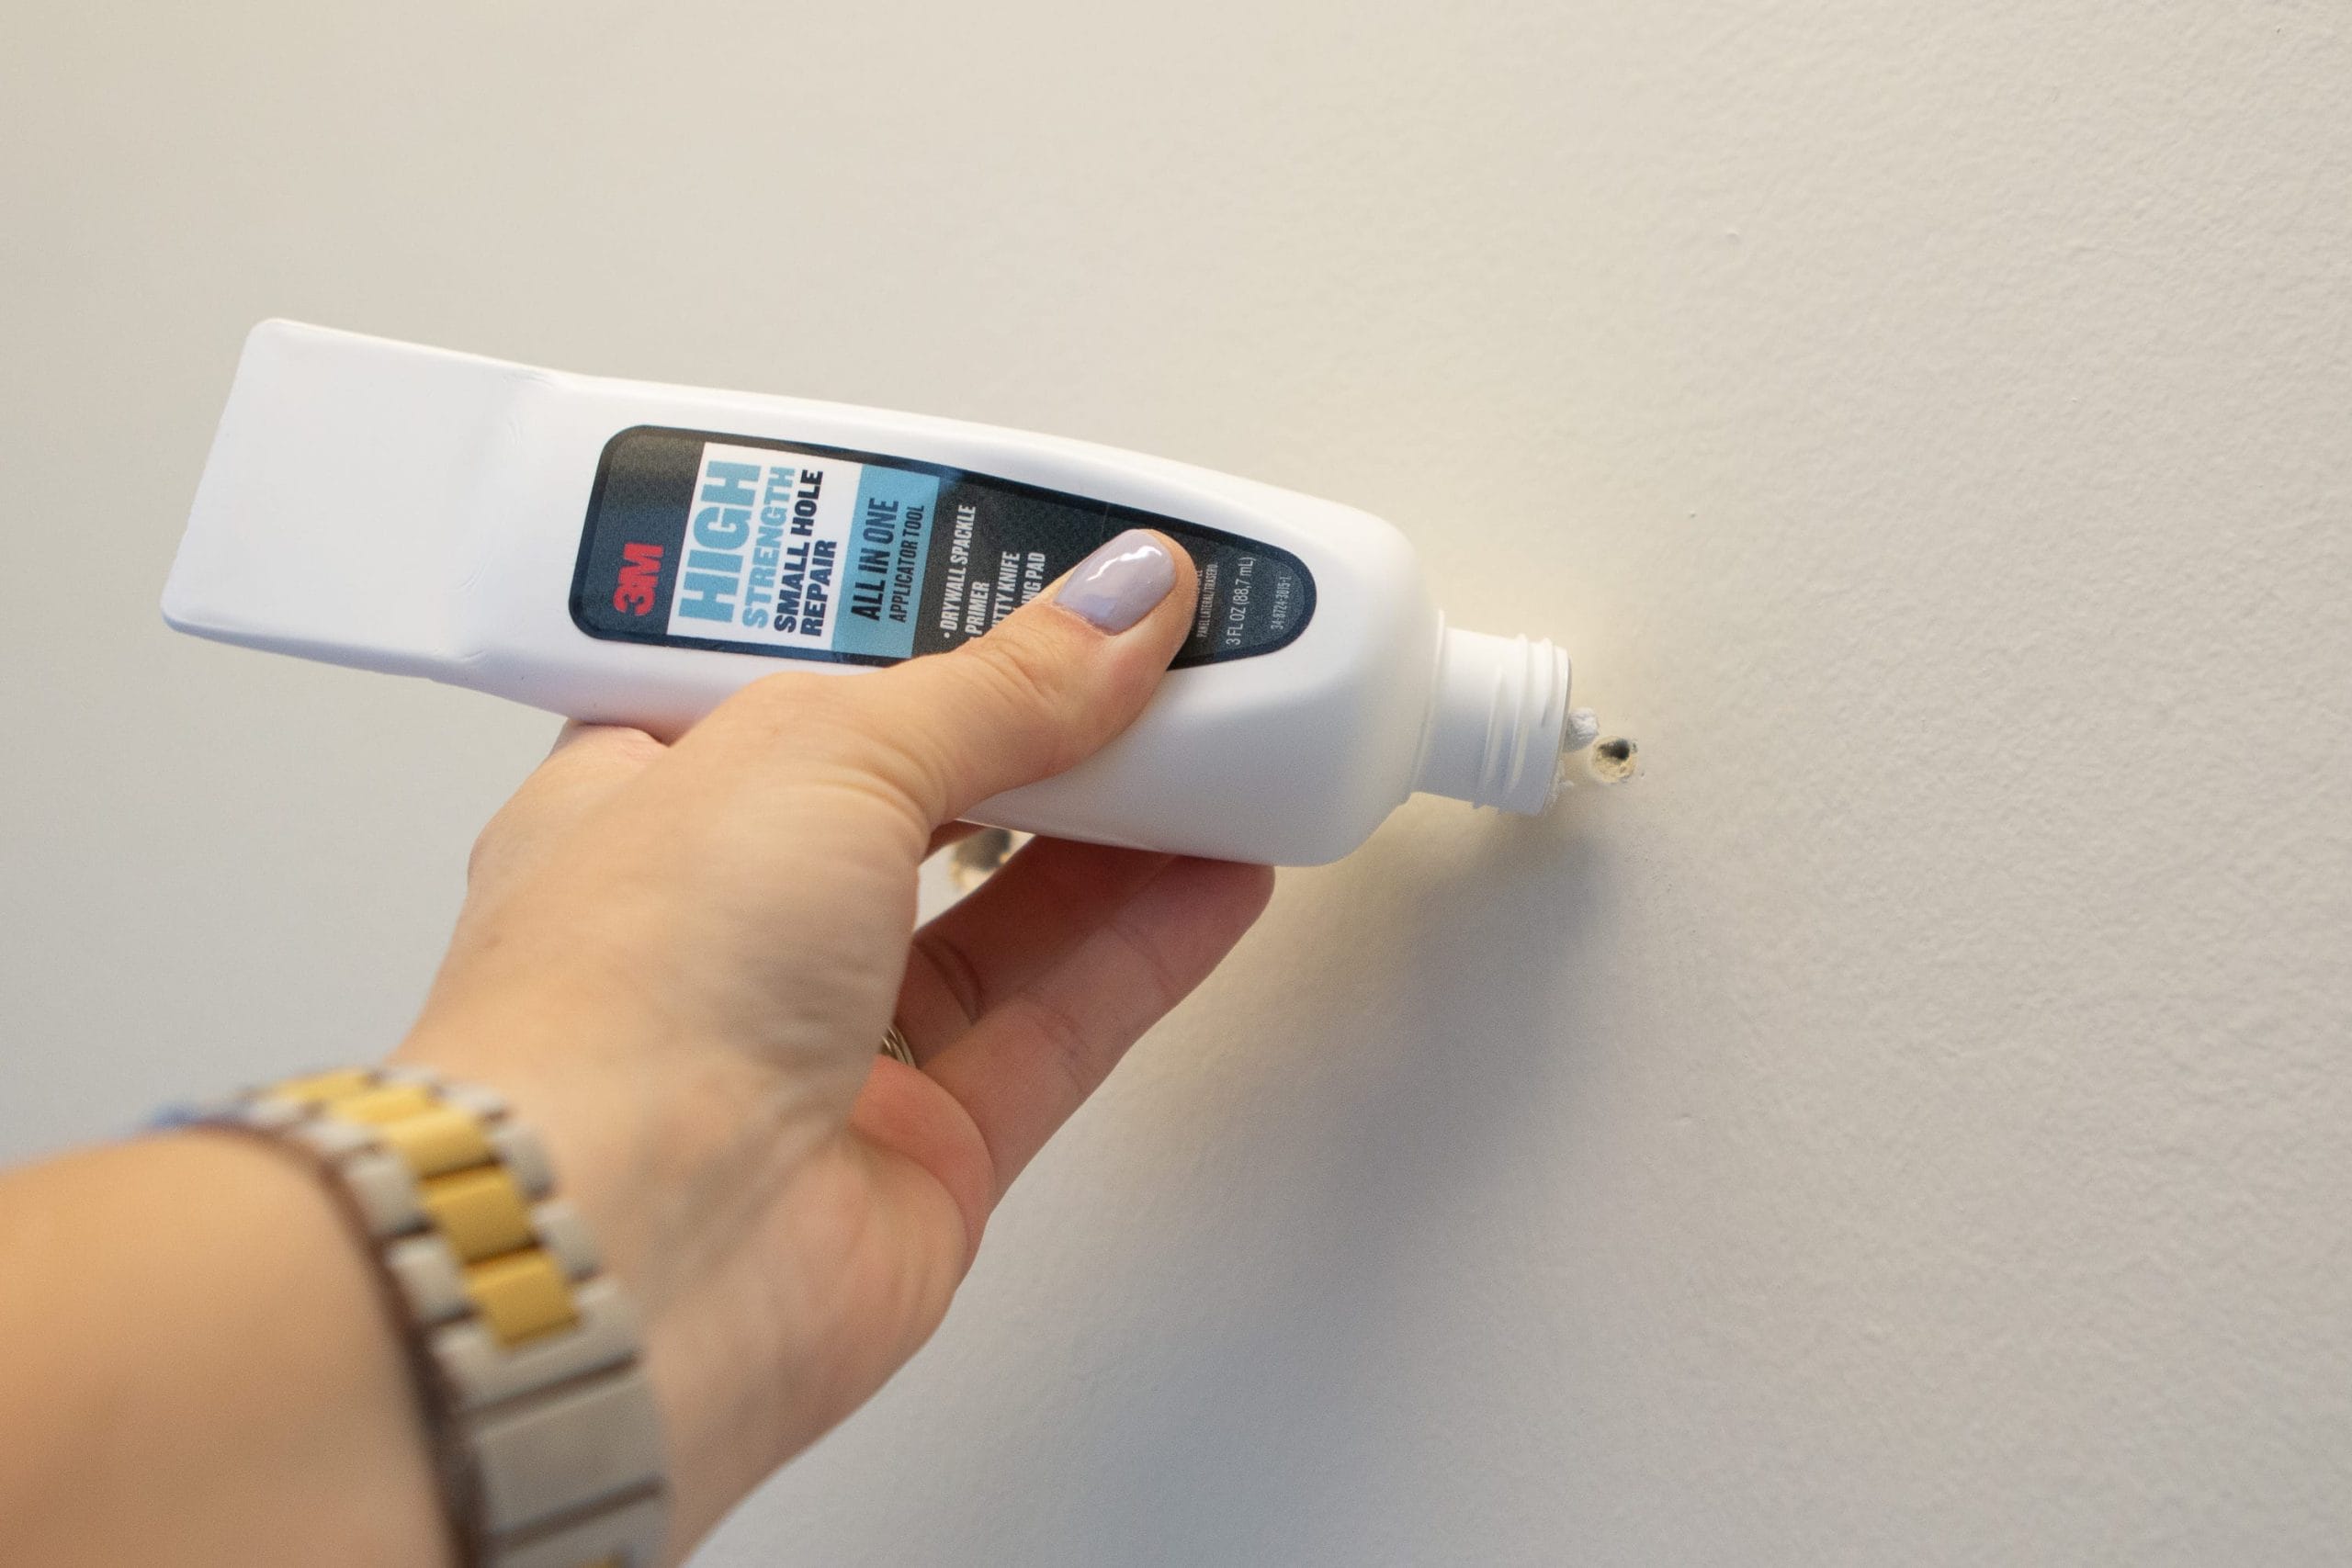
Apply a small amount of spackling compound directly into the hole, using the built-in putty knife or a flexible joint knife. Spread it evenly across the area in a thin layer, feathering the edges so the compound blends smoothly into the existing drywall. The goal is a flat, even surface with no high spots.
Step 3: Let Dry & Sand

Allow the compound to dry fully. It takes about 30 to 60 minutes, depending on humidity and the size of the repair. If you’re unsure, gently touch the area; it should feel dry and firm, not cool or tacky.
Once dry, sand the patched area with a sanding block or the pad included in the kit. Use gentle, circular motions to avoid oversanding and exposing the drywall paper underneath. If you notice small imperfections, apply a second thin coat of compound, let it dry, and sand again for a smooth transition between the patched area and the surrounding wall.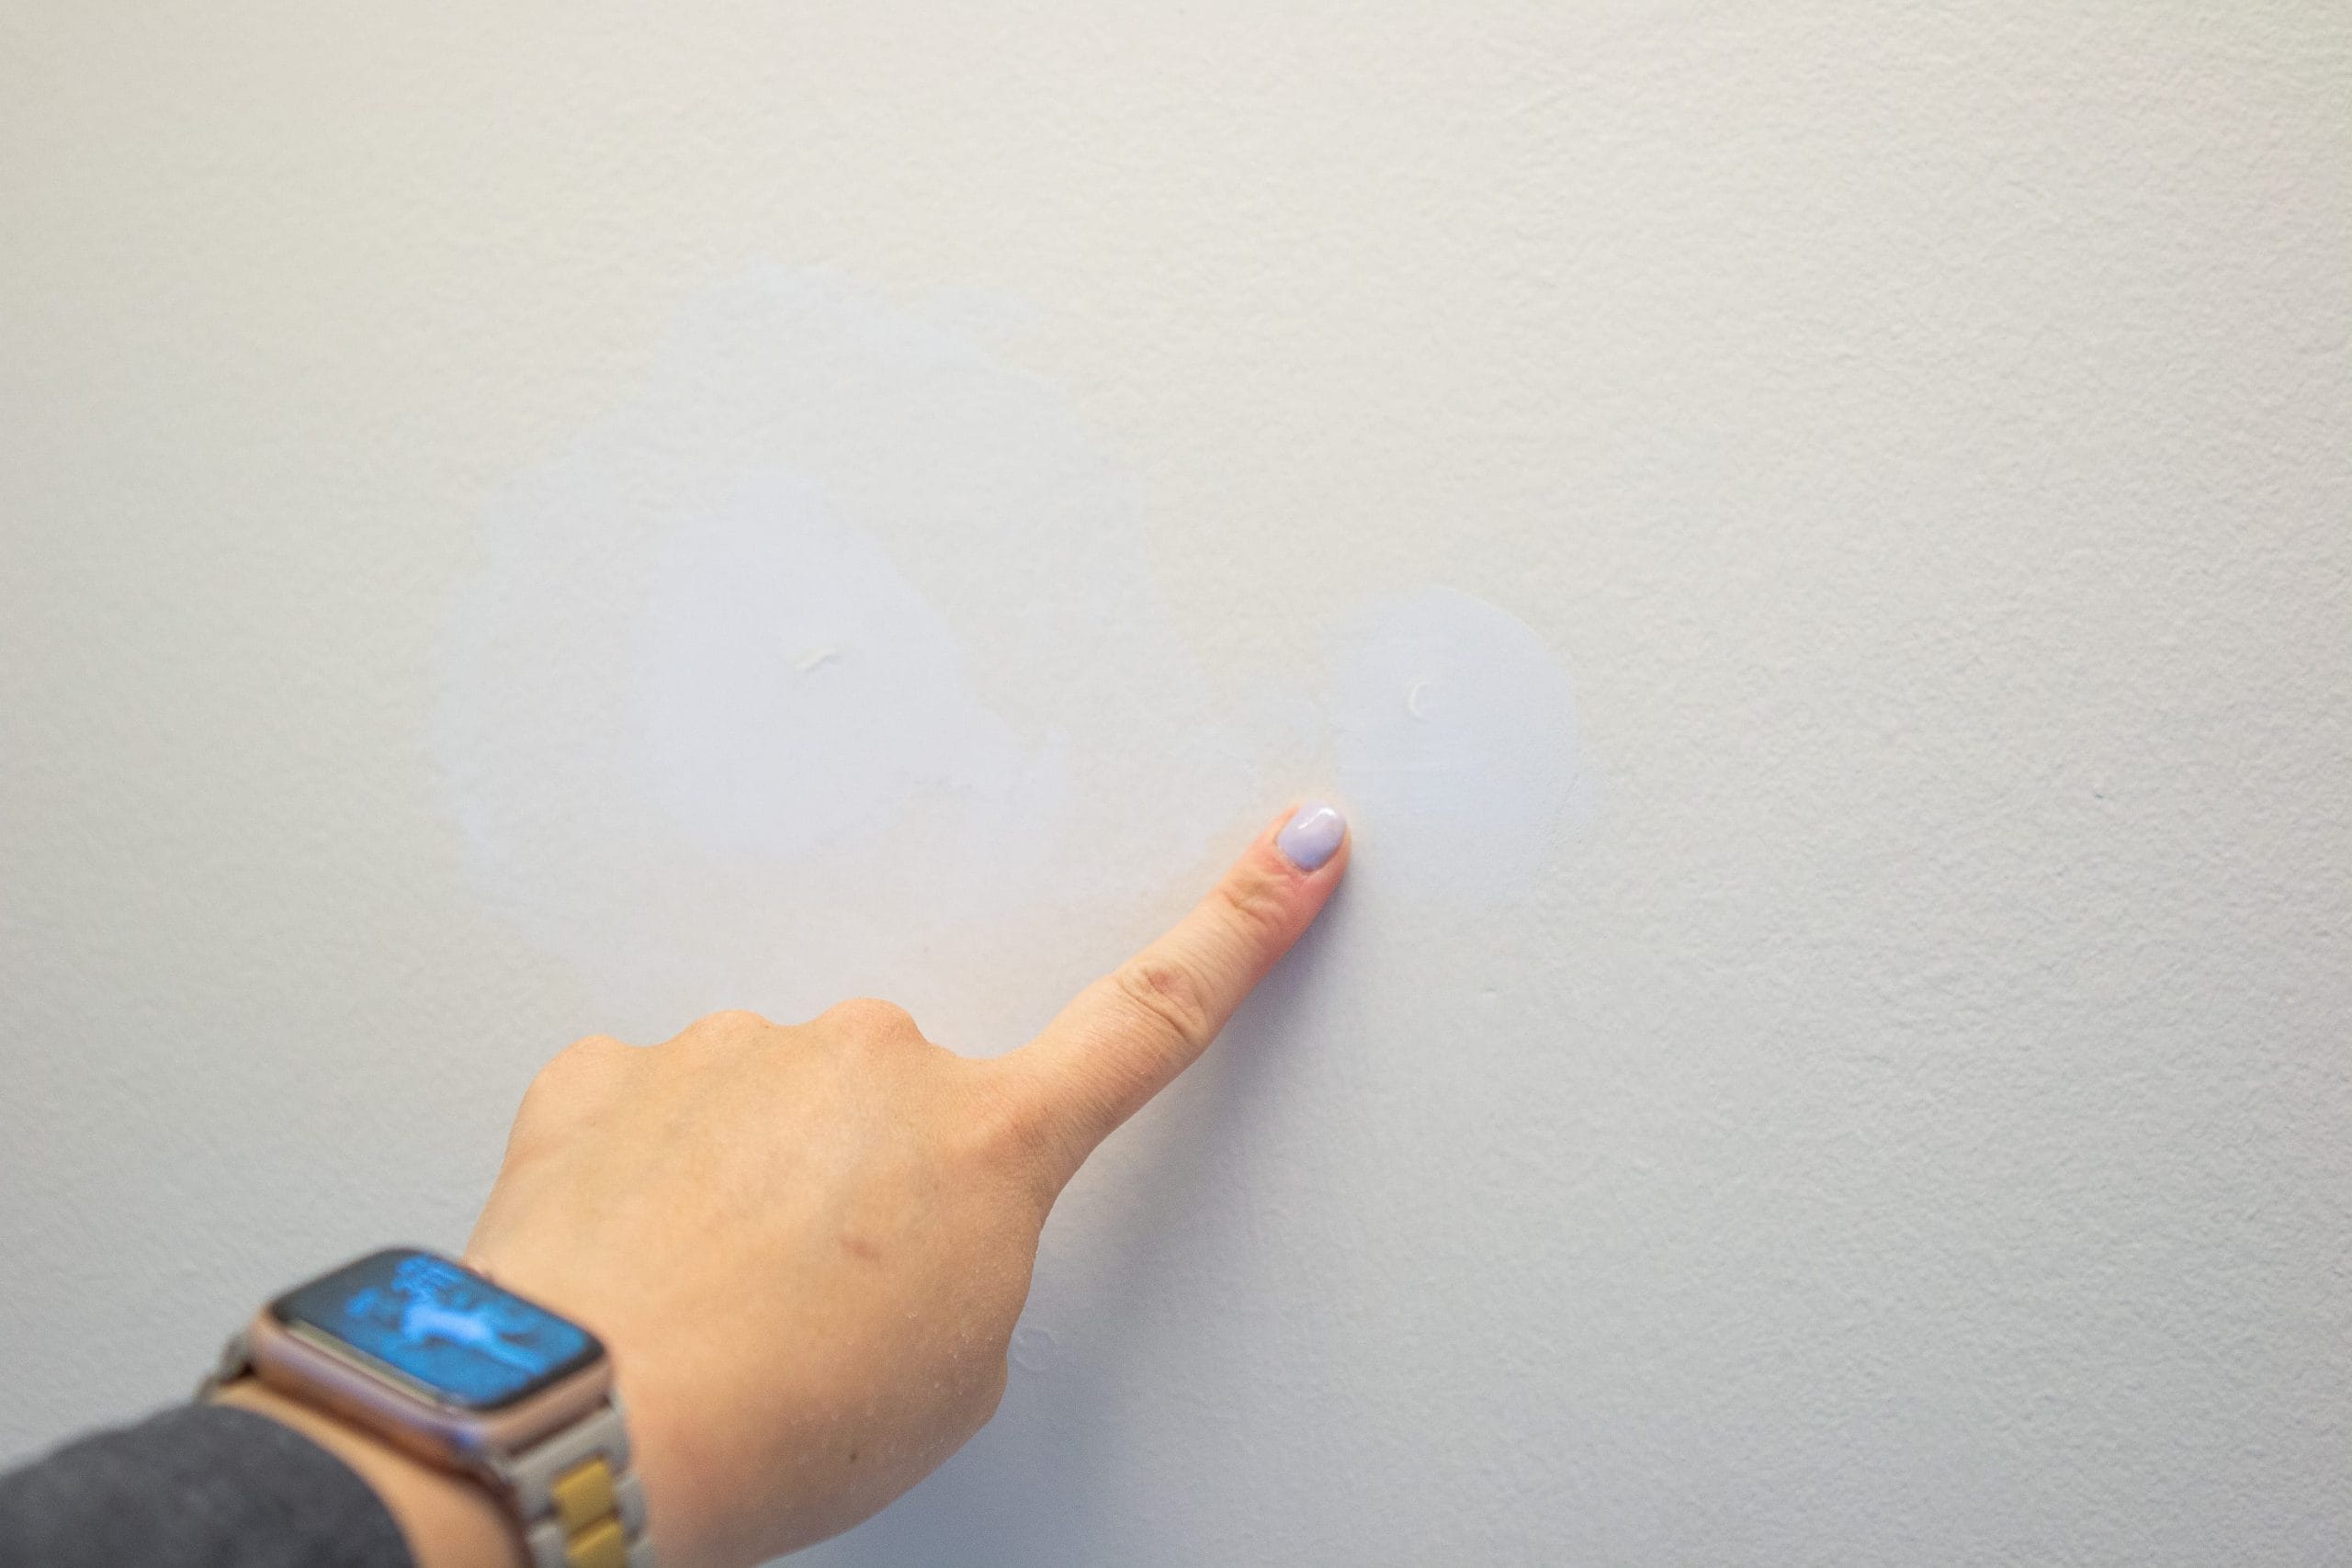
That’s it! The hole should completely disappear once you prime and paint! It’s a relatively easy DIY project that takes less than an hour from start to finish and leaves your walls looking as good as new.
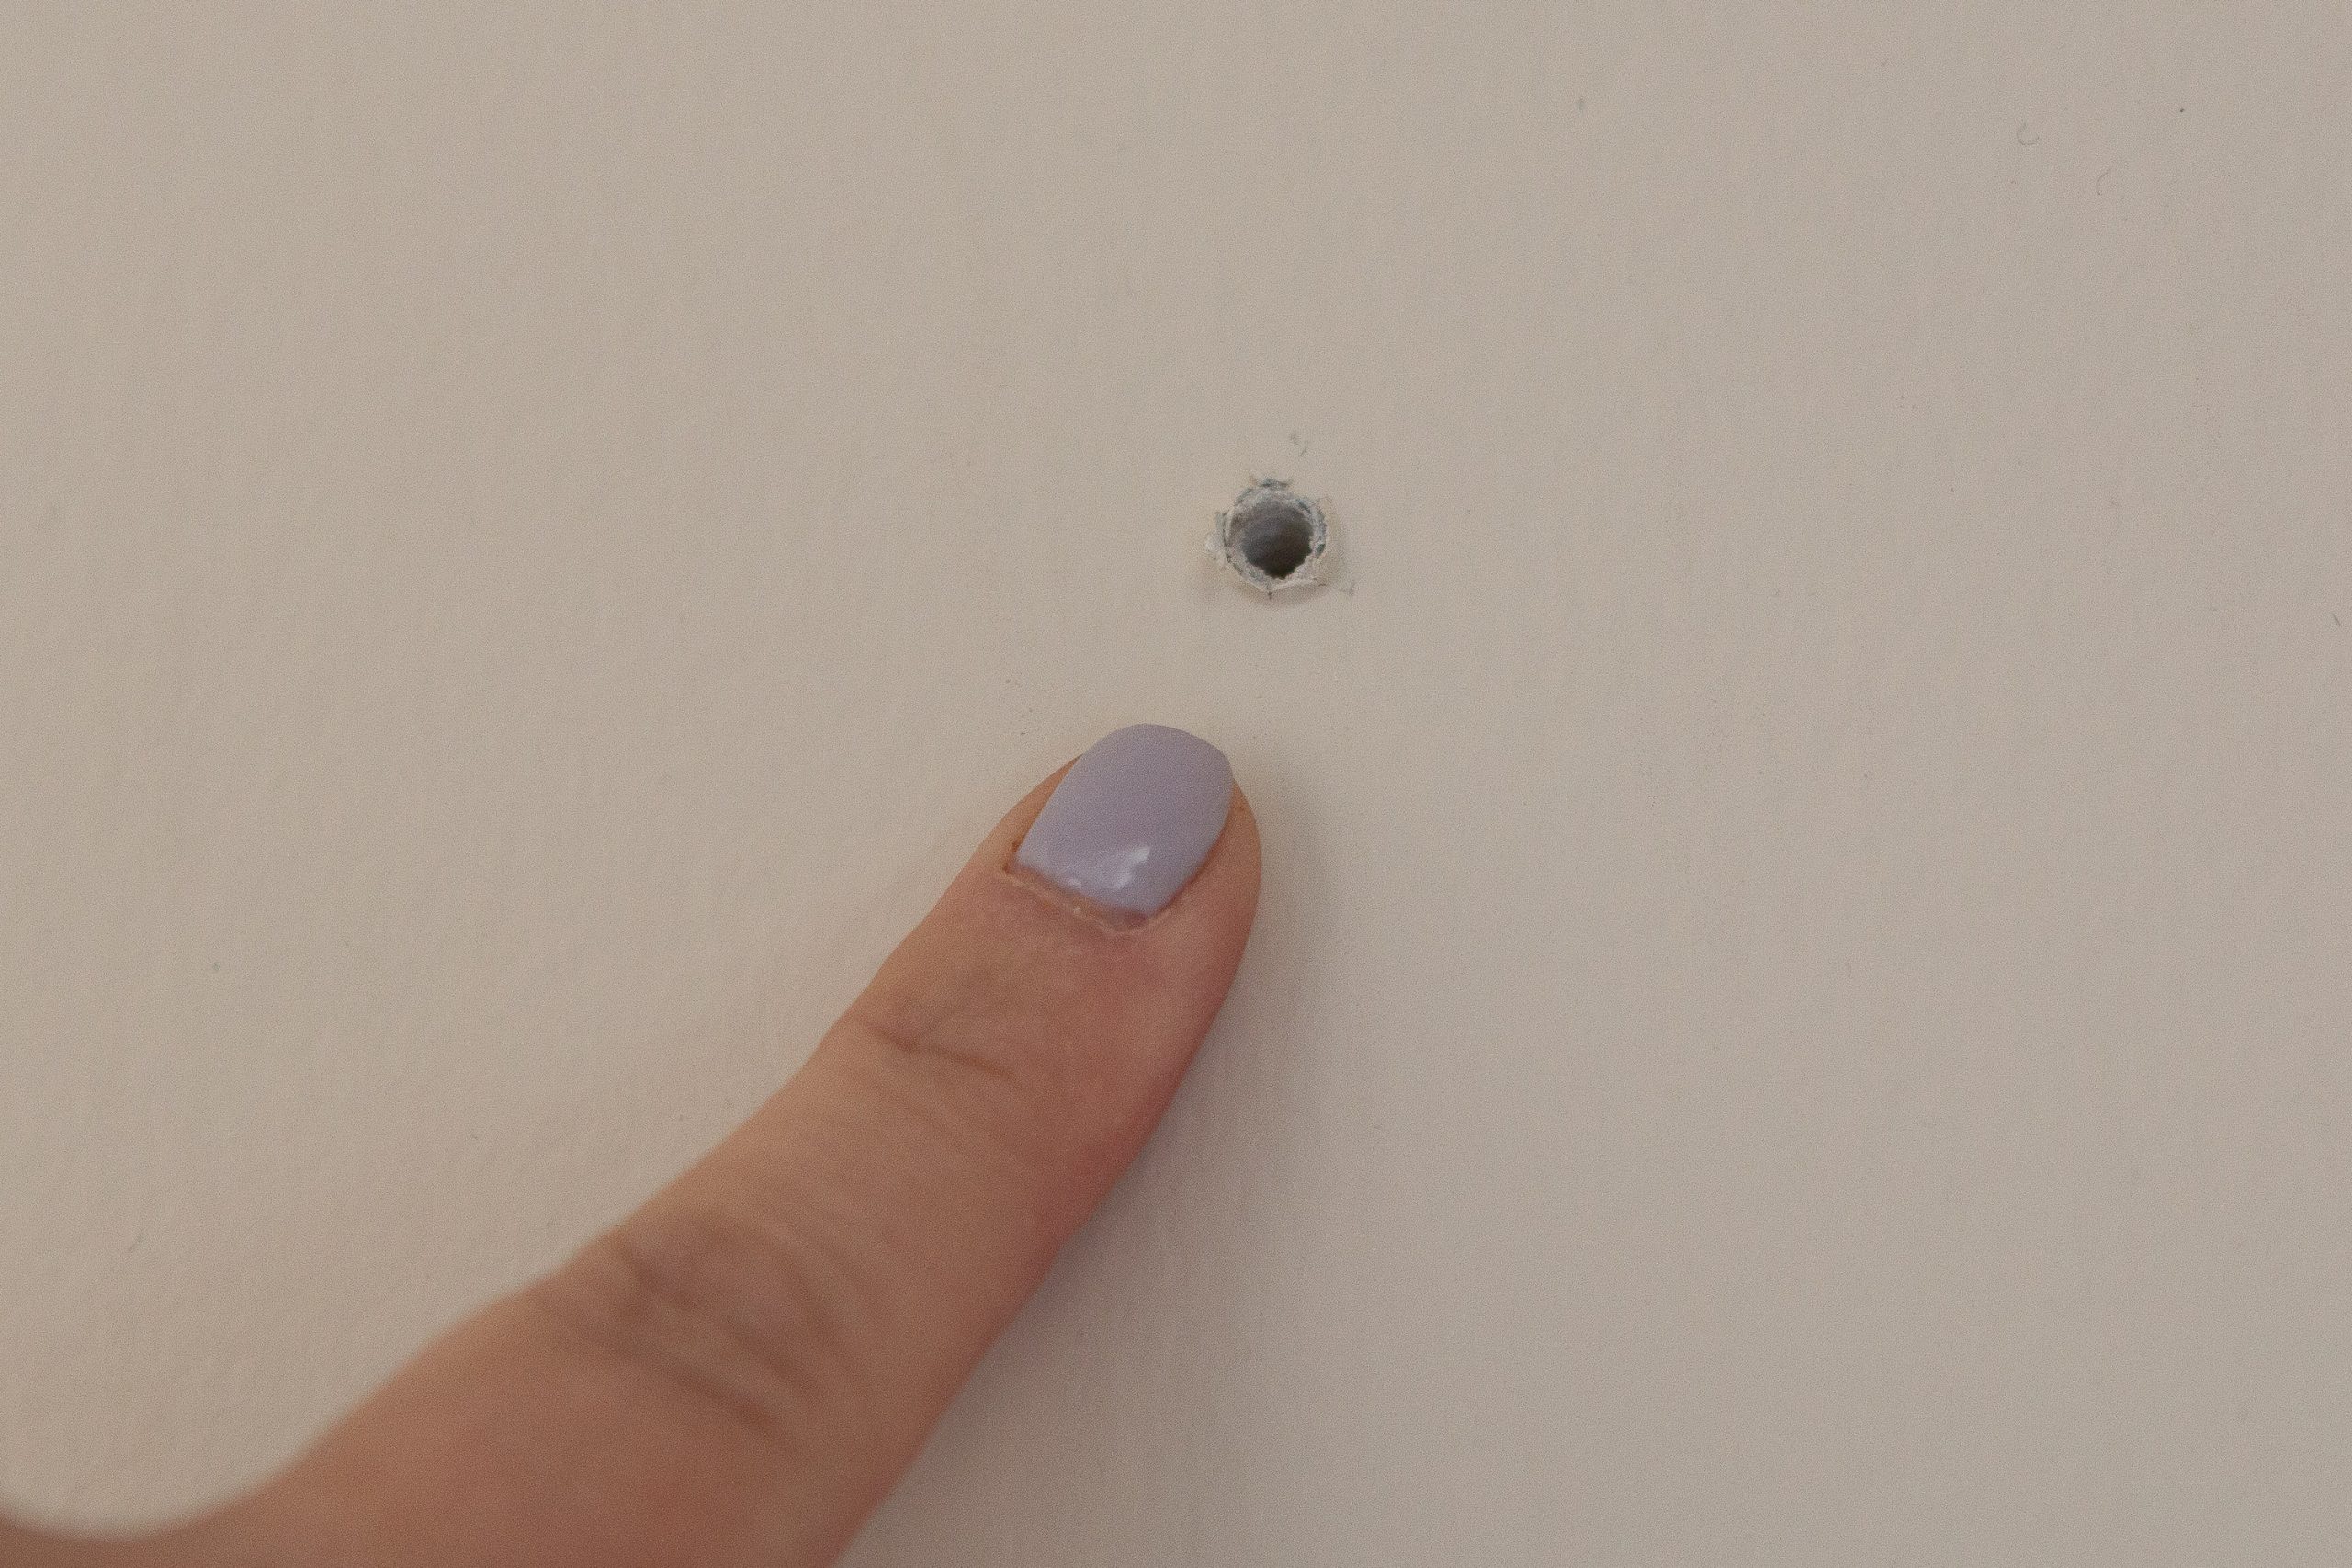
Medium Holes (½–3 inches): Step-by-Step Tutorial
For drywall holes larger than ½ inch, but smaller than 3 inches, you’ll want to use a drywall patch kit. In my case, I used this Small Hole Repair Kit, which includes everything you need for a repair like this: a putty knife, primer-enhanced spackle, a 4-inch self-adhesive mesh patch, and a sanding sponge.
This type of repair works best for medium-sized holes left behind by wall anchors, shelves, or light fixtures. The self-adhesive mesh patch helps reinforce the damaged area and gives the lightweight joint compound something to grip onto for a long-lasting repair.
Step 1: Sand and Wipe the Surface

Start by lightly sanding around the edges of the hole to remove any loose drywall or paint. Then wipe away the dust with a rag so the patch can adhere cleanly to the wall.
Step 2: Cut Patch to Size & Attach
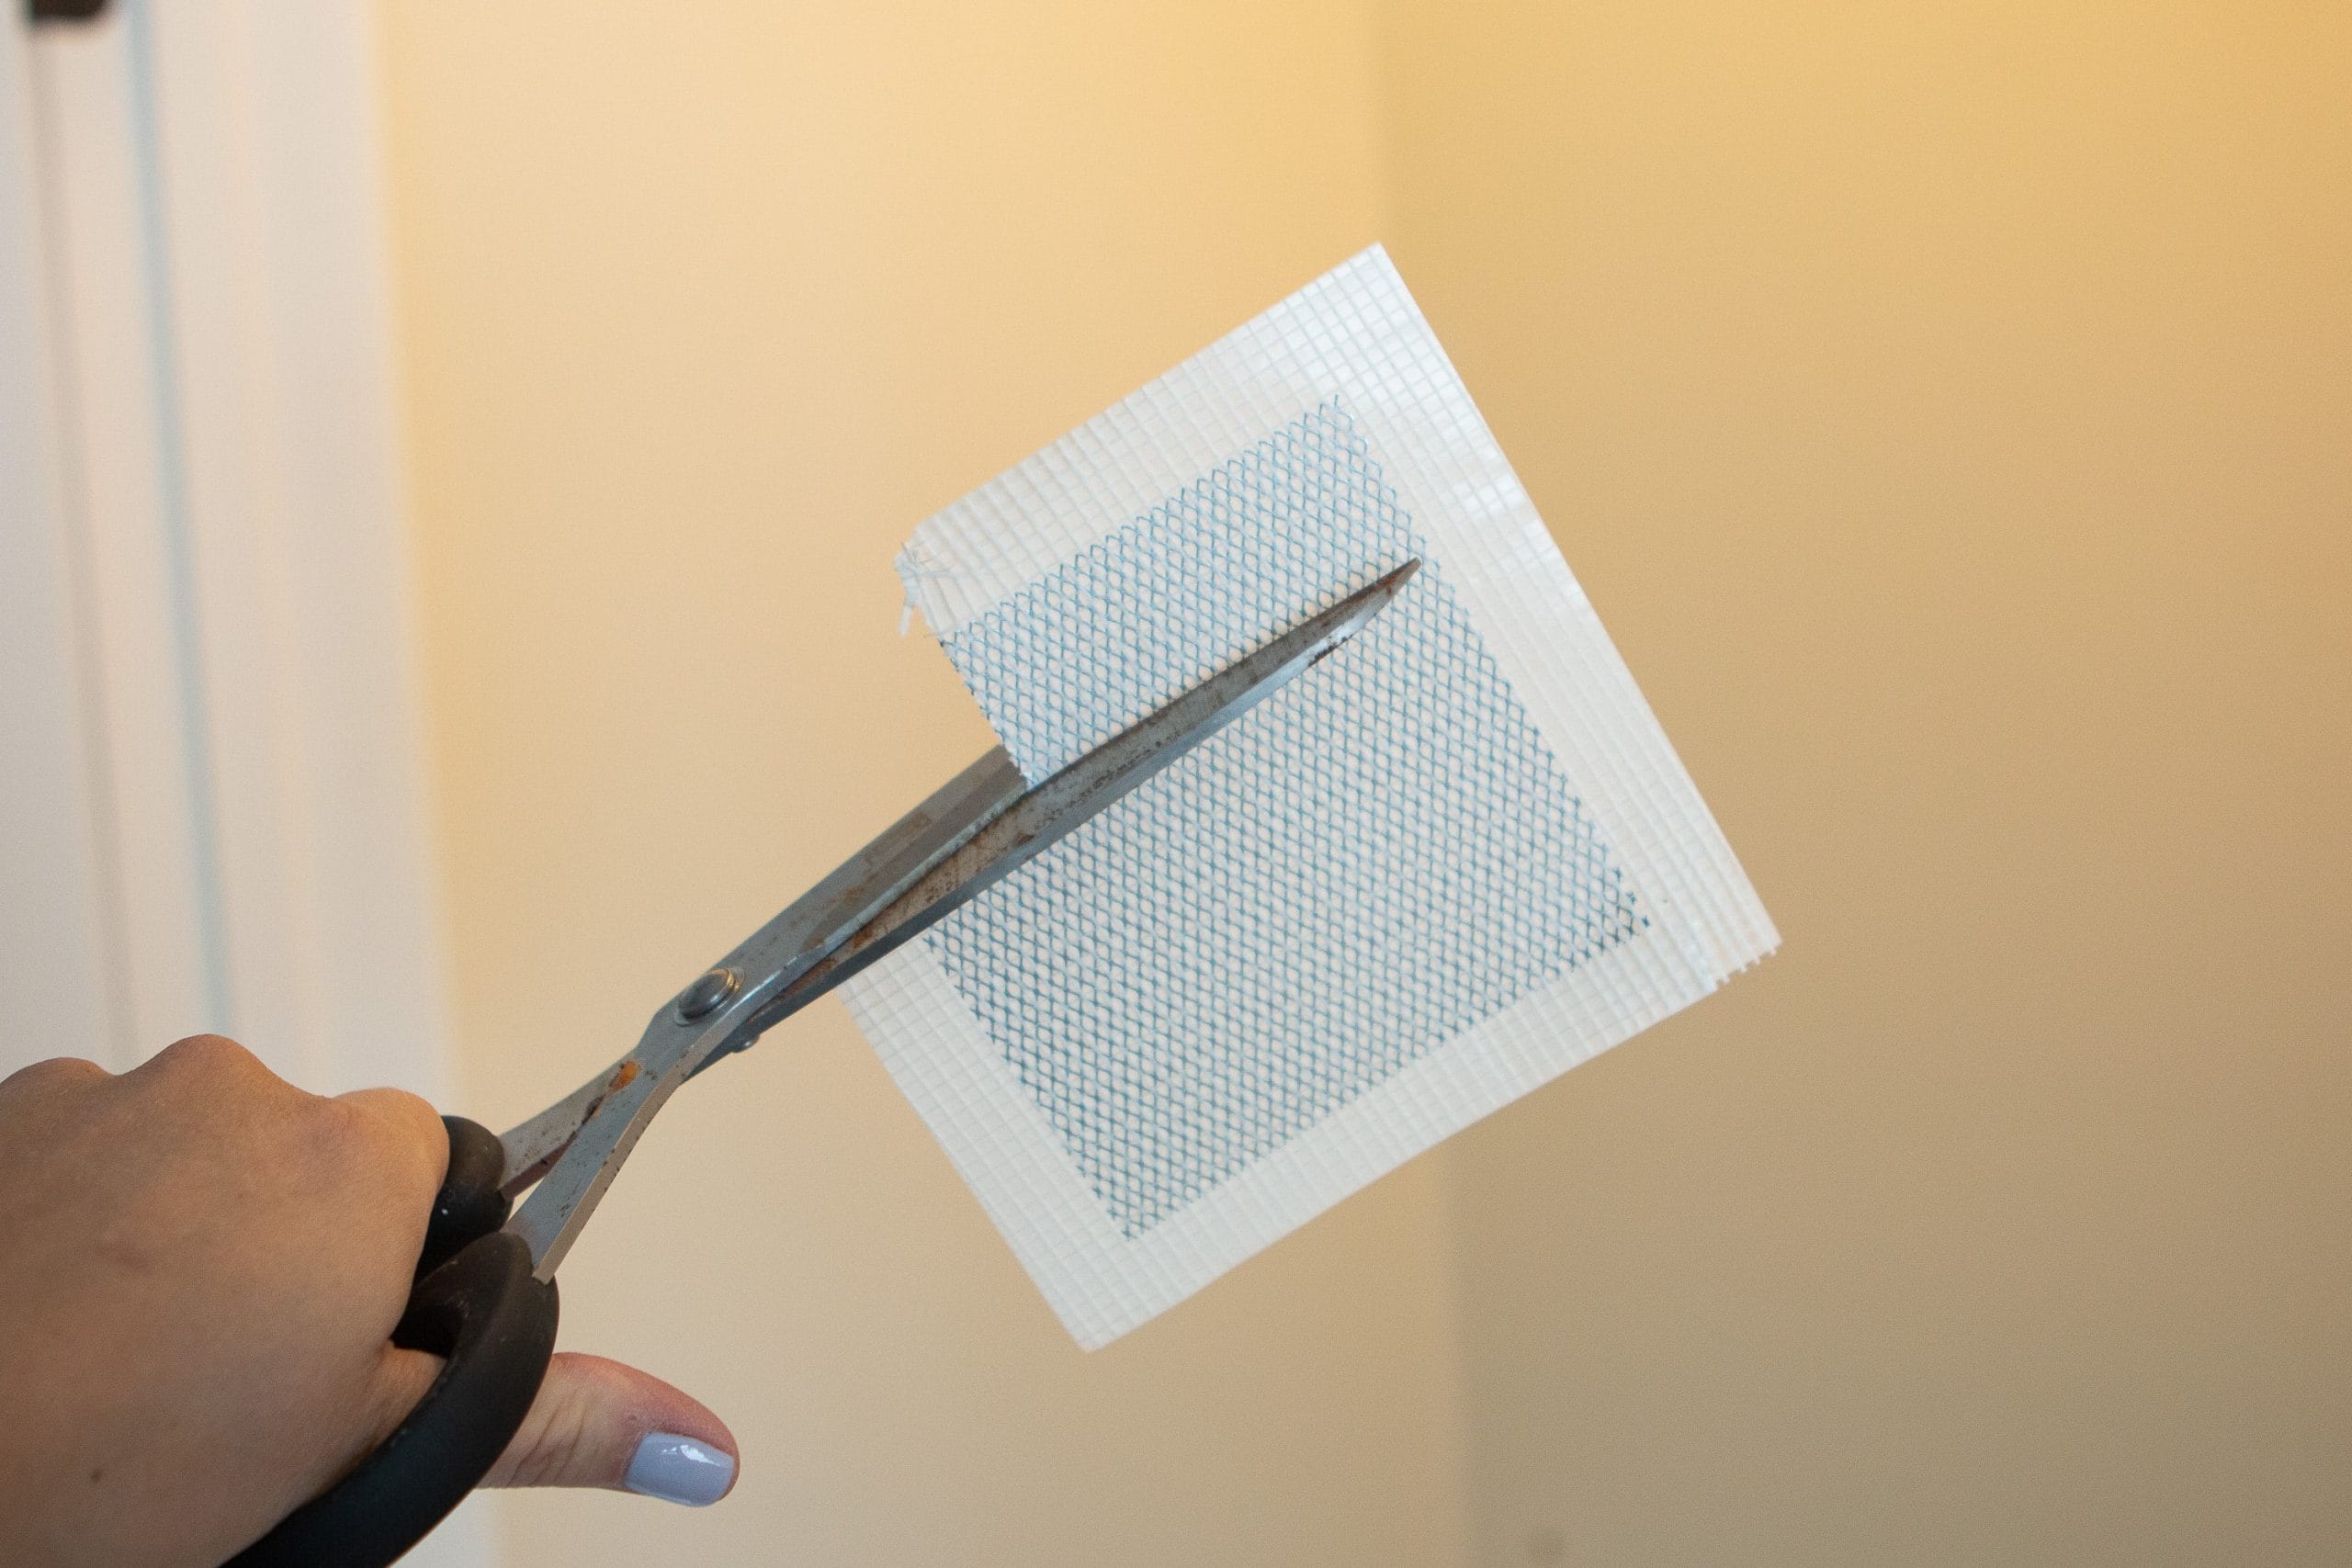
Using scissors, cut your self-adhesive mesh patch so it’s about one inch larger than the hole on all sides. You don’t want to use the entire patch sheet if the hole is small—it’s easier to blend a smaller repair.
Remove the backing and press the sticky side of the patch firmly onto the wall, making sure it’s centered over the damaged area. Smooth it with your hand to eliminate air bubbles and ensure it’s fully sealed around the edges of the patch.
Step 3: Apply Joint Compound
Using a flexible joint knife, spread lightweight joint compound over the patch in thin, even layers. Start in the center and feather outward in a crisscross pattern to blend into the surrounding wall.  The compound will be slightly thicker directly over the patch and thinner at the edges for a smooth transition.
Step 4: Let it Dry & Sand
Allow the repair work to dry completely. This usually takes about an hour. Once dry, sand lightly with fine-grit sandpaper until the surface feels even and smooth.
If you accidentally sand too far and expose the patch, simply apply another thin layer of joint compound, let it dry, and sand again.
Once your patched area feels smooth and seamless, you’re ready for primer and paint. The goal is for the entire patch to disappear into the surrounding wall, leaving you with a flawless, flat finish.
Prime Everything
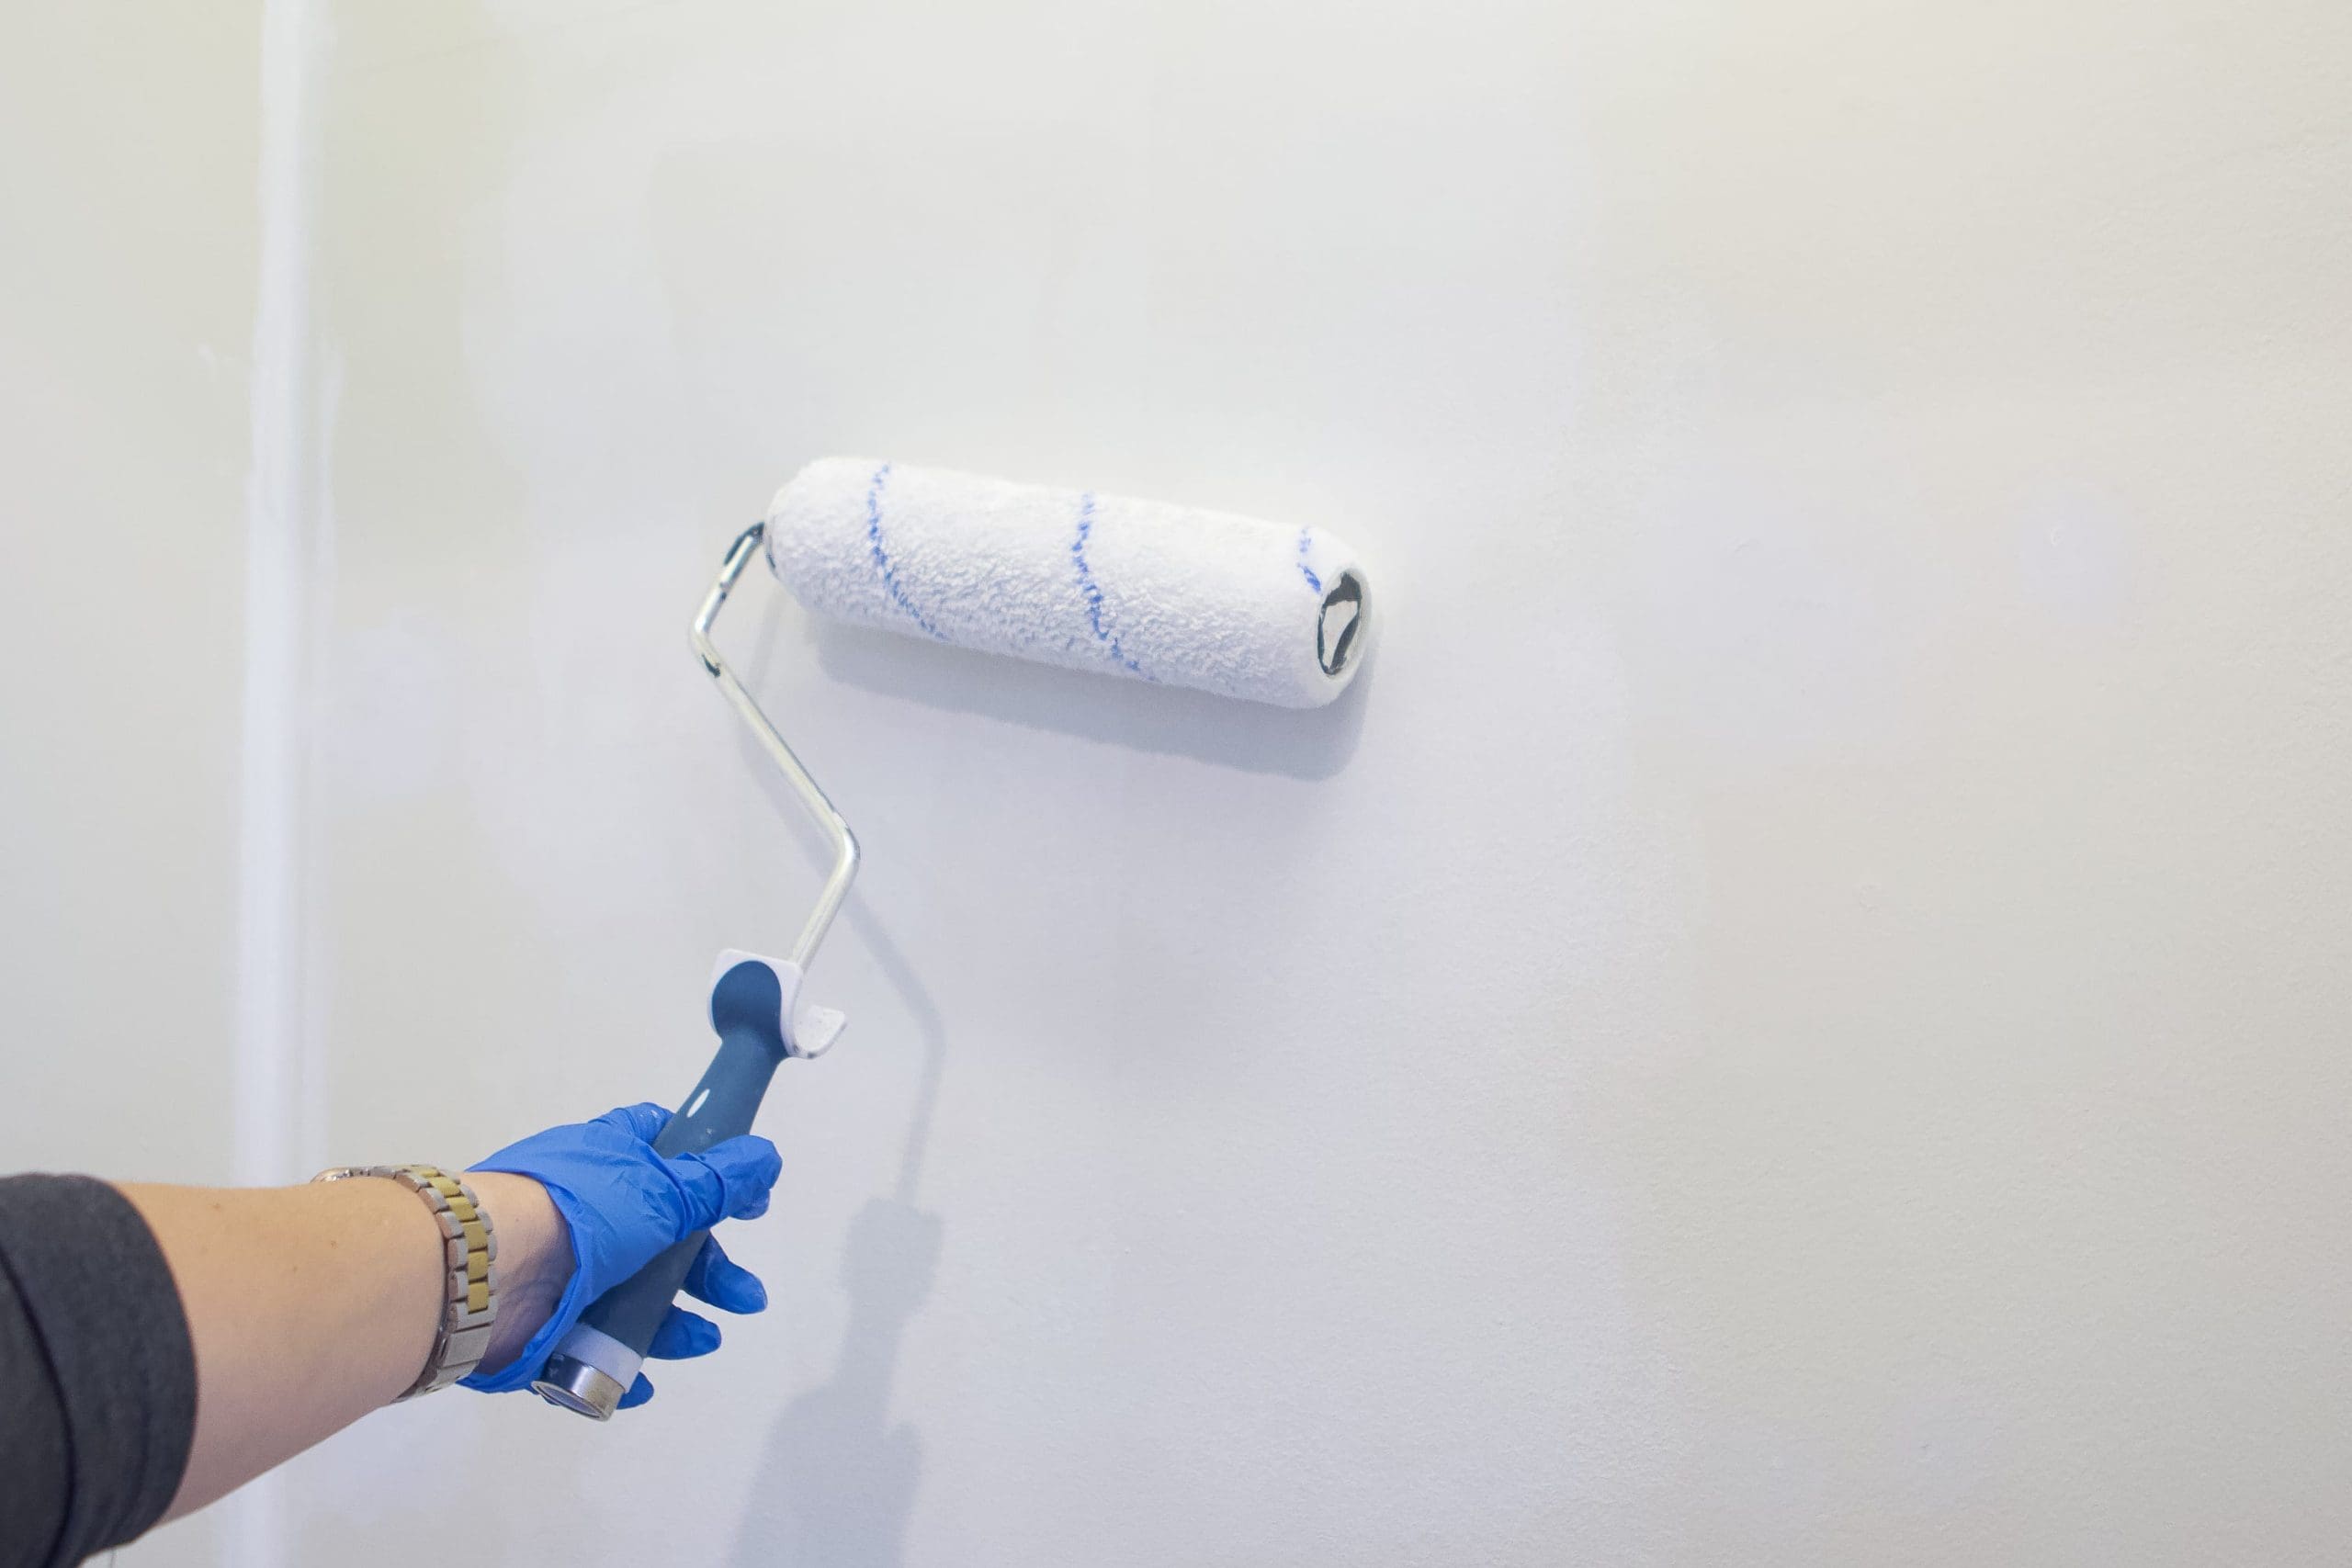
With all of the holes patched and sanded smooth, it’s time to prime. Even though the 3M spackle I used is primer-enhanced (which helps with hiding power), I still recommend applying a full coat of interior primer over any patched areas before painting.
Priming evens out the porous surface of the spackle and prevents the paint from flashing — that telltale shiny spot that can appear if you skip primer. I used a small roller and covered the entire closet wall for a consistent base.
Since we wallpapered this space, perfection wasn’t the goal — just a clean, uniform surface. But if you’re painting instead, go ahead and use your same wall color and sheen to blend the repair completely into the surrounding wall.
Ellis’ Closet – After Repair
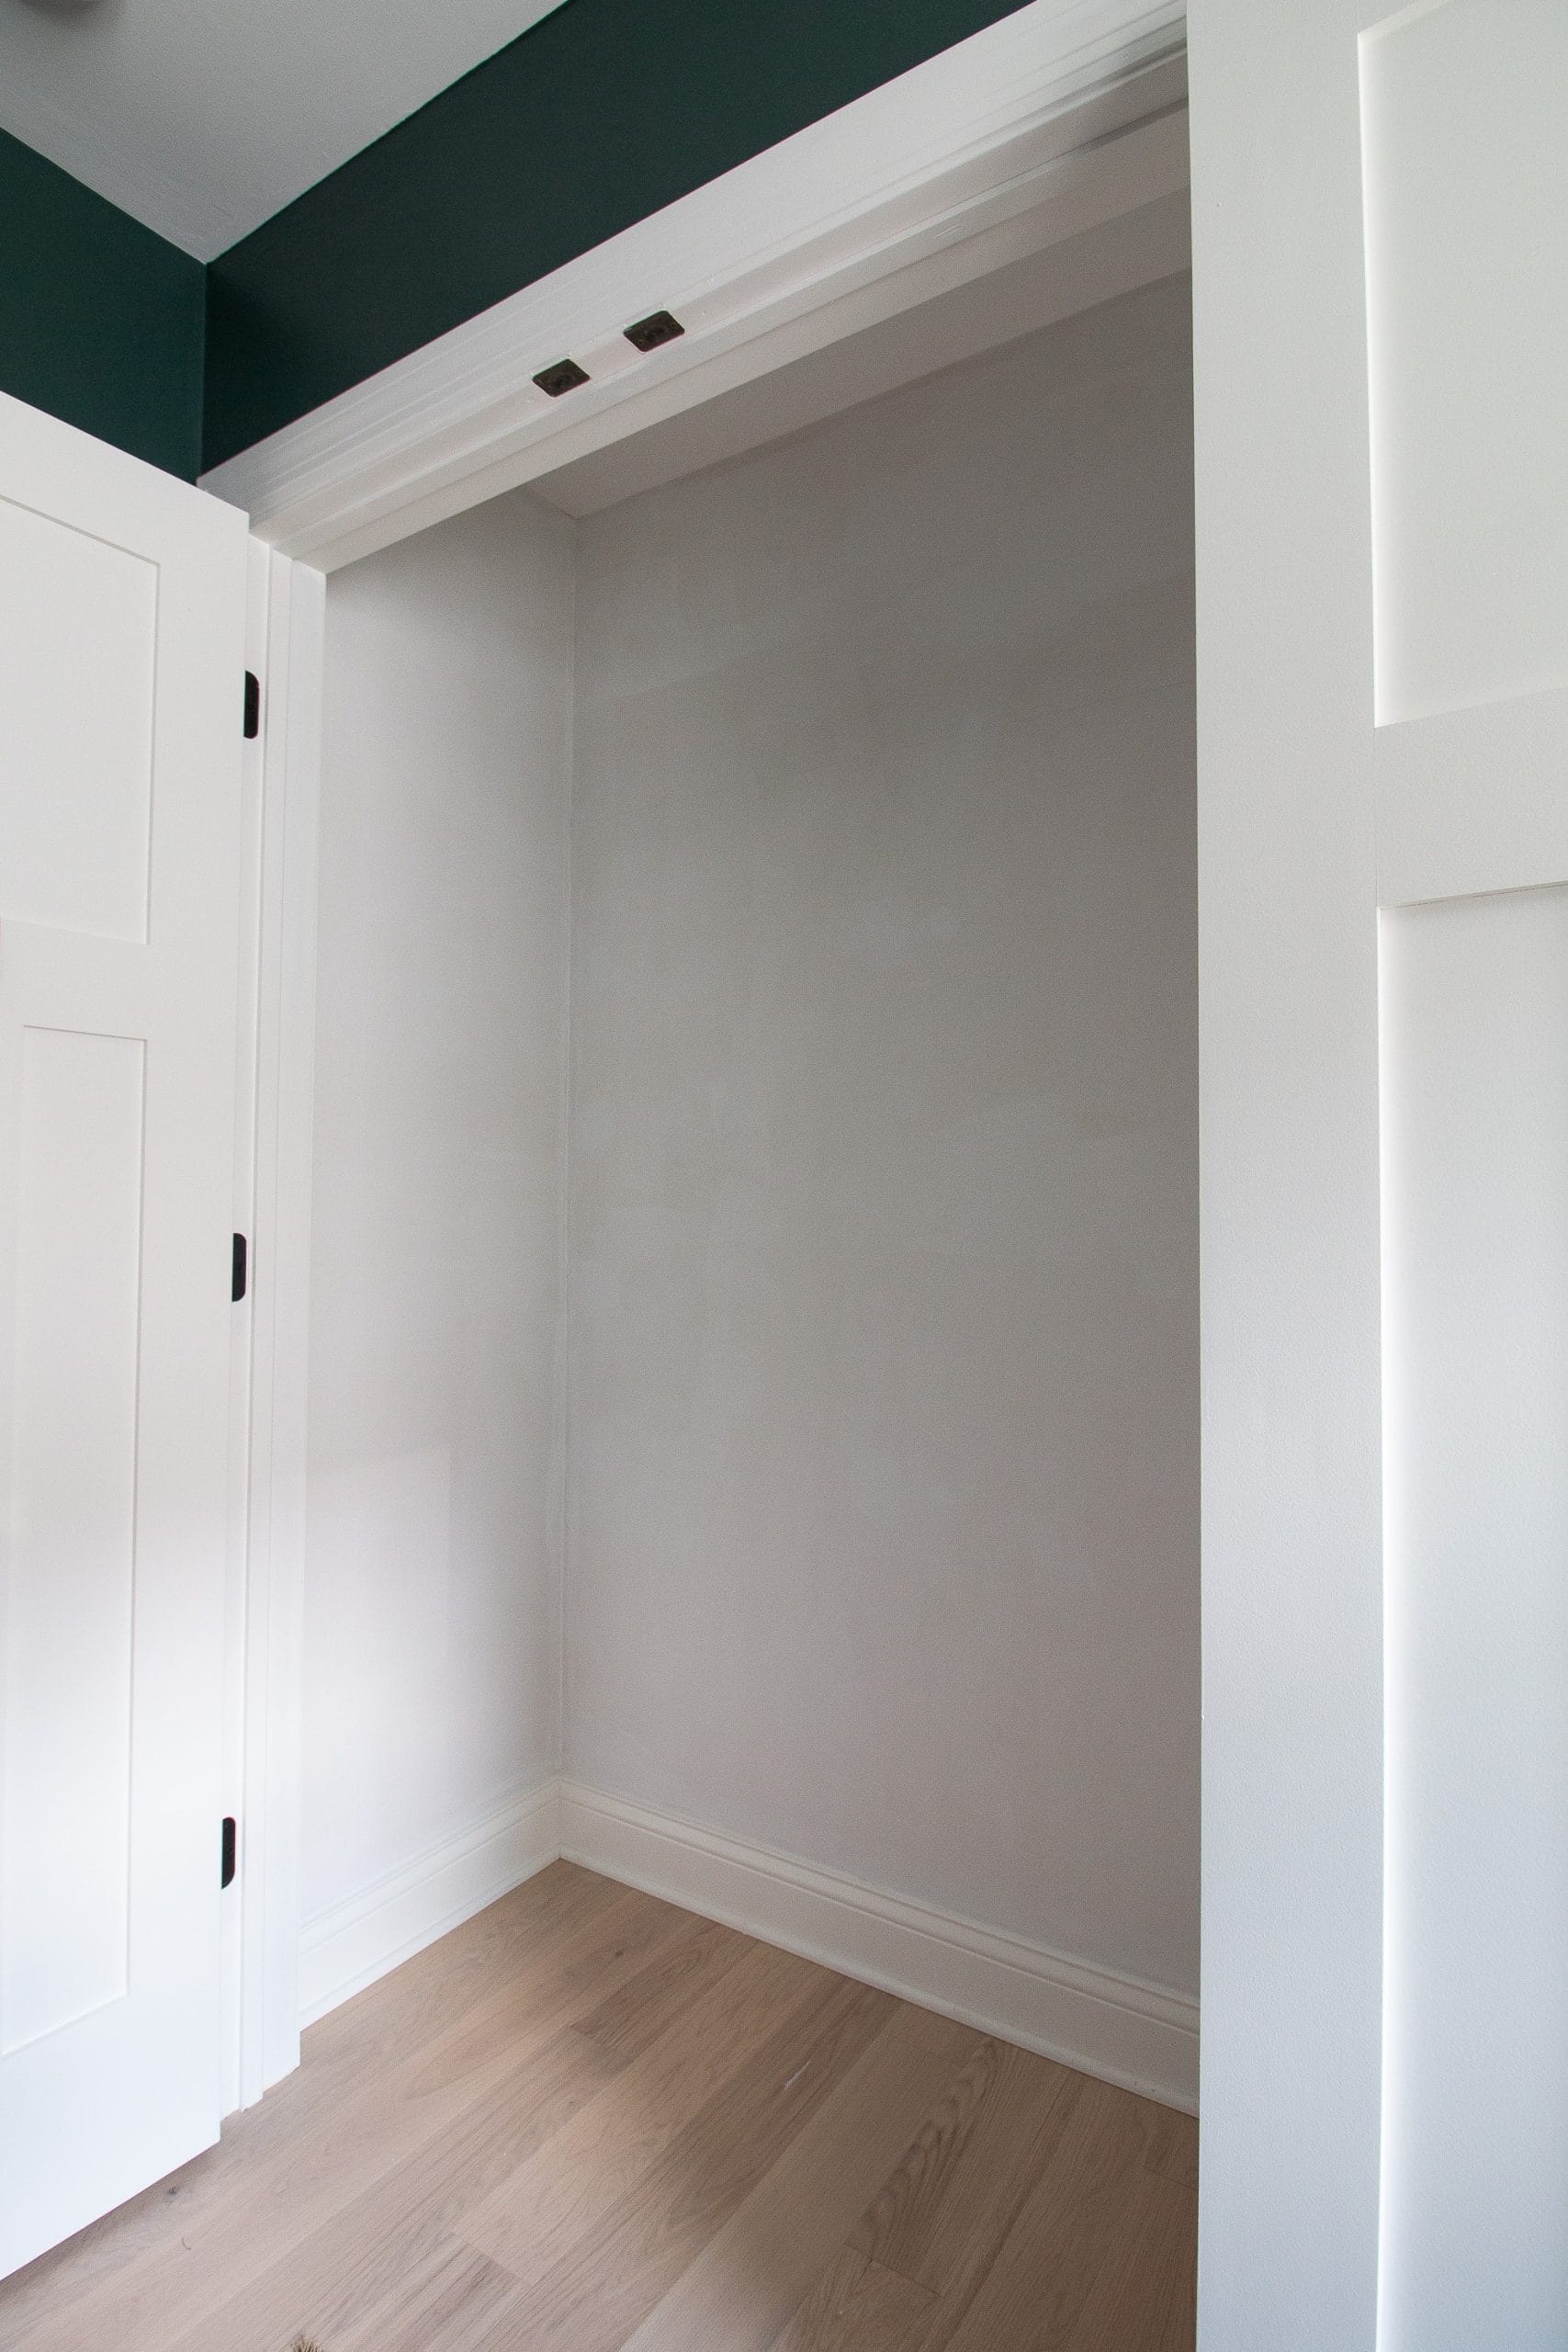
You’d never know that there were once seventeen holes in this closet! The surface was smooth, solid, and completely transformed after my project.
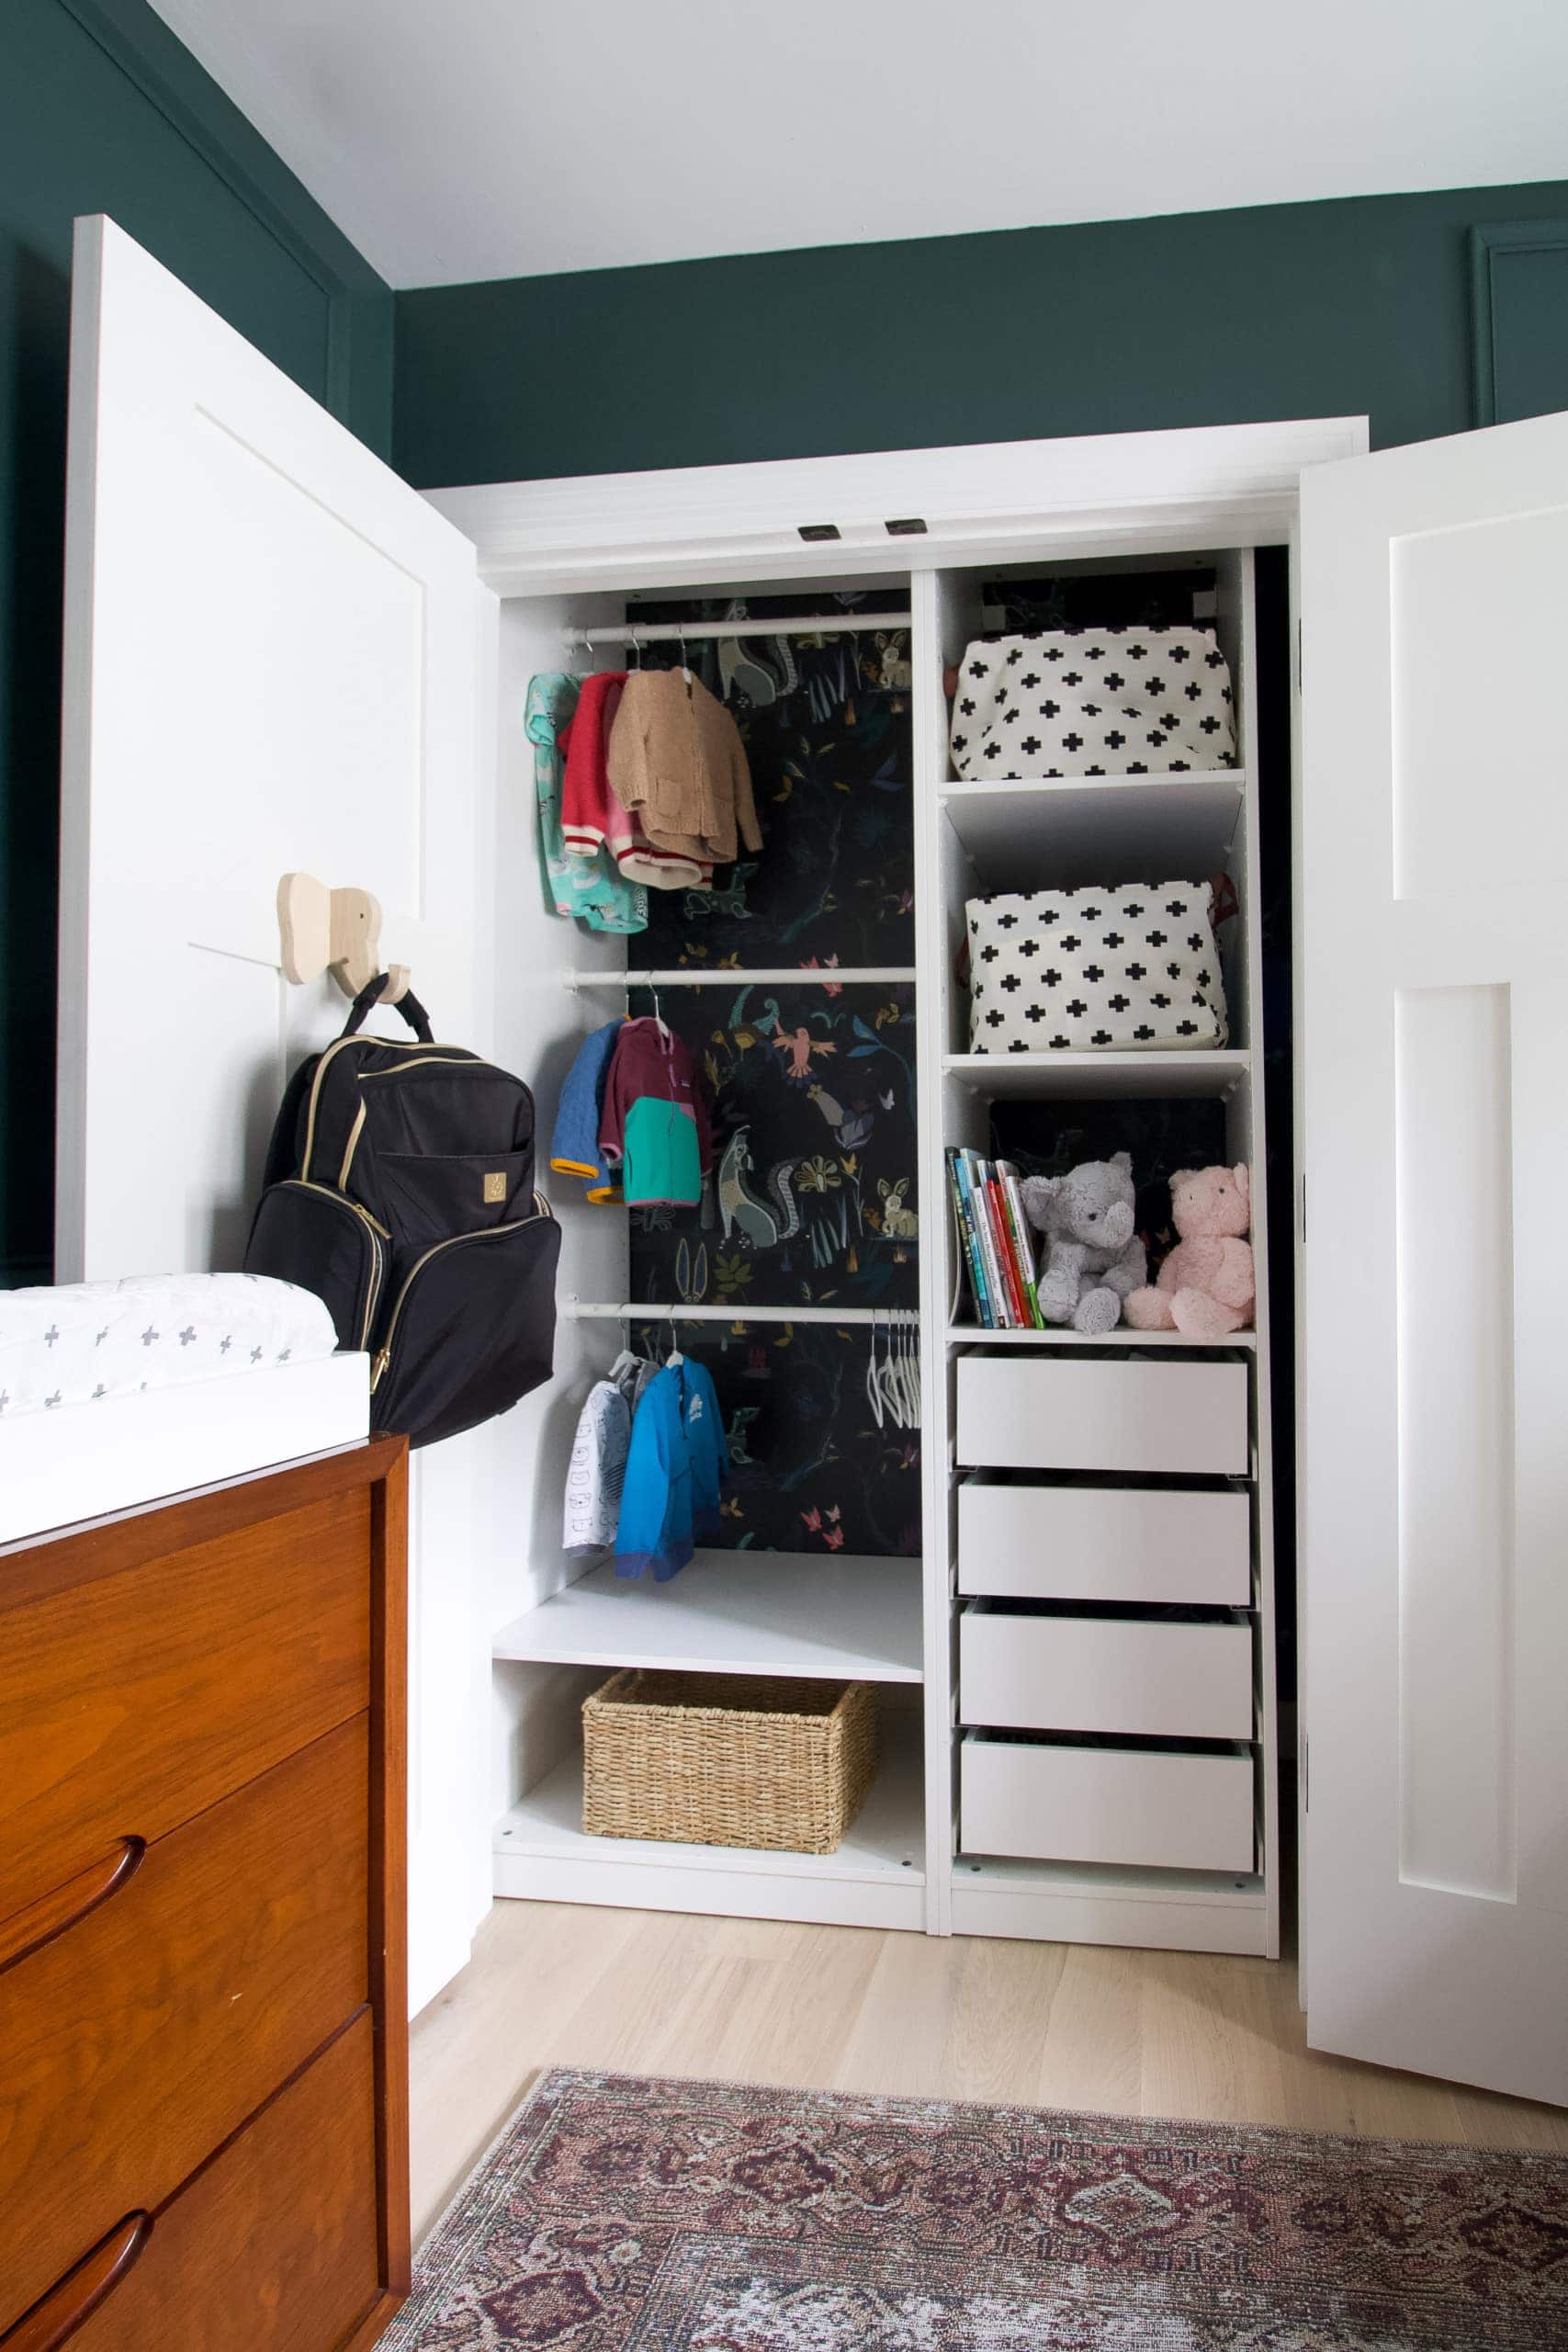
And here’s what the closet looks like after wallpaper and a custom IKEA closet build. Pretty cute, right?! Ellis is now 4 years old, and I’m happy to report that his closet still looks like this, though his clothes are a tad bigger now!
Frequently Asked Questions About Patching Drywall
How do I know which drywall repair method to use?
It depends on the size of the hole. Nail holes can be fixed with a small amount of spackle, while small to medium holes (¼–3 inches) require a patch kit with mesh reinforcement. Larger holes (3 inches and up) need a new piece of drywall using the California patch method.
Do I need to prime before painting over a patched wall?
Yes. Primer helps the paint adhere evenly and prevents “flashing,” which is when patched areas appear shinier than the rest of the wall. Even if your spackle says “primer-enhanced,” a quick coat of primer ensures a seamless finish.
What’s the best way to remove old wall anchors before repairing?
Grip the anchor gently with pliers and pull it straight out. If it’s stuck, use the handle of a screwdriver to push it into the wall cavity. Once the surface is flat, you can patch the hole normally.
Can I patch a hole without using mesh or tape?
For small holes (under ½ inch), you can skip mesh and use lightweight spackle. But for anything larger, mesh or joint tape helps prevent cracking and gives your repair more strength over time.
How long should I wait before sanding or painting the patched area?
Most quick-dry spackles are ready to sand in 30–60 minutes, but always check your product label. The surface should feel completely dry and firm before sanding or painting.
Final Thoughts

If you’ve been putting off patching a few holes around your house, consider this your sign to just do it. Whether it’s a leftover anchor mark or a medium-sized dent from everyday life, repairing drywall is one of those quick wins that makes your home feel instantly refreshed. With the right tools, a little patience, and the tips I shared here, you can get a smooth, professional-looking finish in under an hour.
Everything is figureoutable — even a wall full of holes.
Casey


