A Step-by-Step Guide For Painting Interior Doors
Painting interior doors is an easy, high-impact project, whether you’ve got new, pre-primed slabs or older doors that need a little love. Here’s the simple, step-by-step process I use for a smooth, professional finish.
Our basement has been done for a while now, but this project keeps coming up in my DMs: How to paint interior doors for a smooth, brush-mark-free finish. Winter is prime DIY season, so I’m resharing everything I learned painting six doors—tools, order of painting, best paints and sheens—so you can use it on old or new doors, whatever you’ve got.
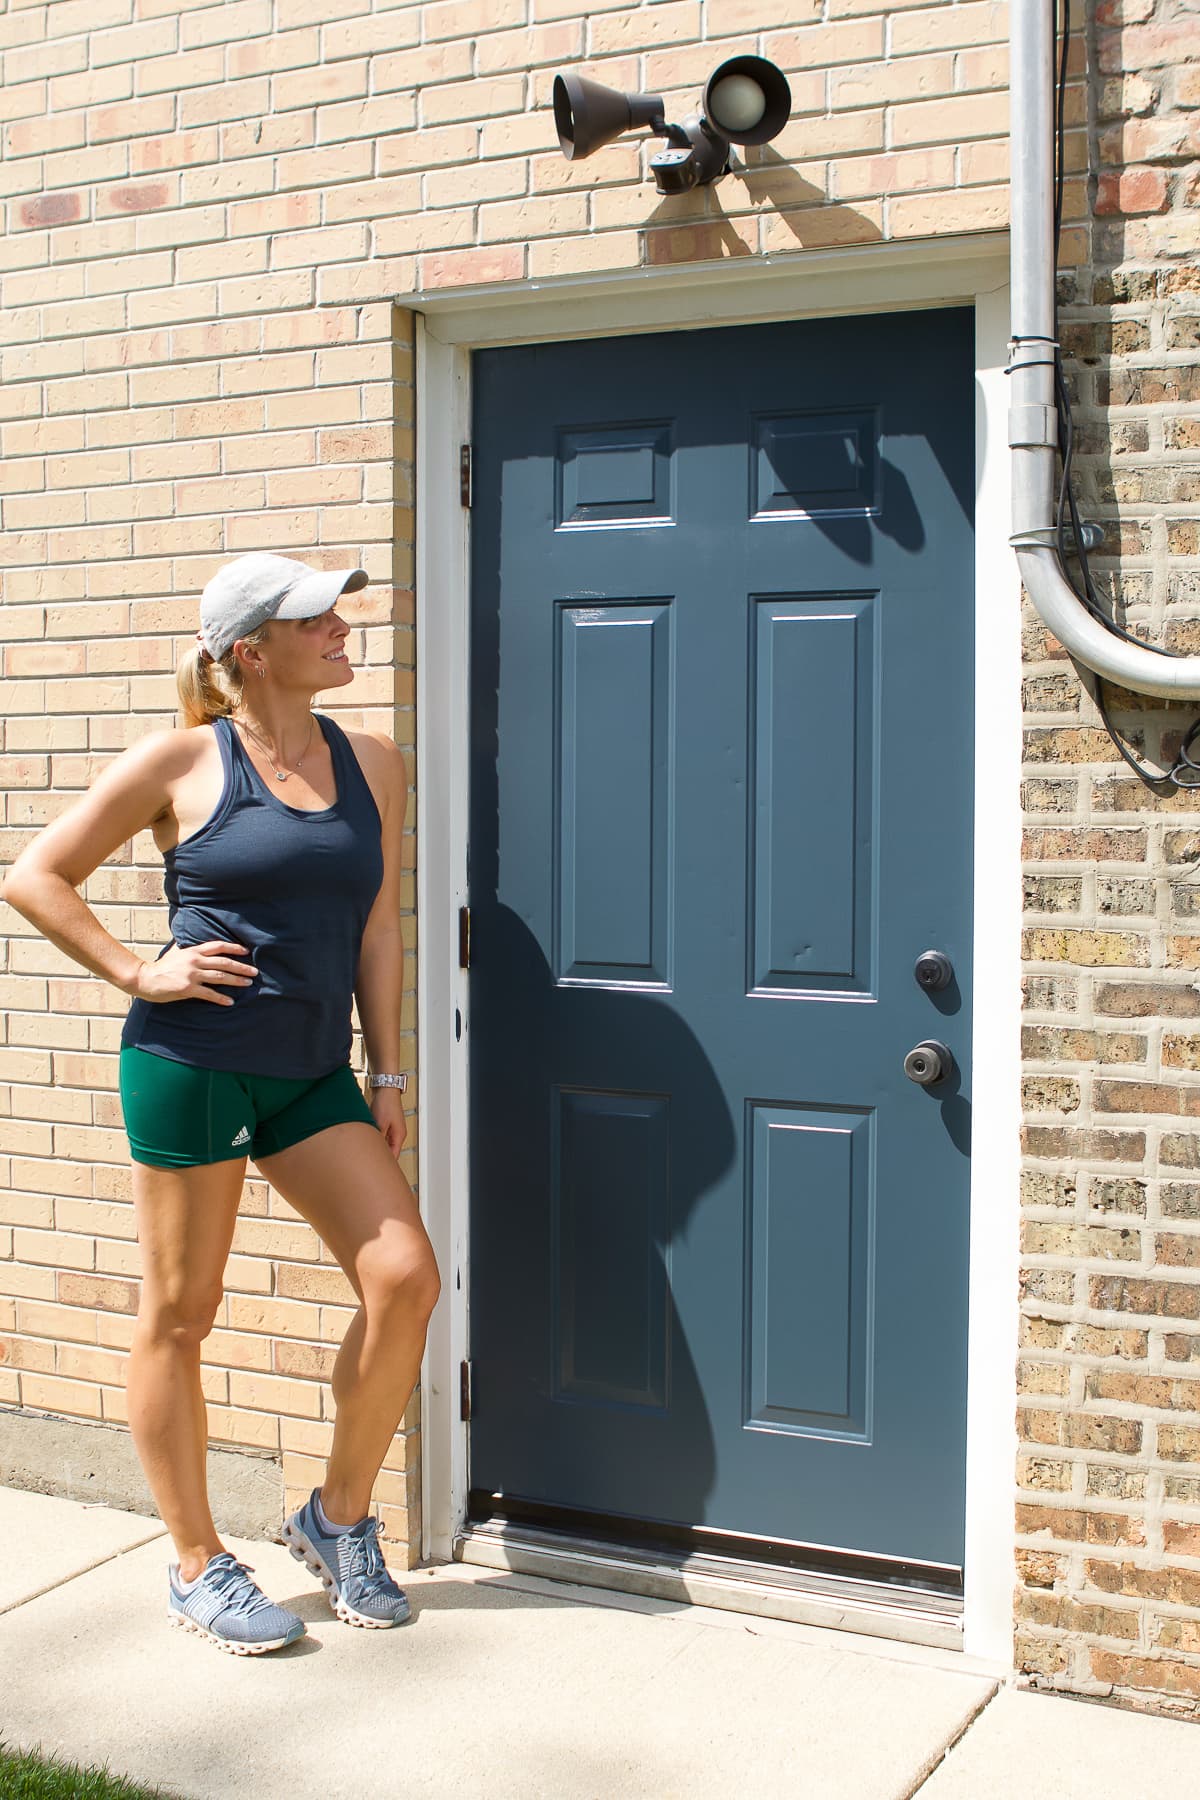
I had six doors to paint in our basement, and this was my first time painting an interior door! I’ve had some exterior door painting practice on our front door and the door leading to our garage, but never a door inside a home, so this was a learning experience for me.
Decide On Your Method

I must start this post by saying that there is no right way to paint interior doors! You just need to figure out the best method for your situation.
You could remove all of the doors from the hinges and spray them with a paint sprayer. You could take the door knobs off so you don’t have to tape them. Or, you could leave all of the hardware on and tape it off, as I did.
Since I knew I was going to be spraying the interior walls with a paint sprayer, I decided to forego the paint sprayer this time around and paint my doors by hand. This was a tad time-consuming, but I made the most of it with my computer nearby to watch shows and listen to podcasts while I worked away!
Sprayers are fastest for lots of doors, whereas a brush and 4″ high-density foam roller are perfect for one-offs and touchable, low-texture results.
Project At A Glance:
| Difficulty: ⭐️ ⭐️ of 5 | Time: 8 hours for 6 doors |
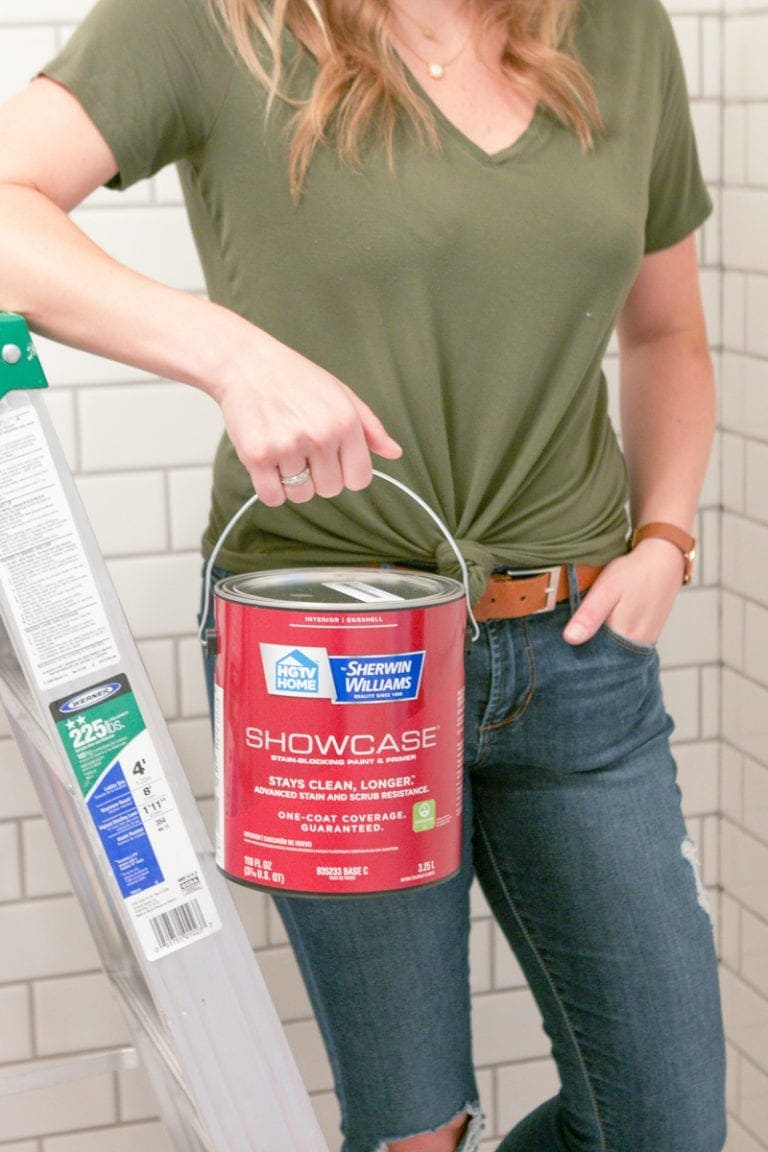
| Supplies needed: Paint (I used Benjamin Moore’s “Simply White” in a satin finish.) Drop cloths Wood shims 2-inch brush Painter’s tape Paint pail Paint pail liner Small roller and roller cover Tack cloth | Tools needed: Utility knife |
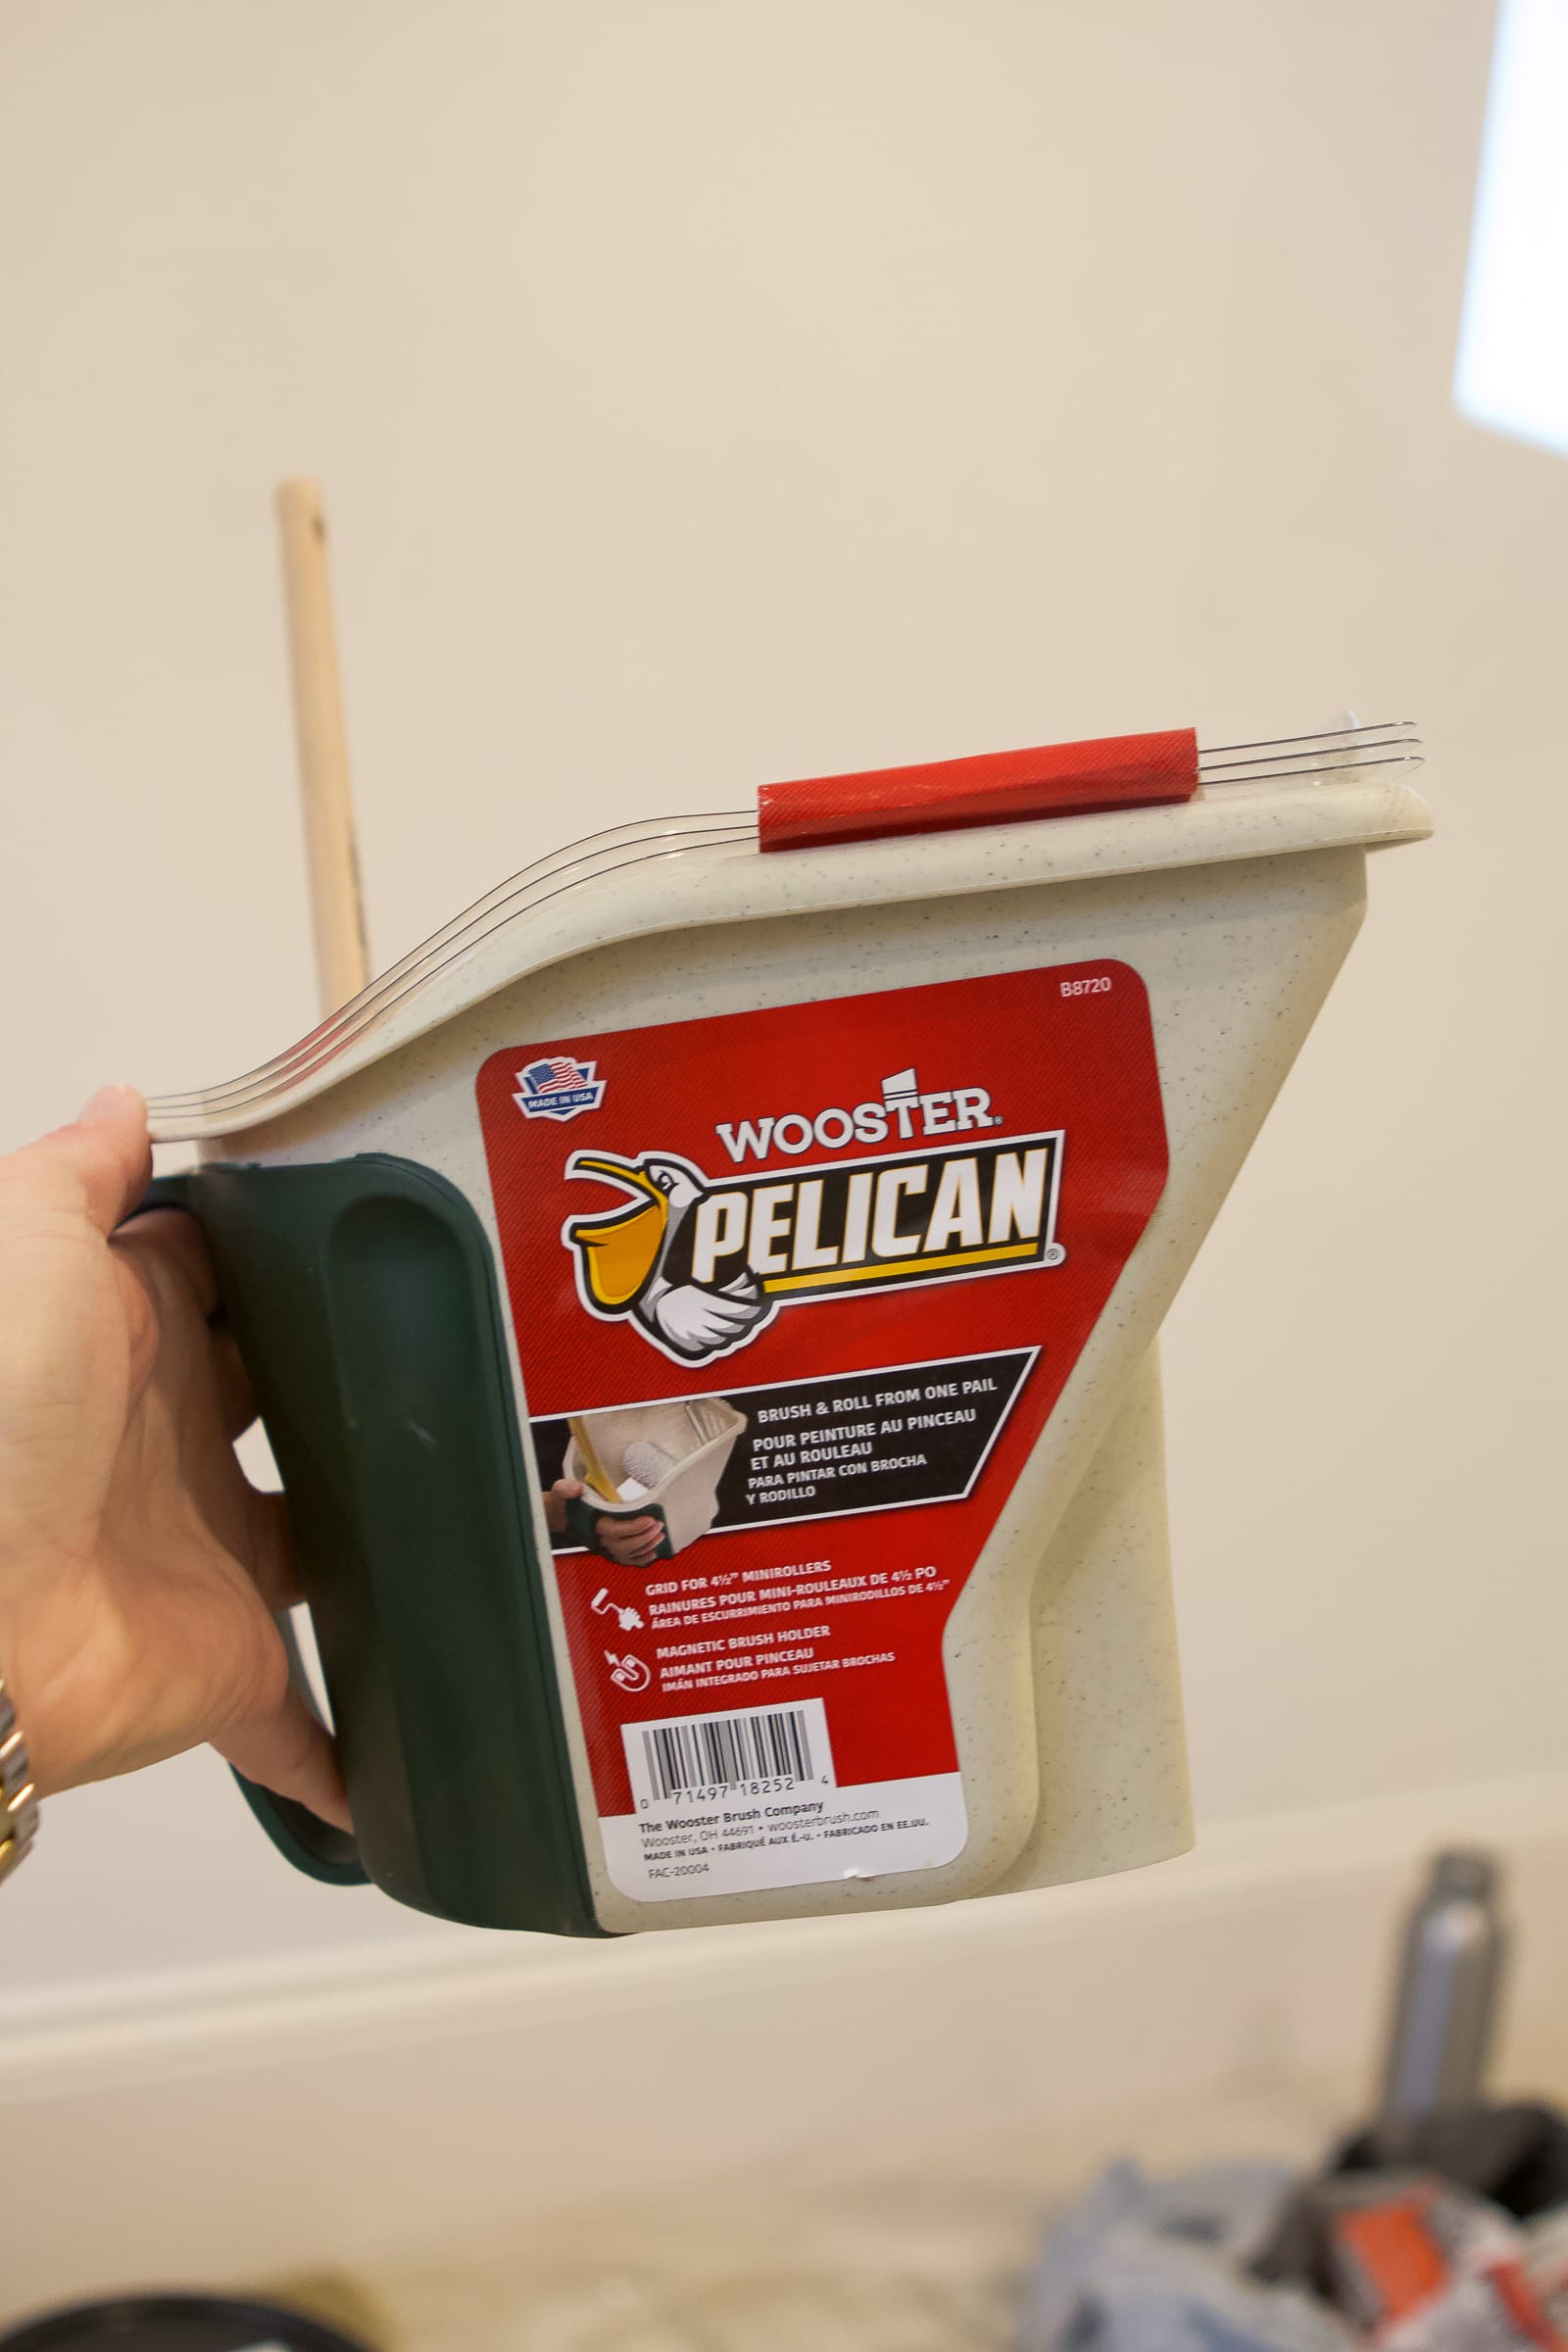
My favorite supply from this project was this Pelican paint pail. I own a Handy paint pail, which is great for excess paint and a brush when painting a room, but this is a bit different because it has room for a small roller too!
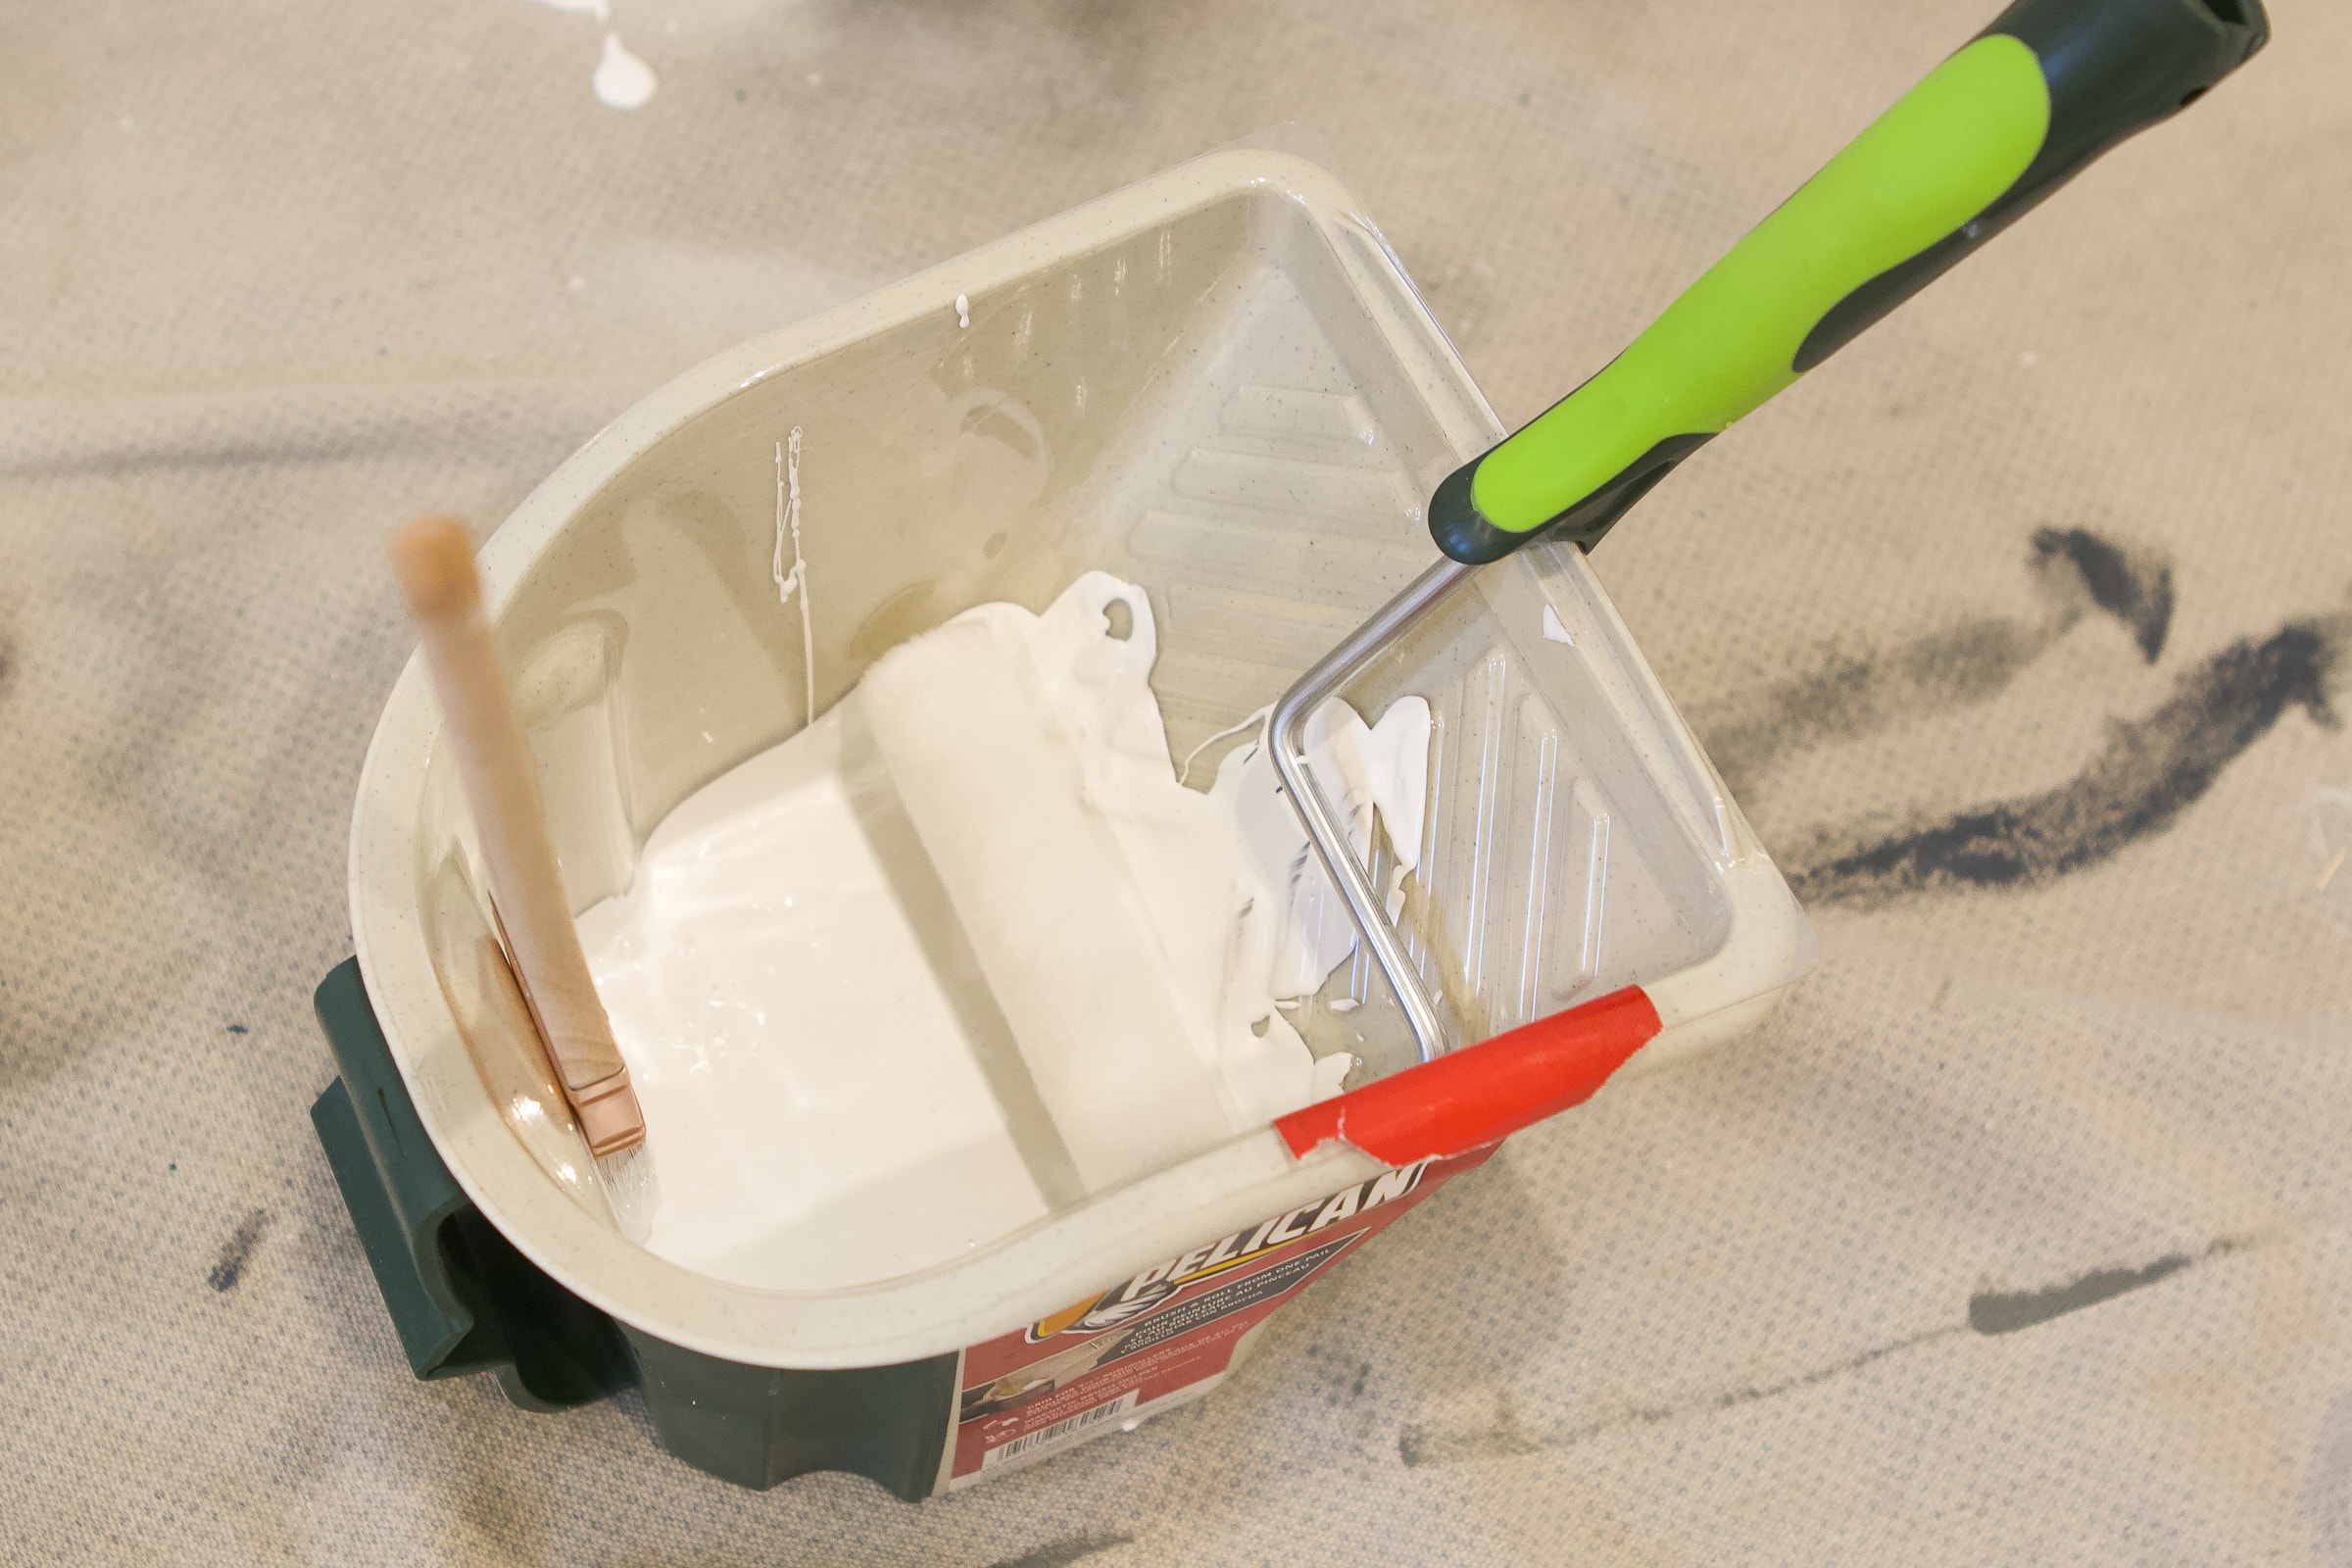
I didn’t have to keep bending down to load up my brush or roller during this project. Instead, I just kept the paint and equipment in hand with this pail.
The brush is actually held in place with a magnet. If you’re painting a lot of doors, I highly recommend scooping this up, along with some plastic liners, so you don’t have to wash it out every time!
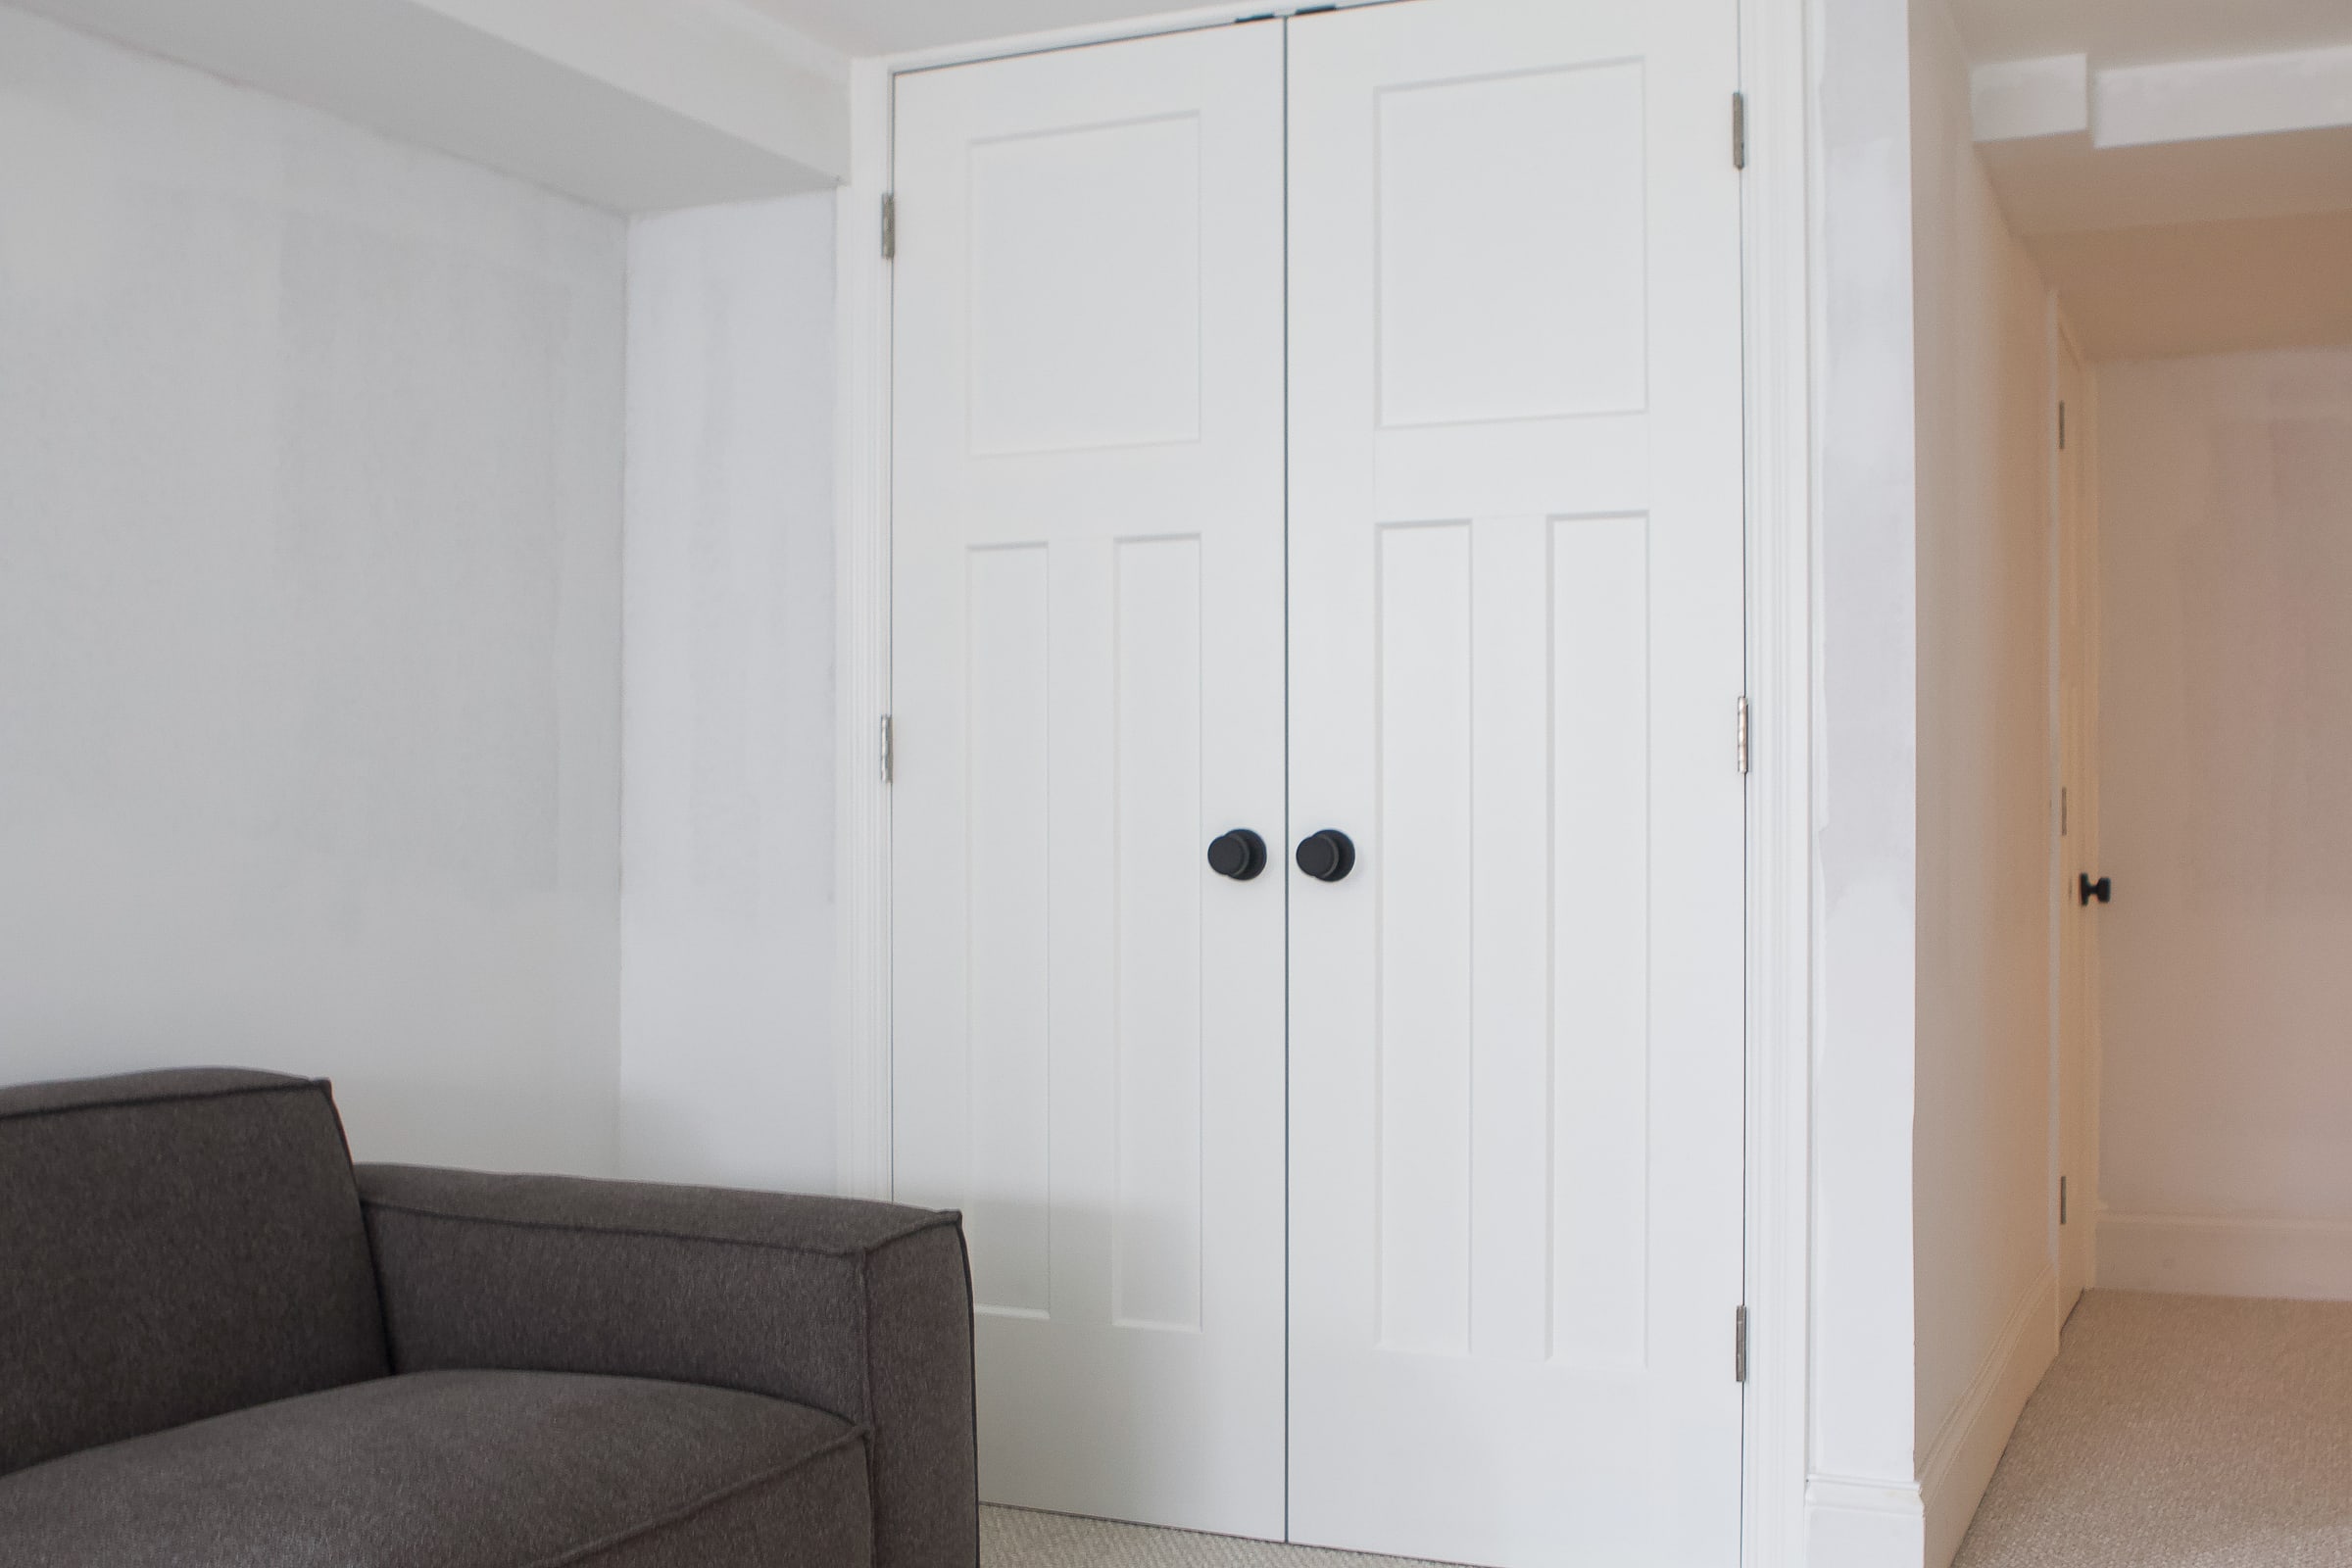
My Doors & Door Hardware
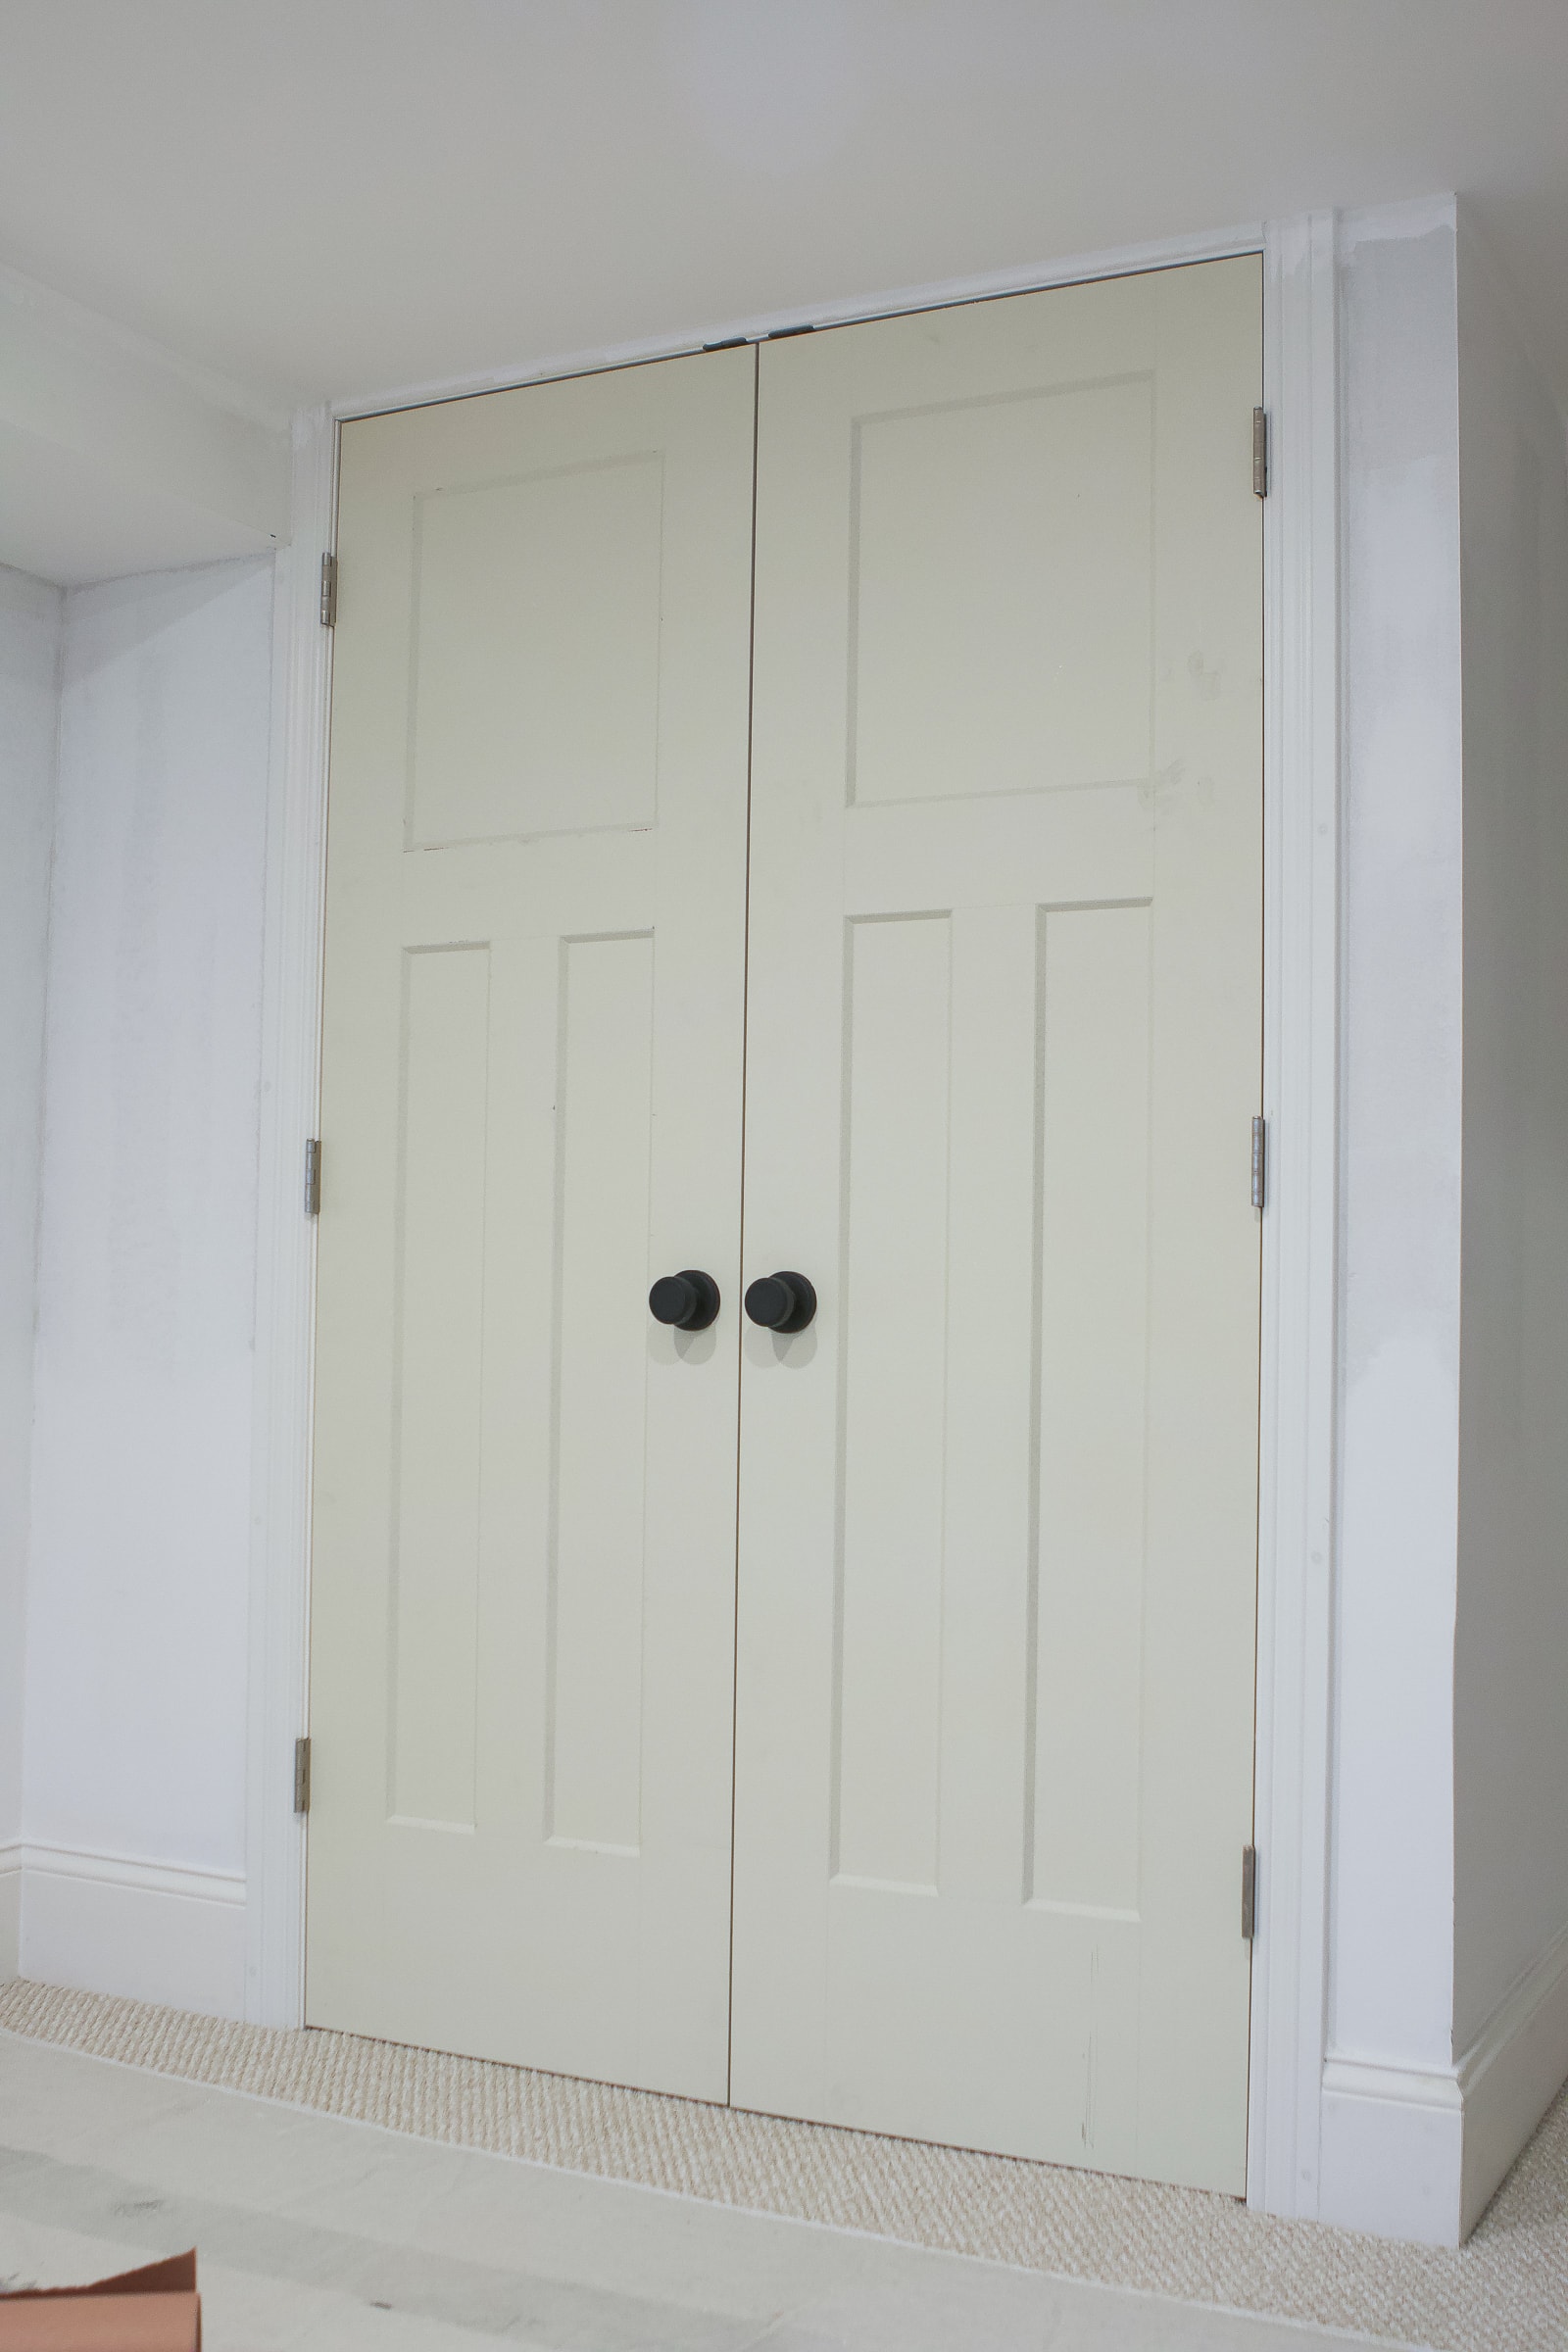
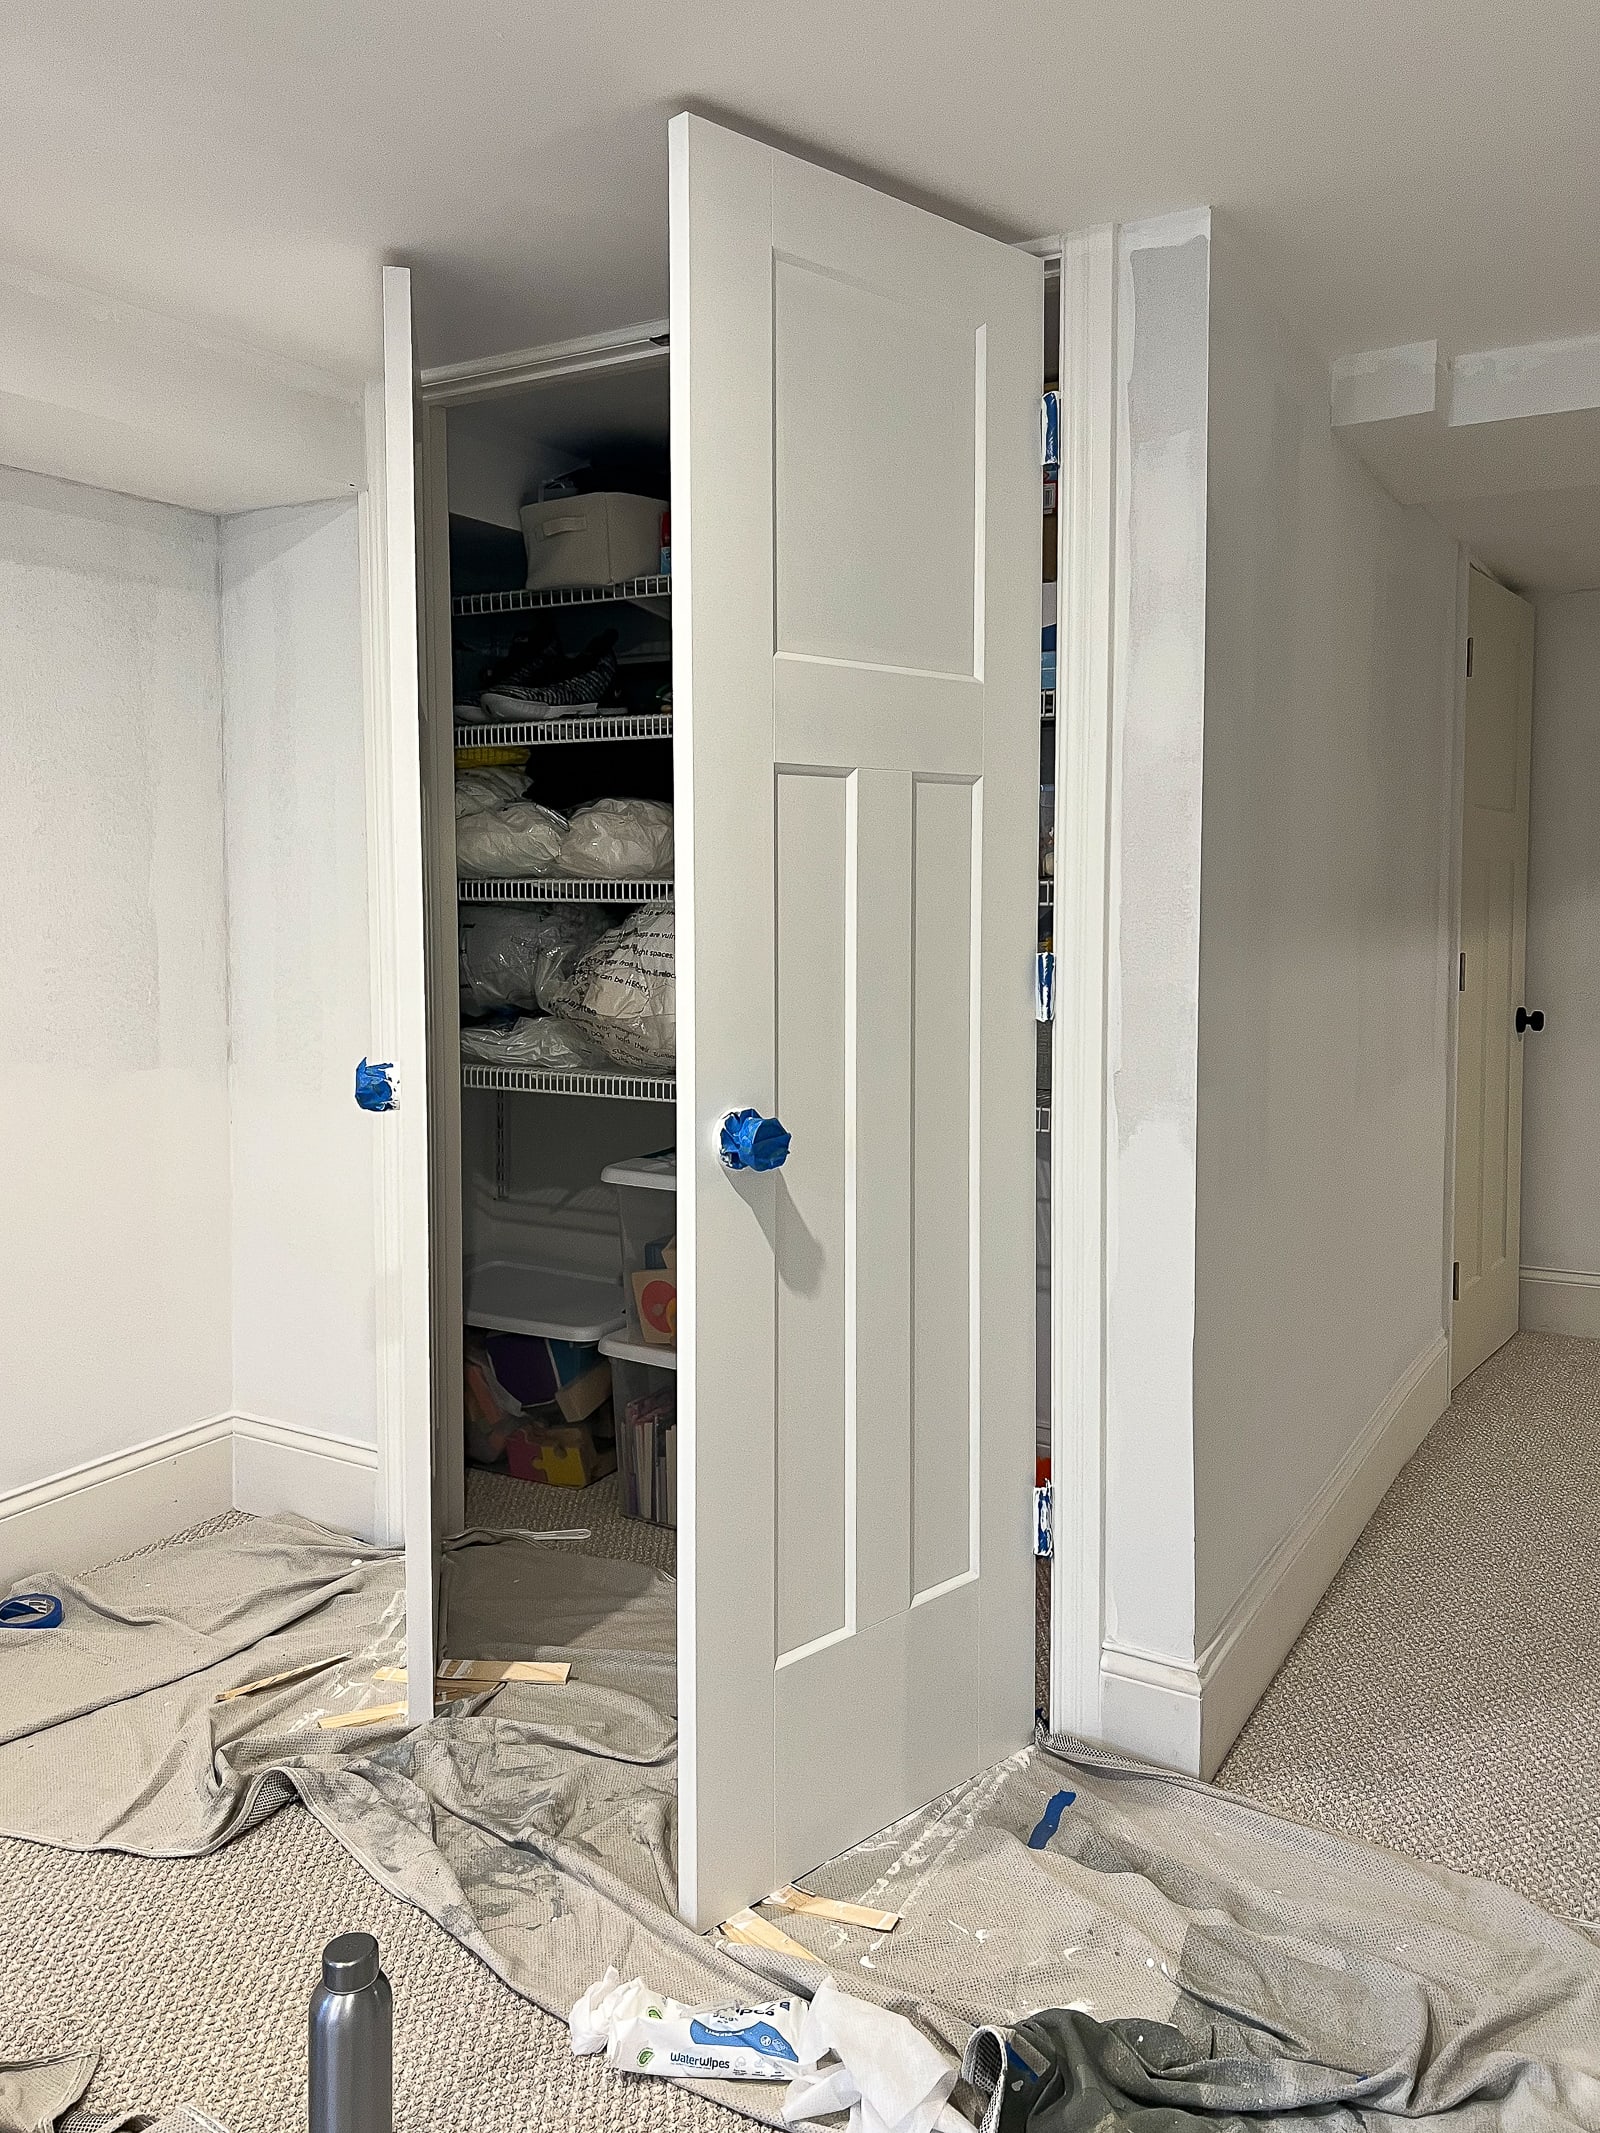
Before we get to the tips, let me share a bit of information about my new doors. My contractor picked these doors up at ABC Remodeling Supply, here in Chicago. The style is called “Winslow” and they are a similar 3-panel flat shaker style, like we have throughout the rest of our home.
I decided to go with hollow core doors (as opposed to solid) to save about $500. In total, these doors cost me about $1,200. Doors like these come pre-hung, which means they come attached to the frame with the hinges, and the frames are then installed. If you just wanted the door, that would be called a “slab”.
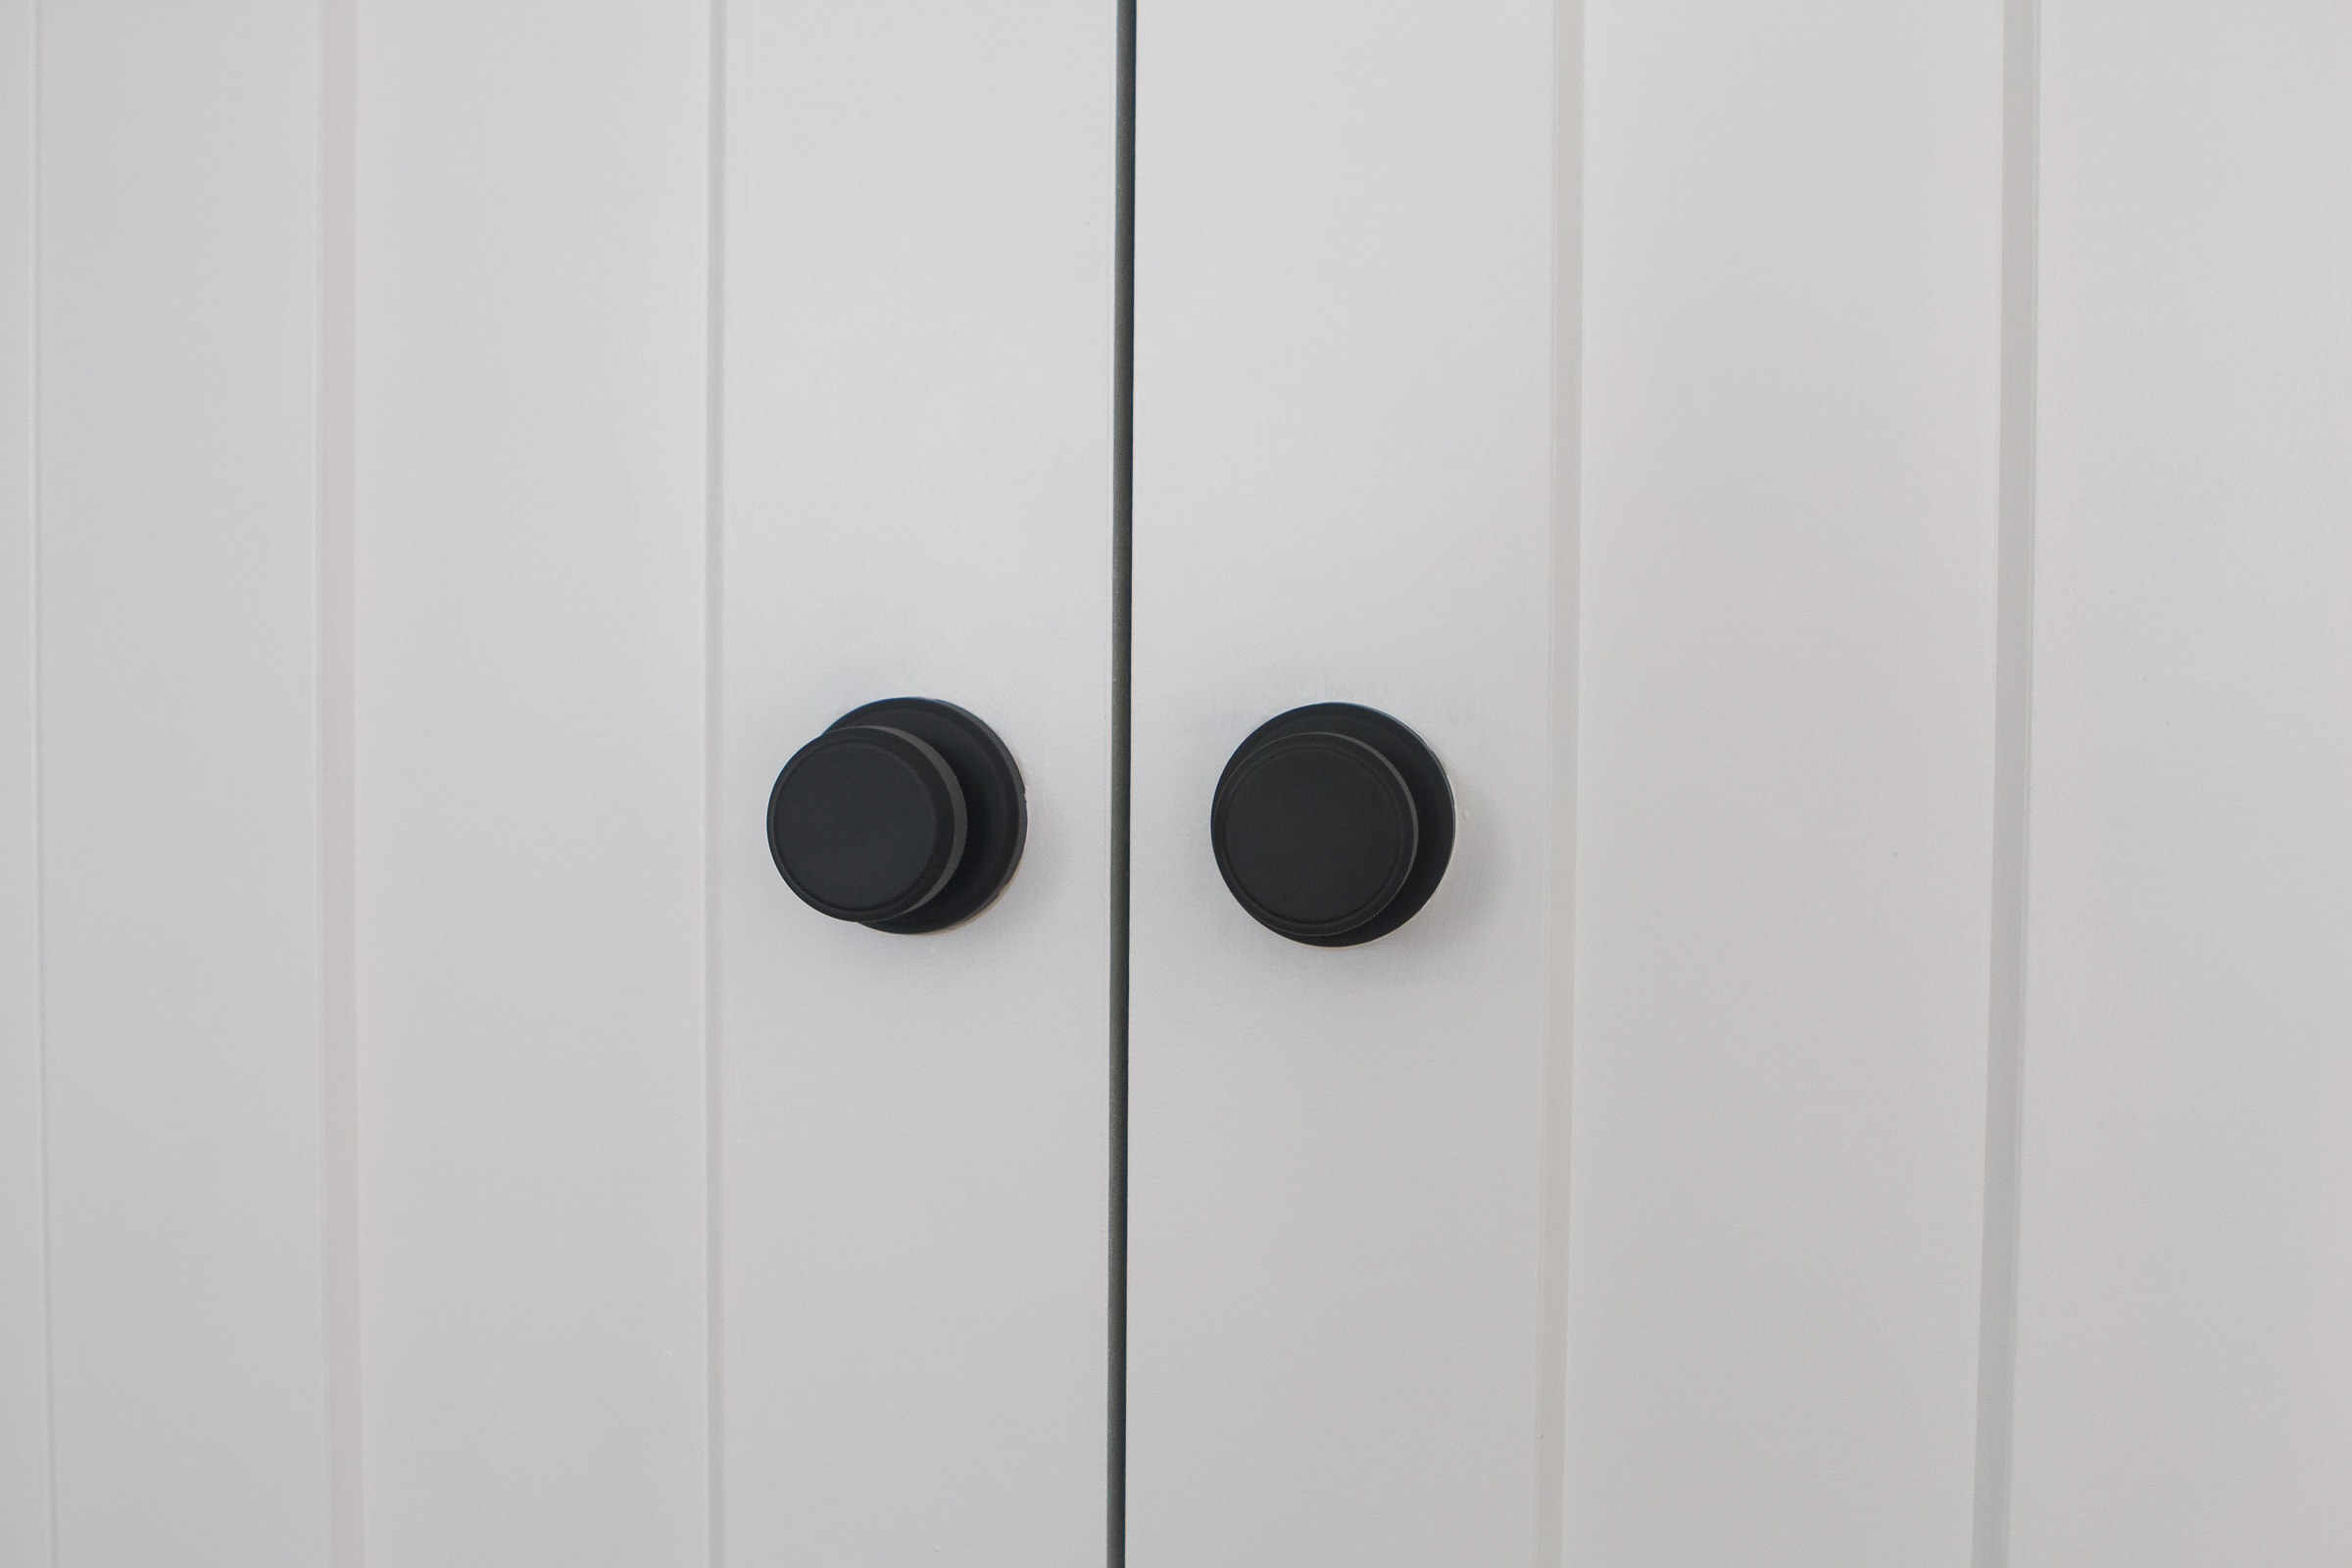
Pre-hung doors come with hinges, but you’ll need to buy the door knobs on your own. I matched the ones we have throughout the rest of our home. I bought a variety of passage, dummy, and privacy knobs, based on the function of each door in the basement.
This blog post walks you through how to buy the right door knob. These are the exact ones we have in our home and we absolutely love them! They still look fantastic, even after years of daily use.
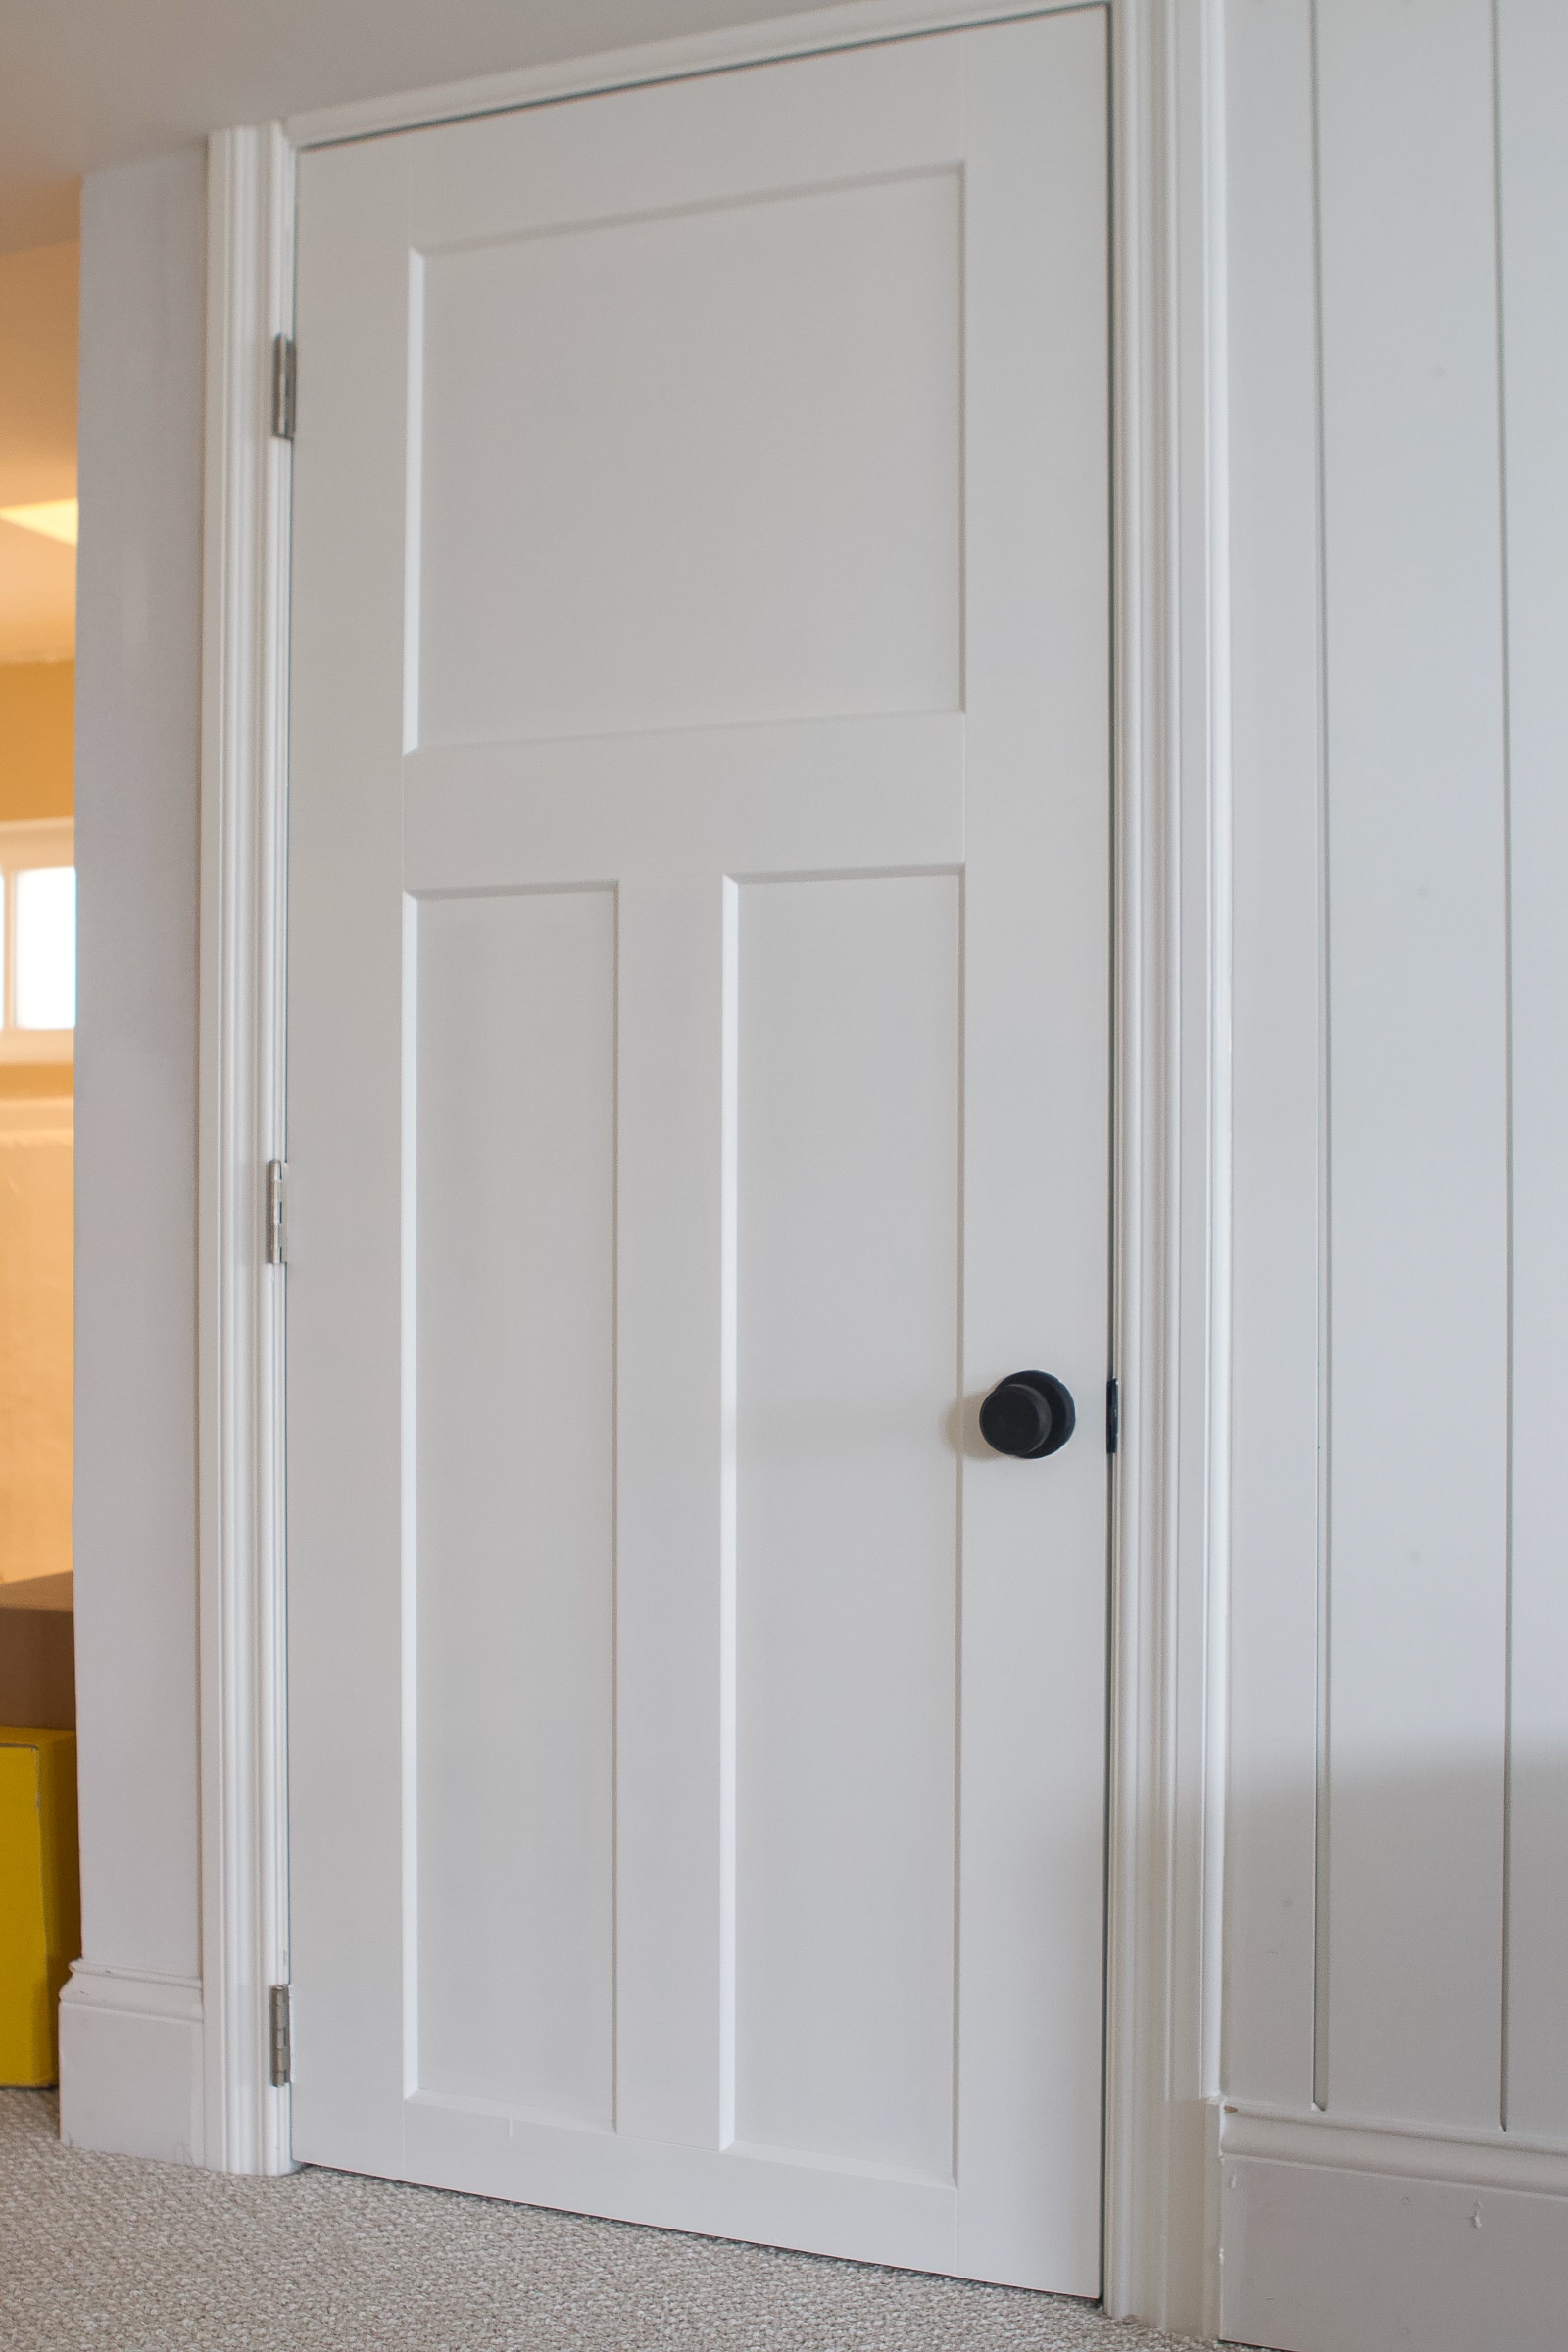
Tape It Off & Use A Utility Knife!
While it sometimes feels like a pain, prep work is what yields the best results and I would say it’s the most important step! The first thing I did was run a tack cloth all over the entire door. This is always a good idea because it will remove any sneaky dust or particles that may be hiding. You don’t want to paint over those!
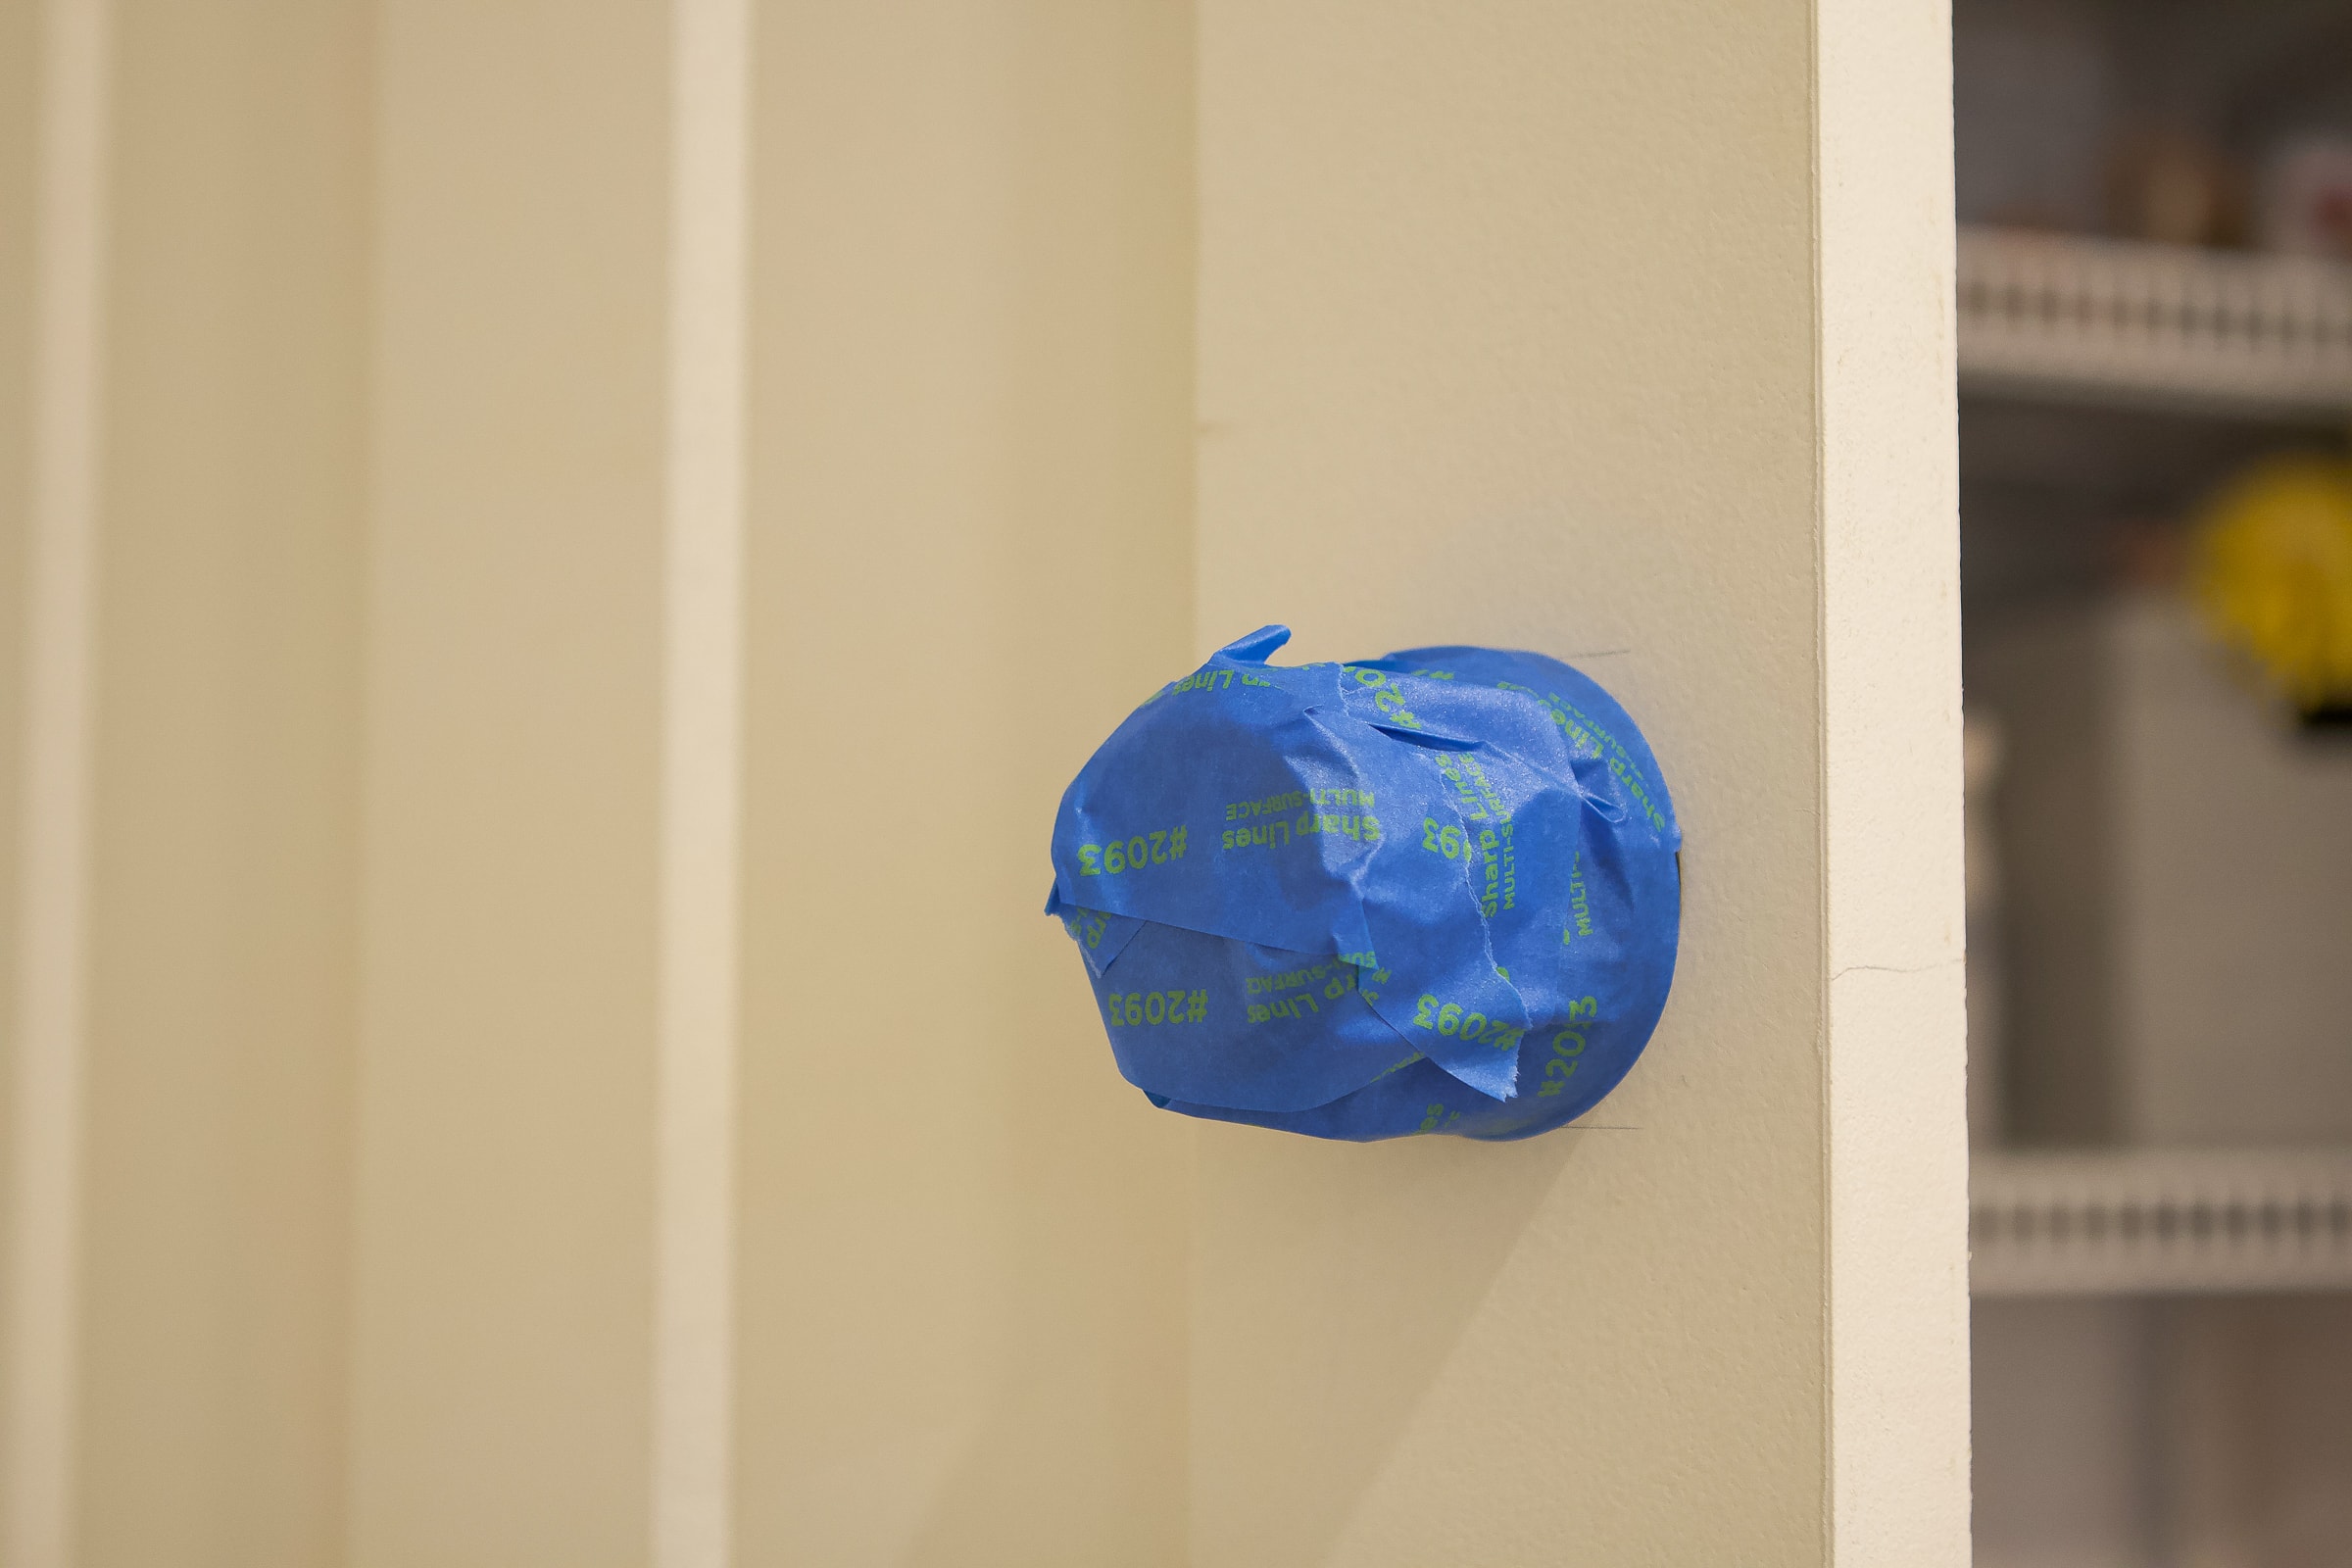
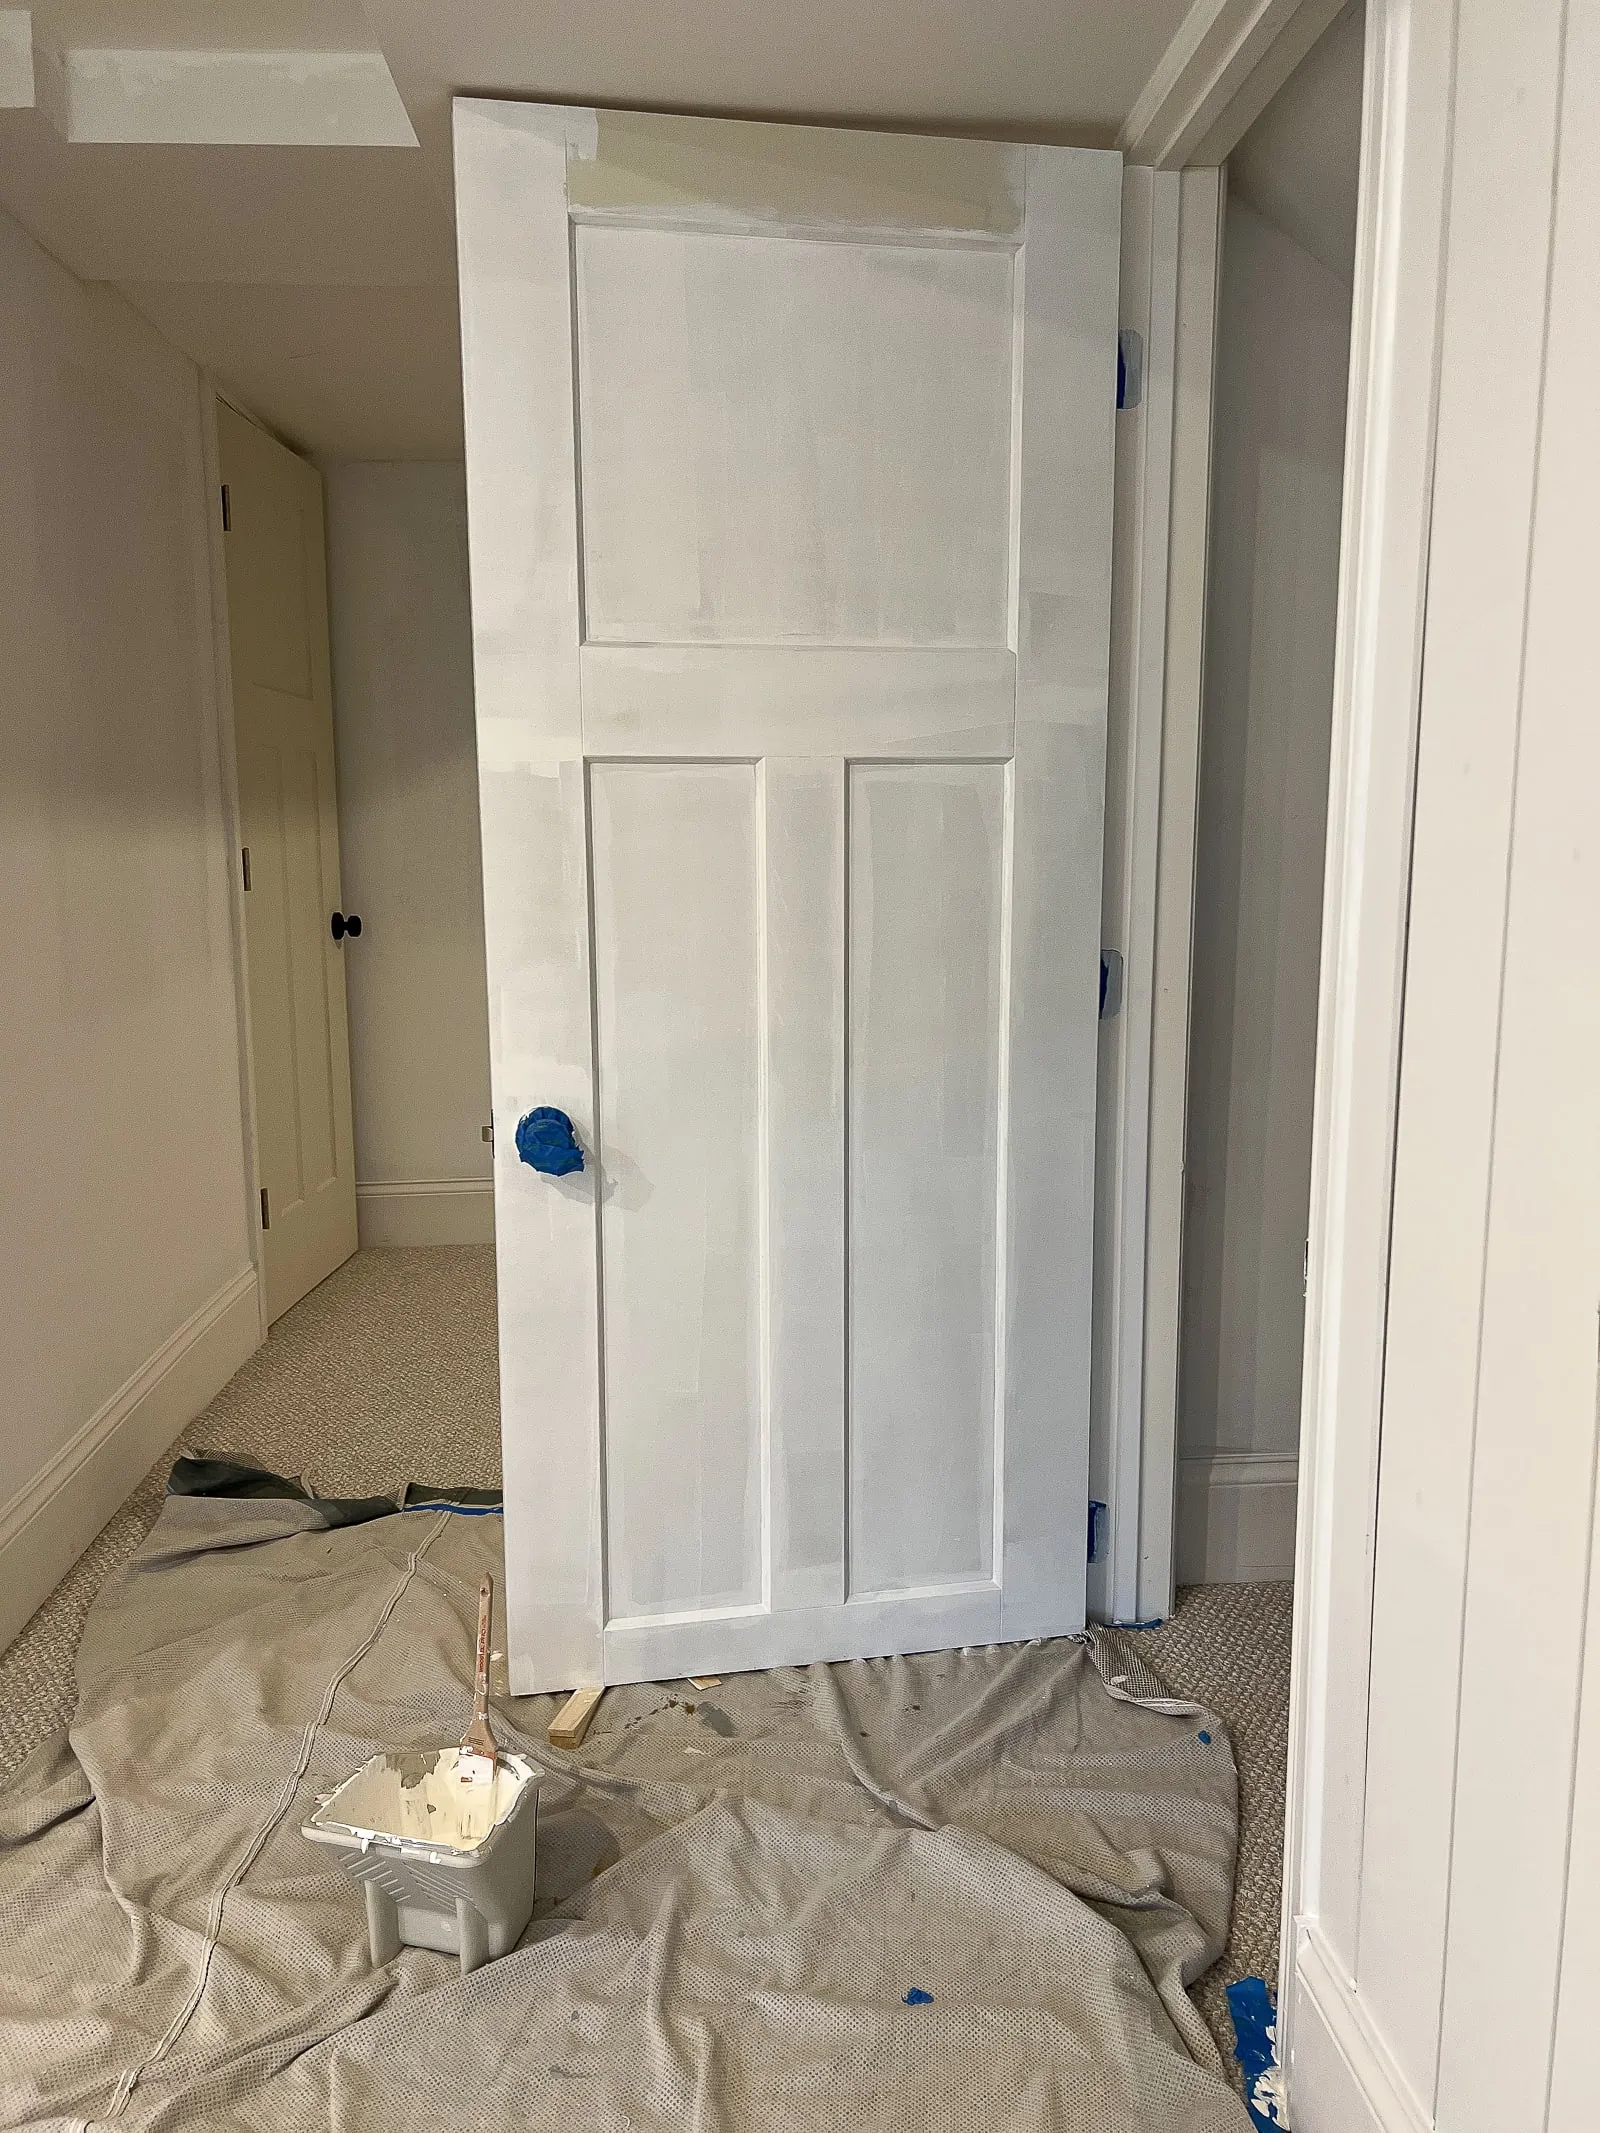
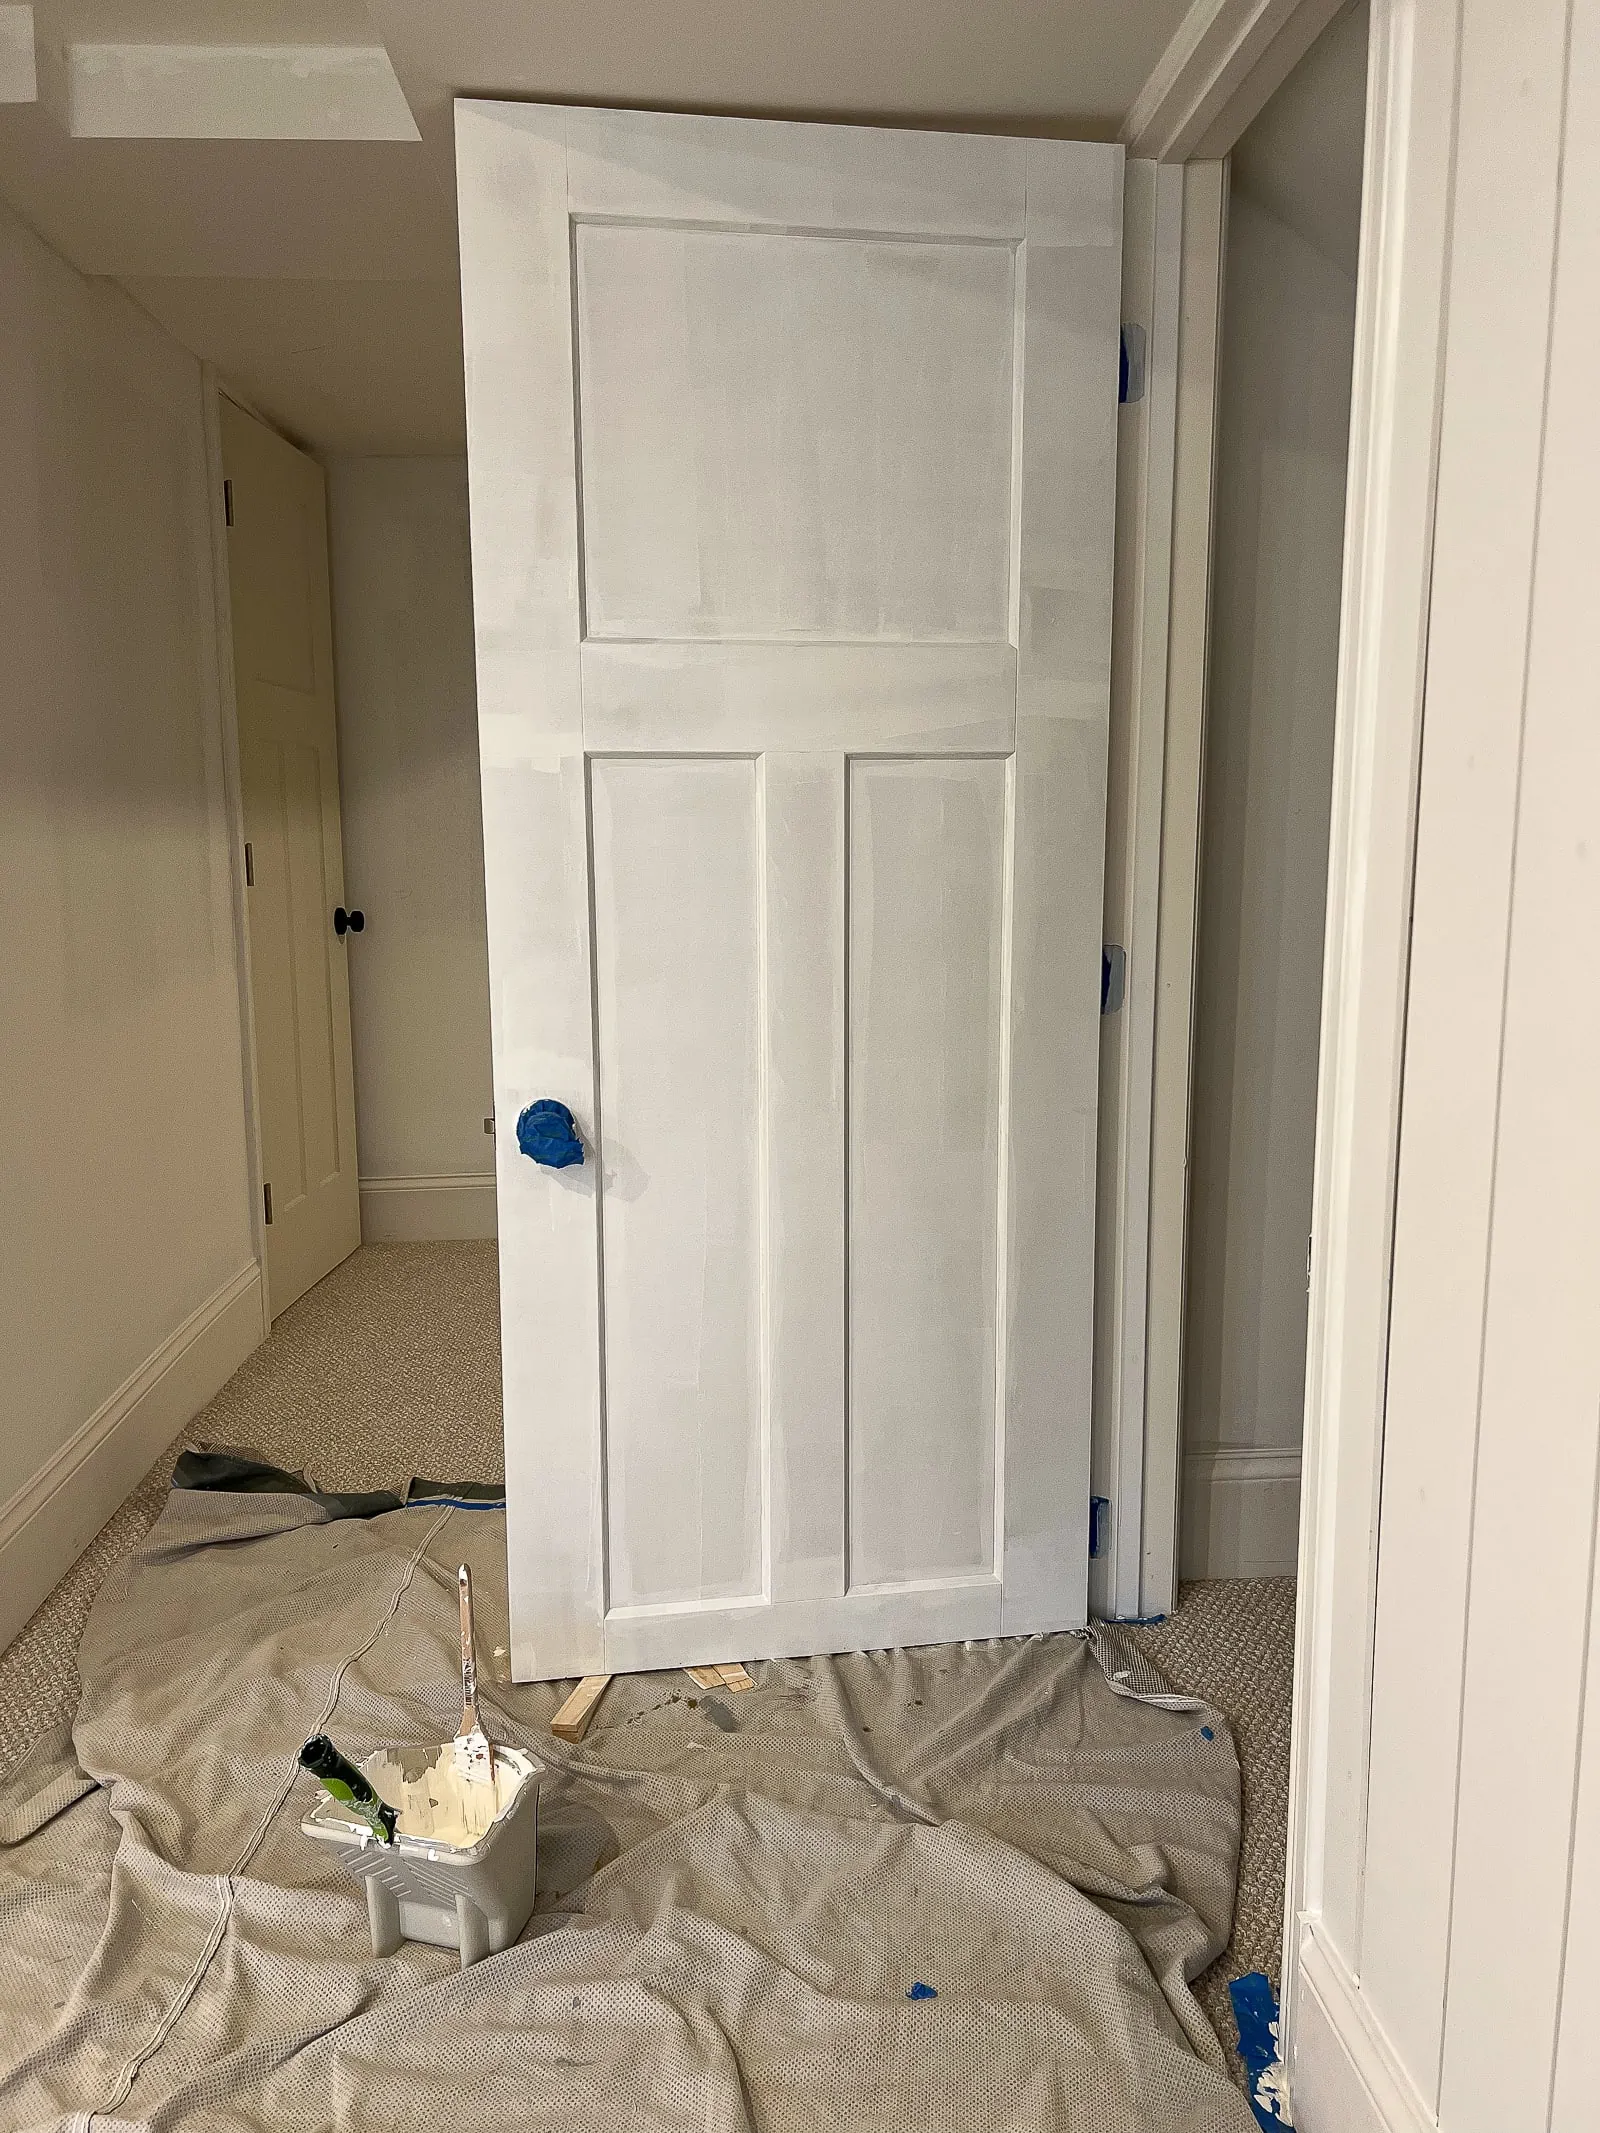
Next, I taped off the door to protect the knobs and hinges. Again, you can remove the door knobs completely if you want. For me, I thought it was easier to just tape away.
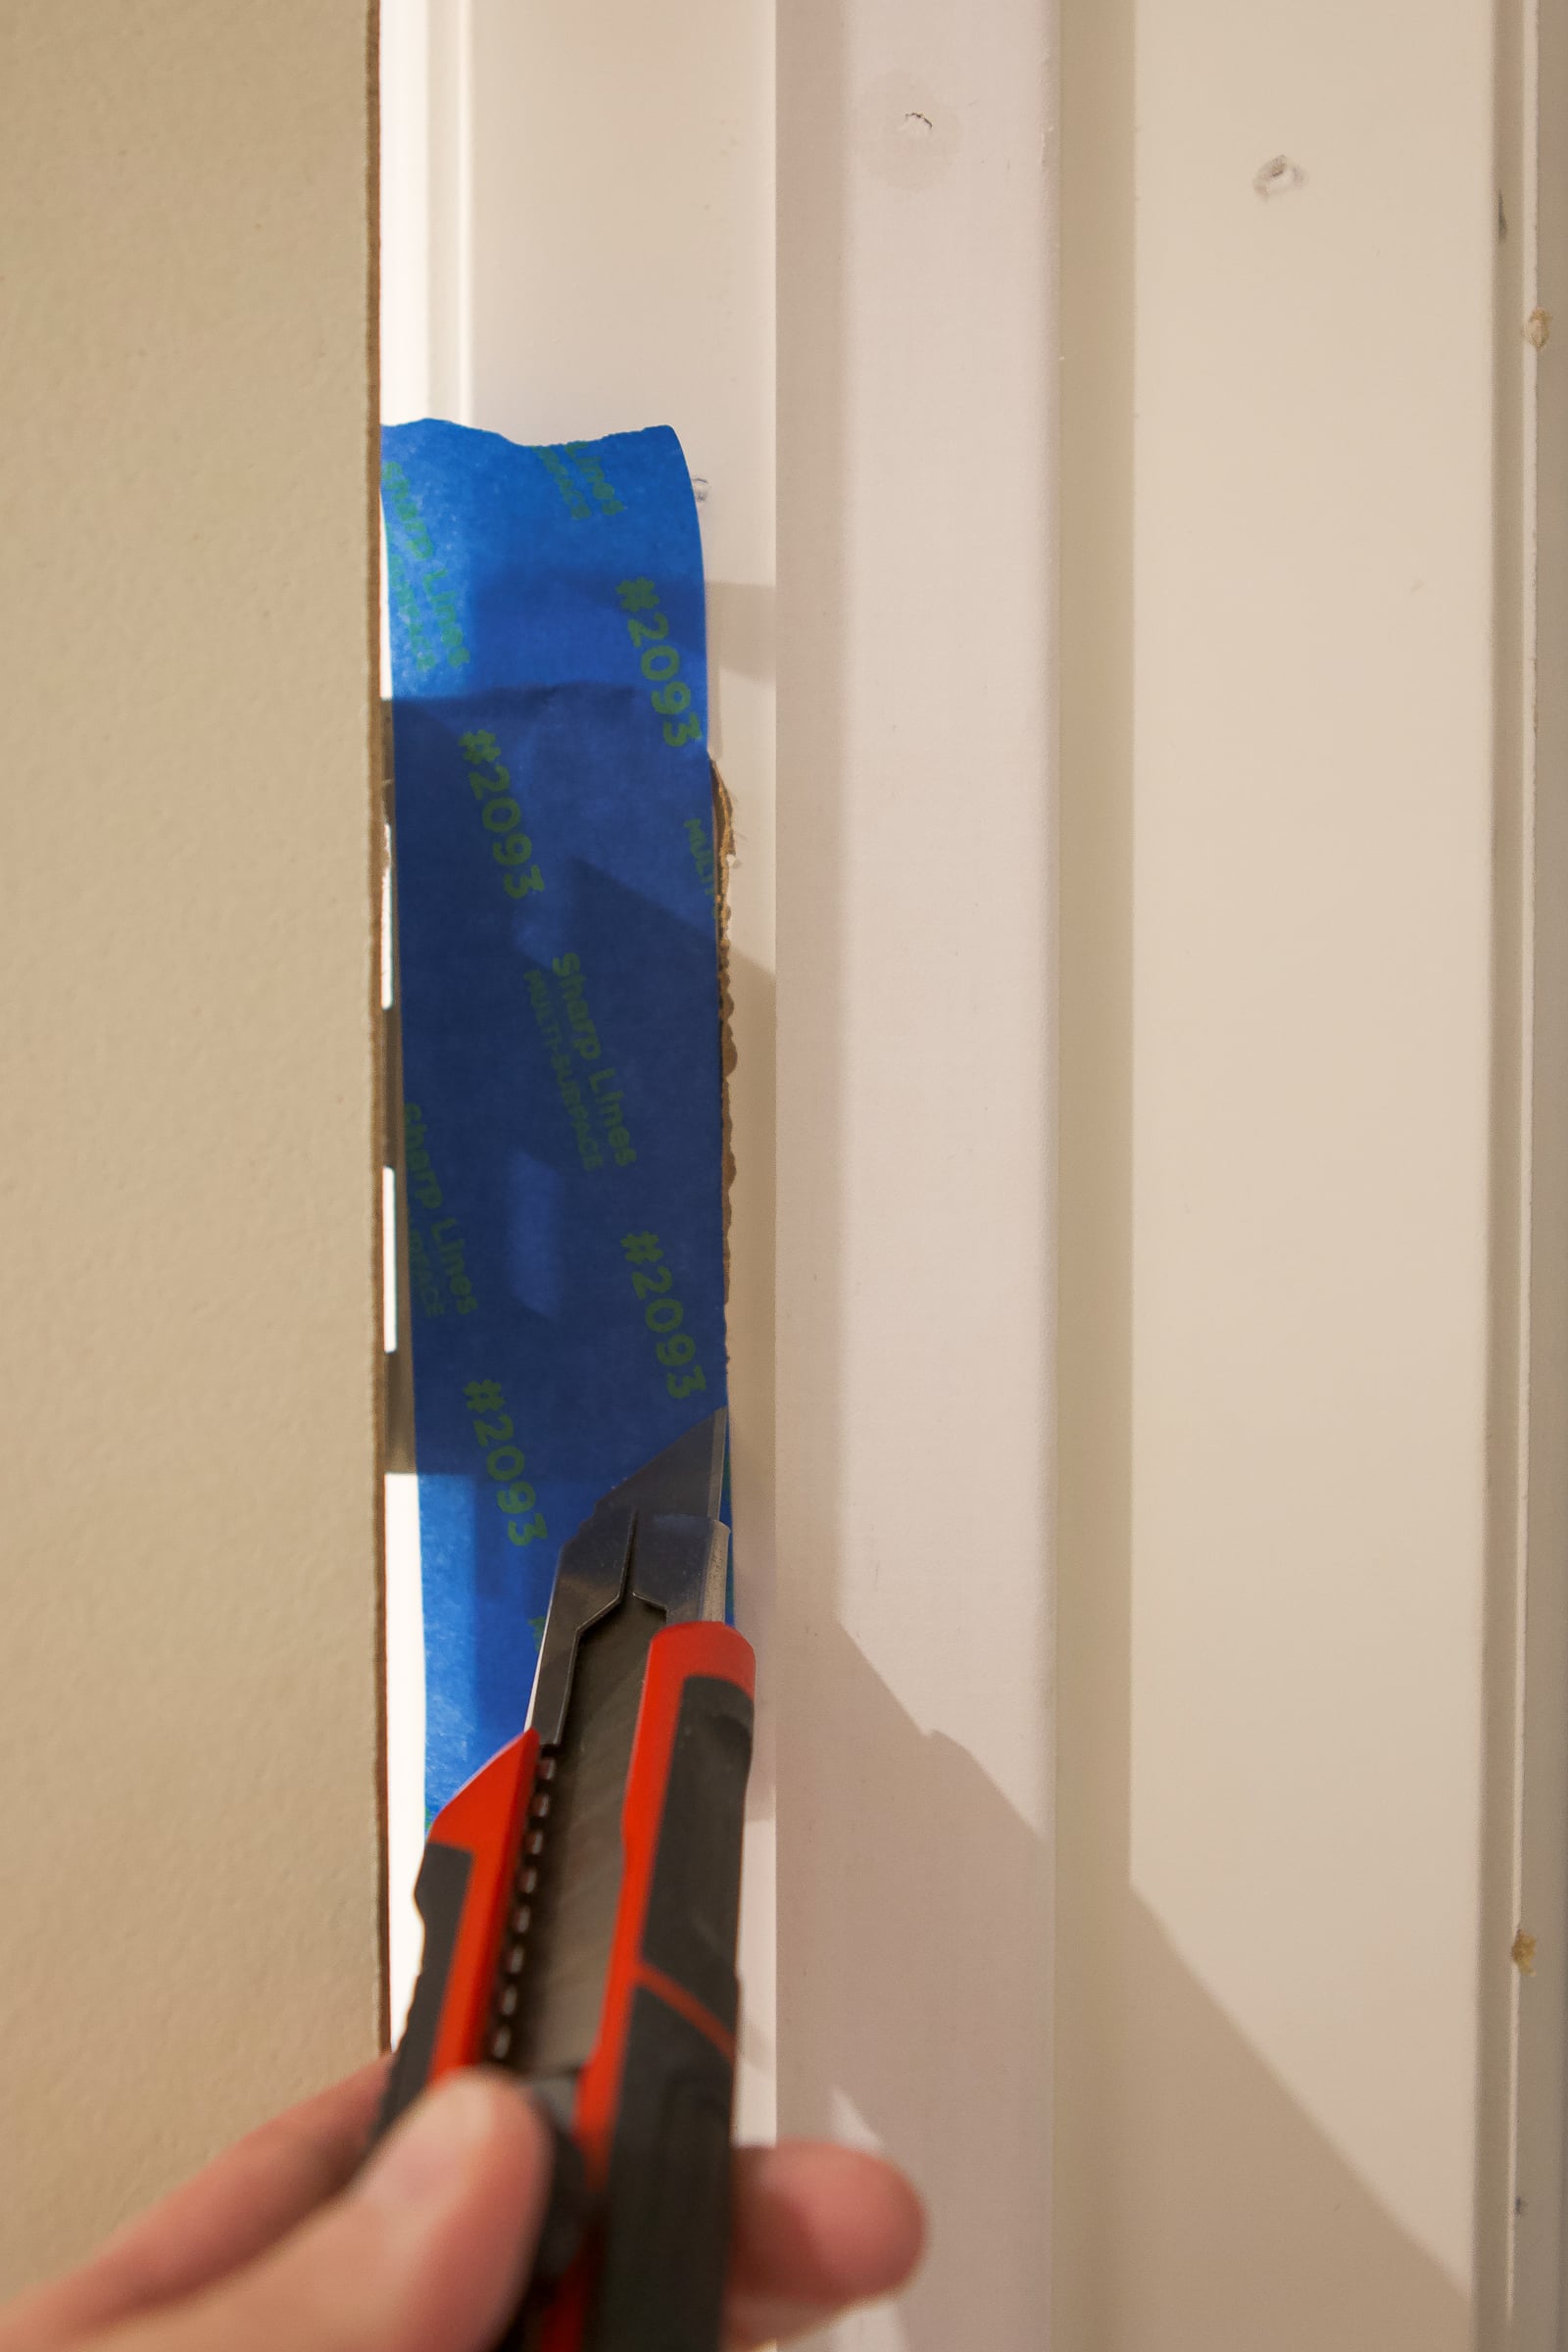
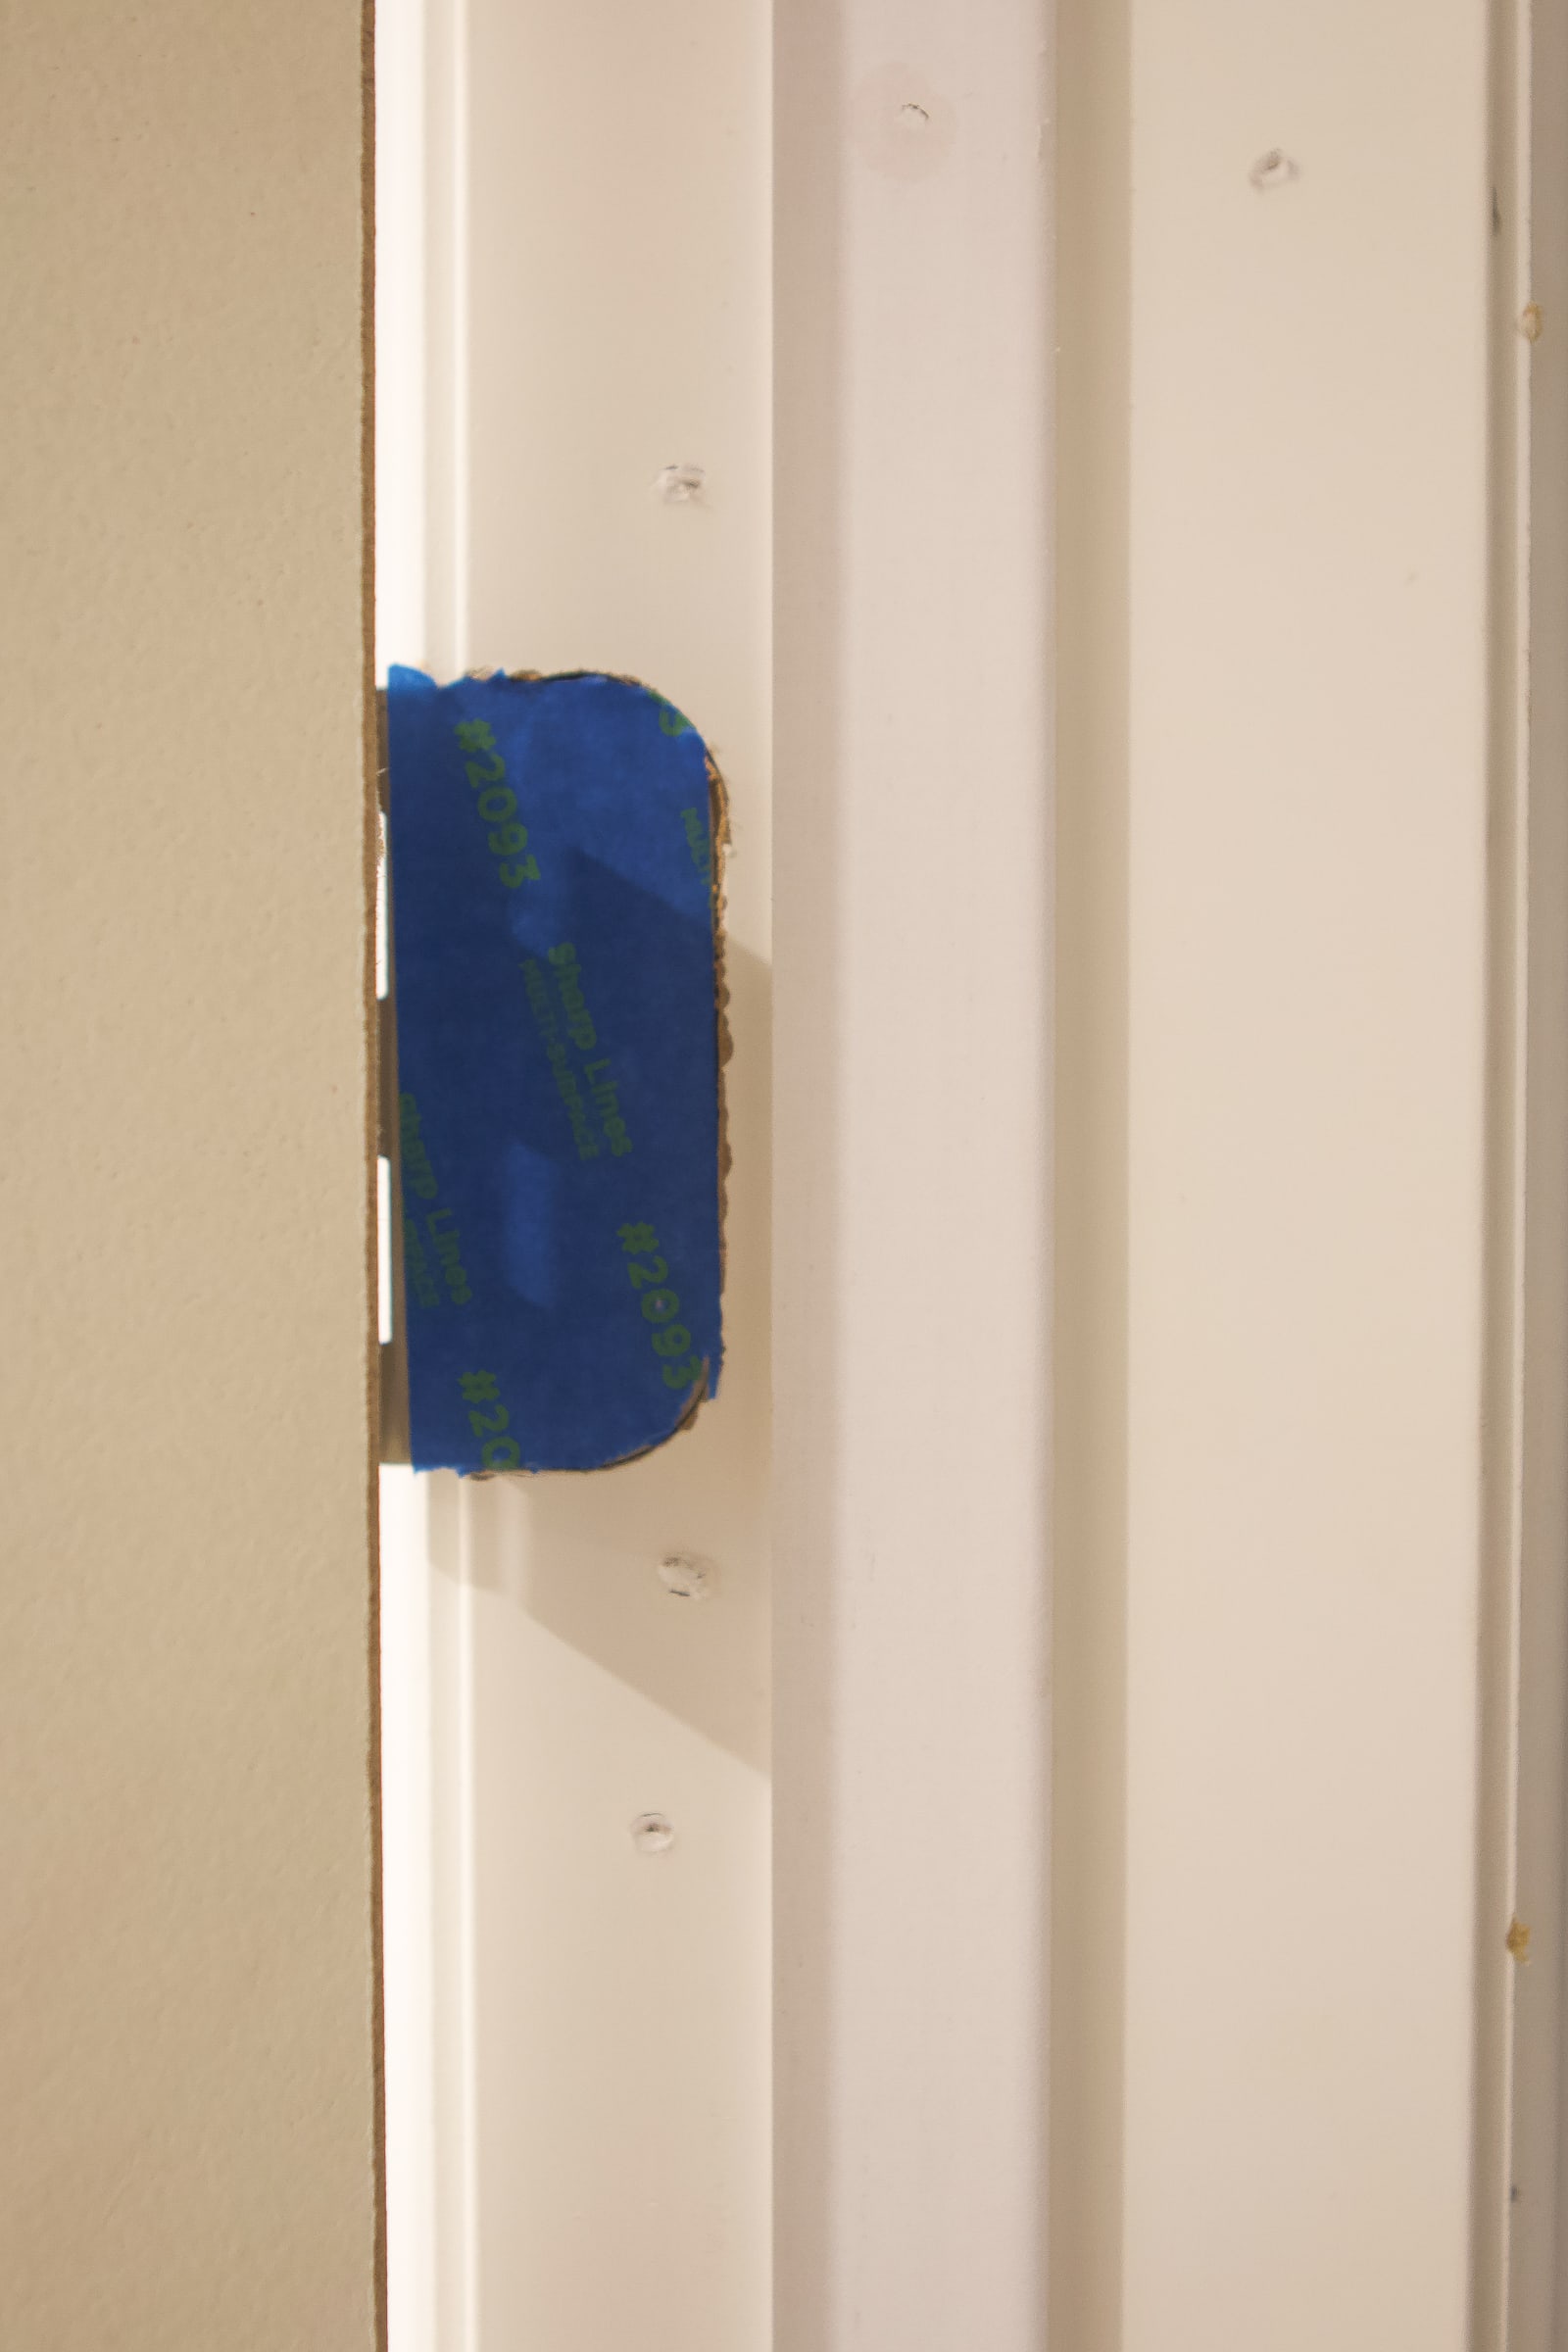
Here’s my little trick with the hinges. Place a piece of painter’s tape on the hinge and then grab your utility knife. You can then carefully trace around the hinge to remove the excess tape. This is much easier than using multiple pieces of tape to cover the entire hinge! I was amazed by how well this little trick worked for me!
On the floor, I placed drop cloths to protect the carpet, and I put some tape on the ground near the door frames that needed to be painted.
Use Wood Shims
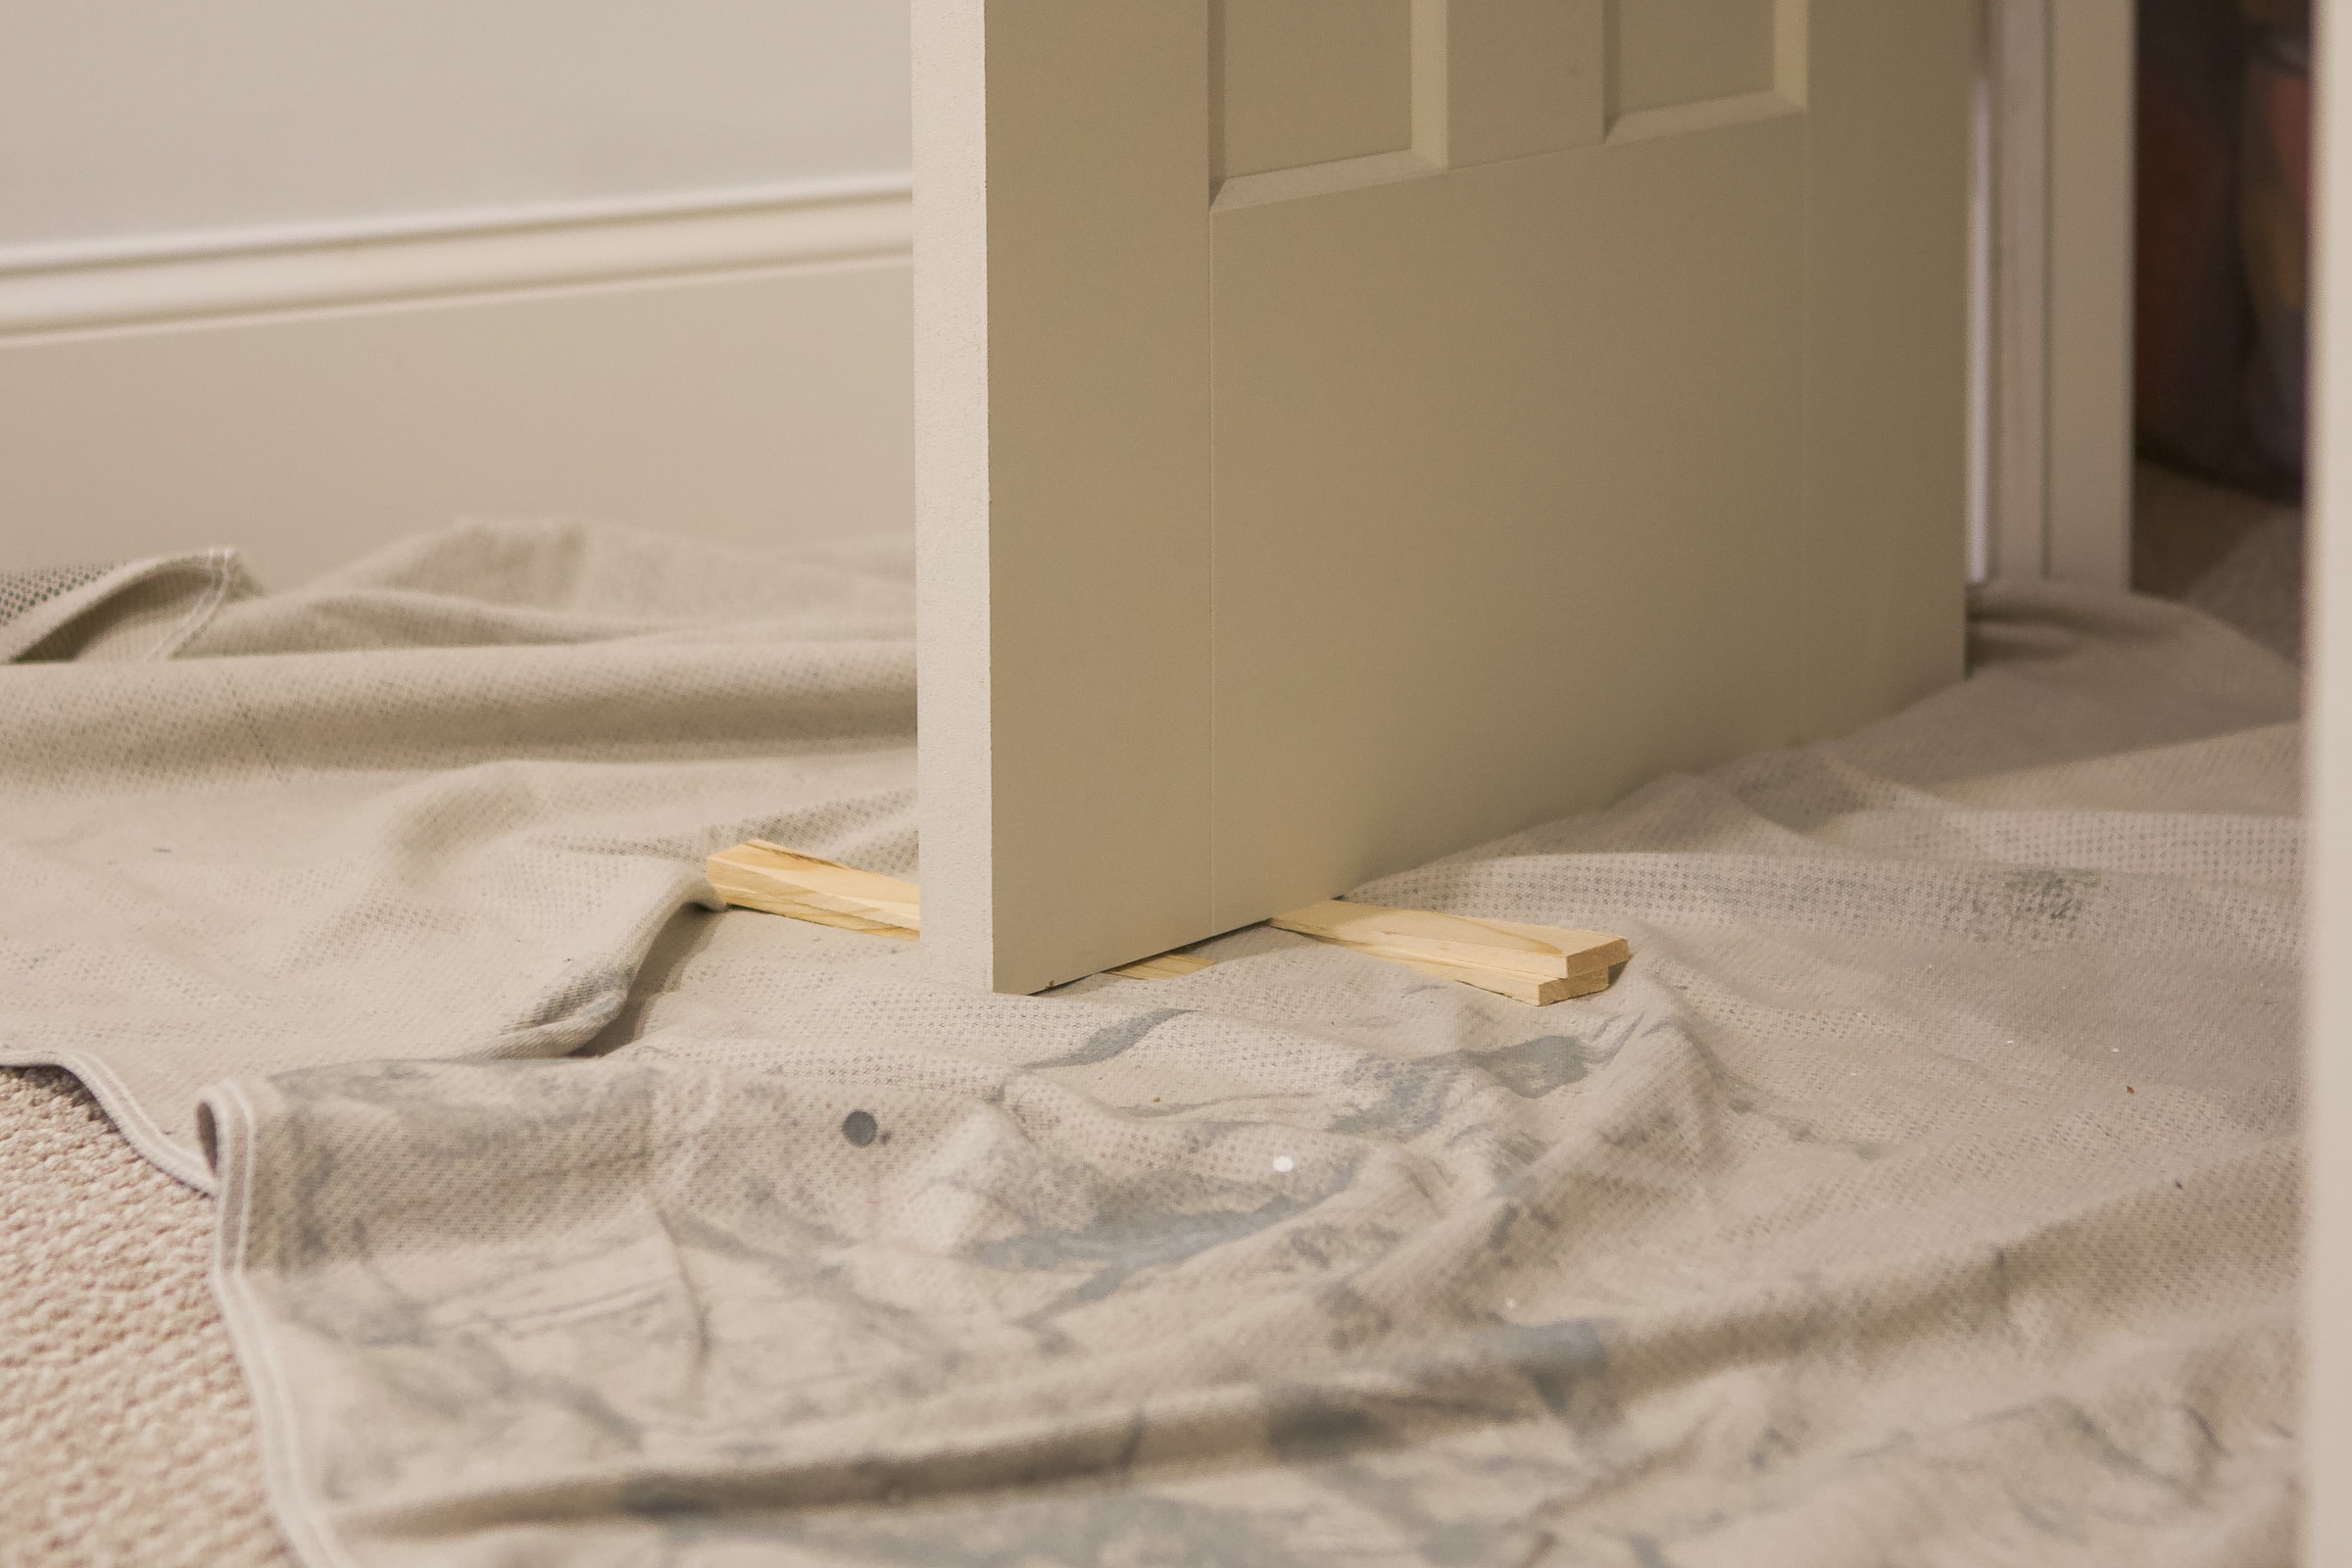
Now, this is a game-changer tip! To keep my door from moving when painting it, I used wood shims.
Since I was painting both sides (and pushing from each side), I placed wood shims on each side of the door so it was wedged into place and didn’t move. This hack worked wonderfully to keep my door in place, and prevented me from accidentally touching the edges of the door and ruining my fresh paint!
Pro painters match the visible edge to the visible face—so the edge you see when the door is open blends in. The latch edge should match the face you’re seeing. The hinge edge should match the back of the door.
Do You Need a Coat of Primer?
Before you grab your brush, it’s important to figure out if your door needs a coat of primer. A lot of newer doors come pre-primed, like mine did in the basement, so you can go straight to paint. But in some situations, primer is a must:
- Bare wood or raw new doors: primer helps seal the surface so your topcoat looks even.
- Old doors with stains or yellowing: primer blocks bleed-through.
- Dark-to-light color changes: primer saves you from needing too many coats.
- Switching from oil-based paint to latex paint: you’ll want a bonding primer in between.
Not sure if you’ve got oil-based paint under there? Rub a little rubbing alcohol on the surface. If paint comes off, it’s latex. If nothing comes off, it’s oil.
Think of primer as the “insurance policy” for your project. Skipping it when you need it usually leads to more work later.
The Order Of Painting

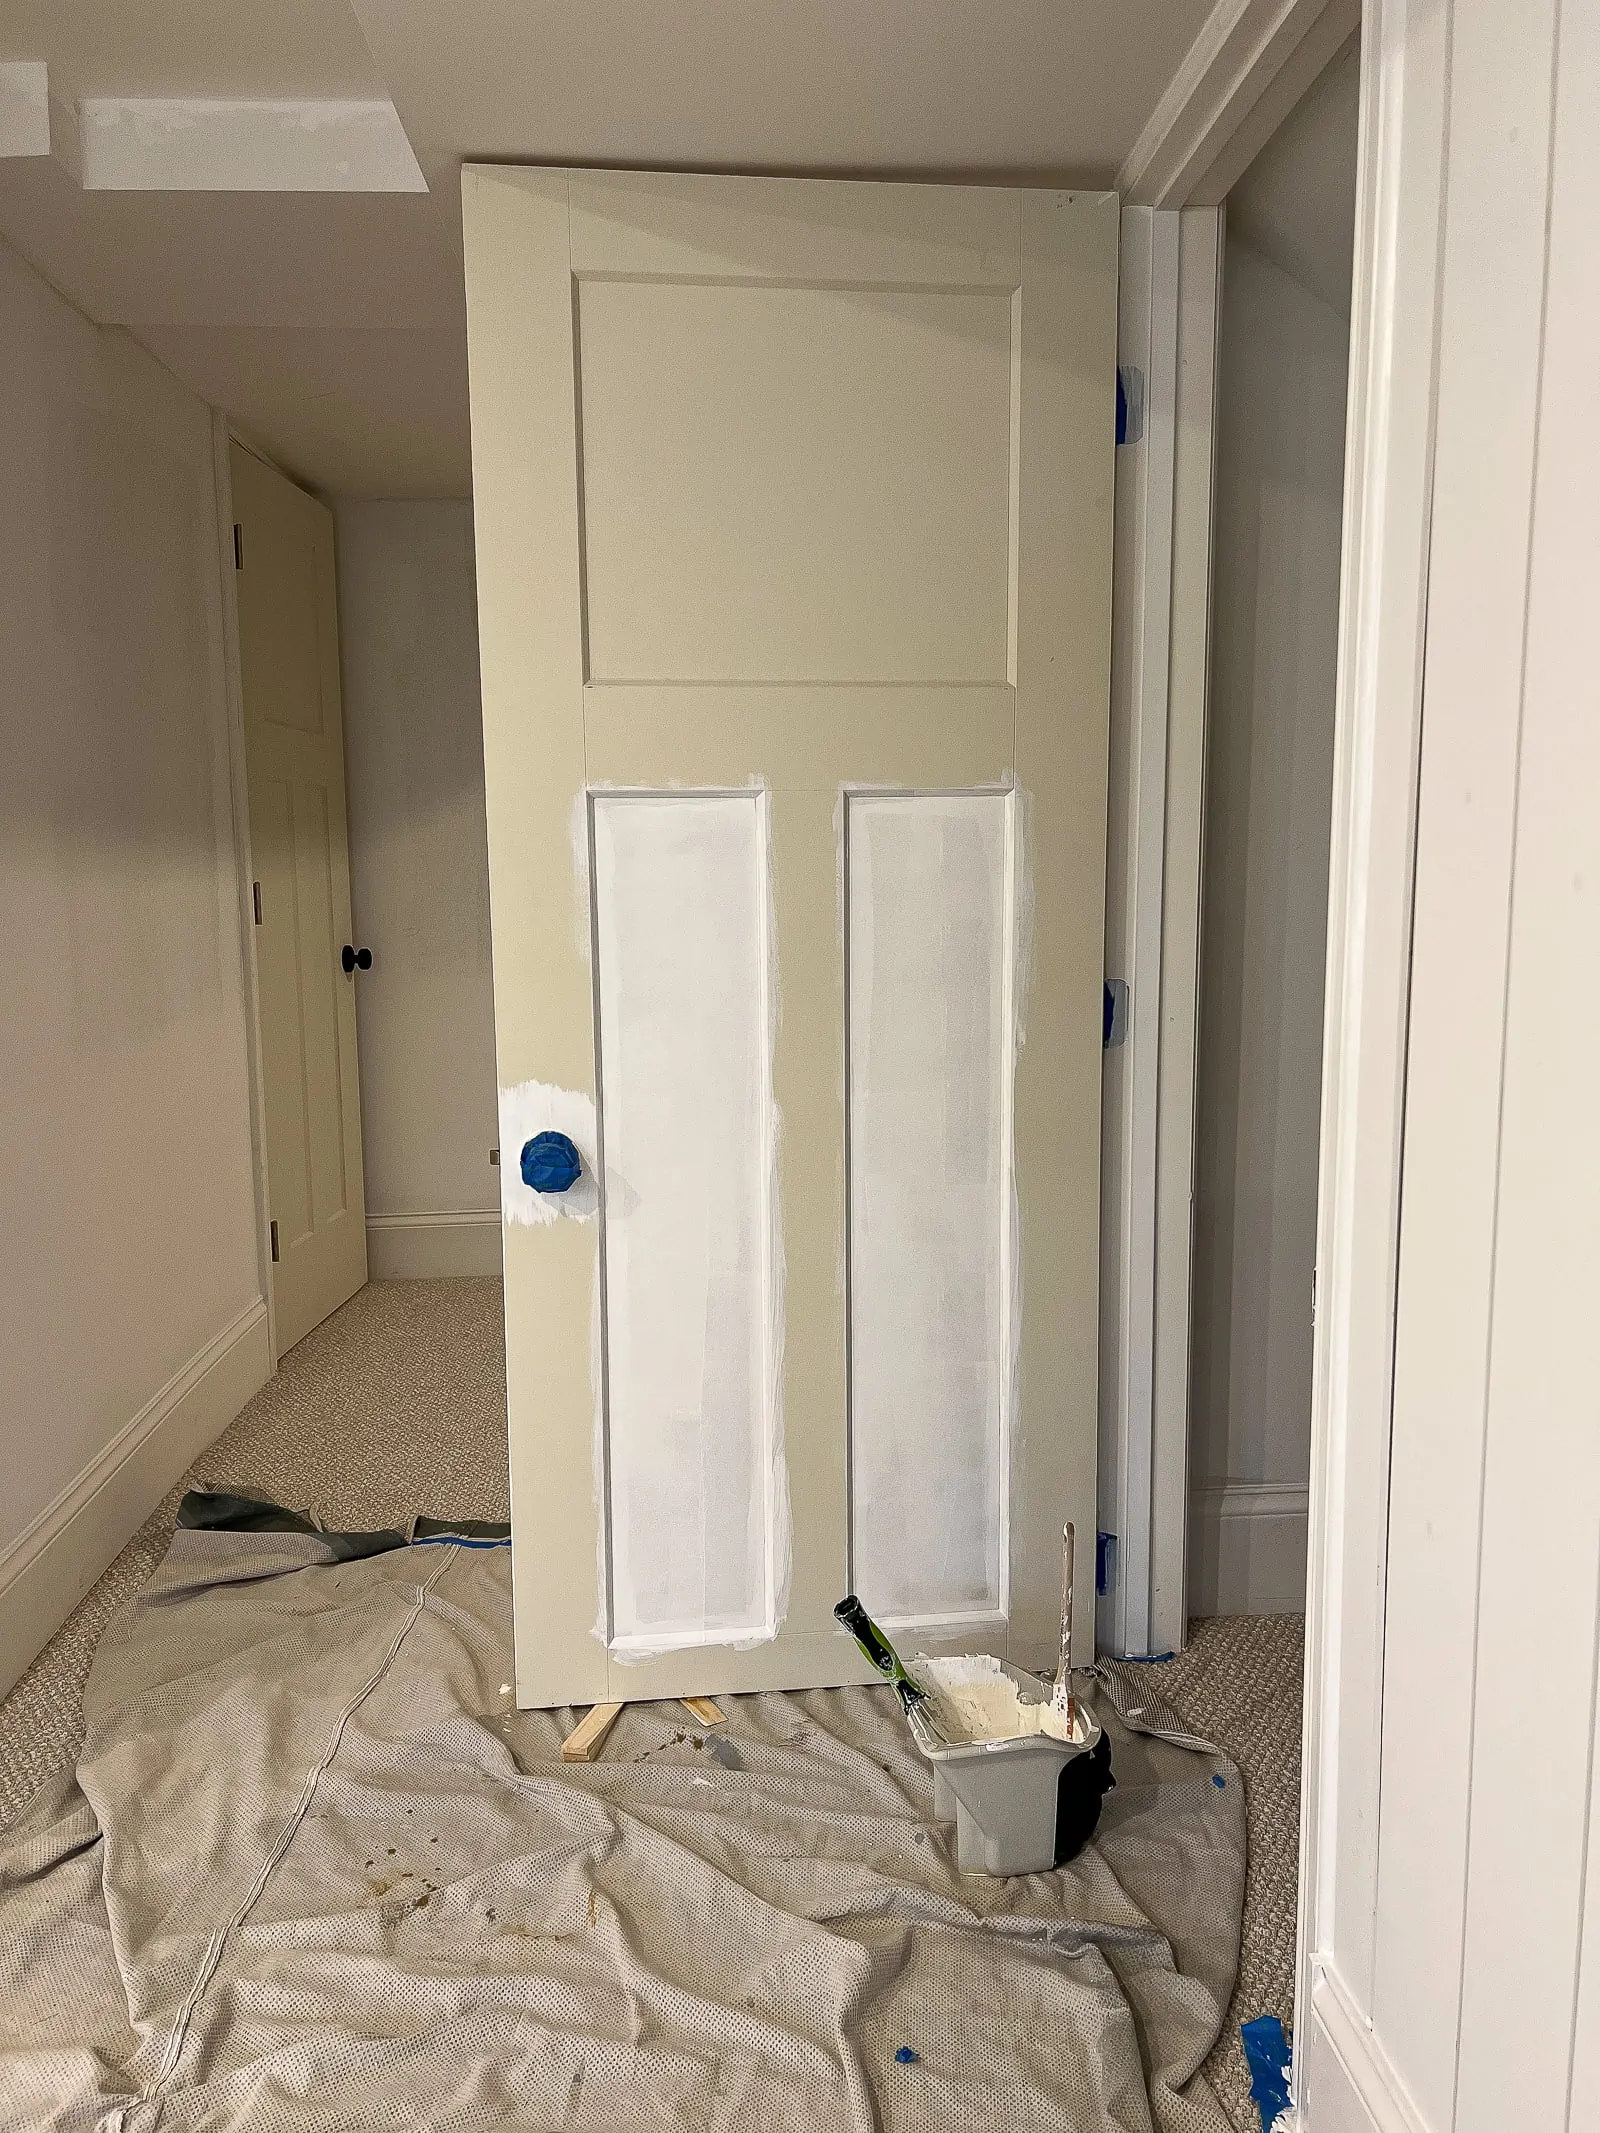
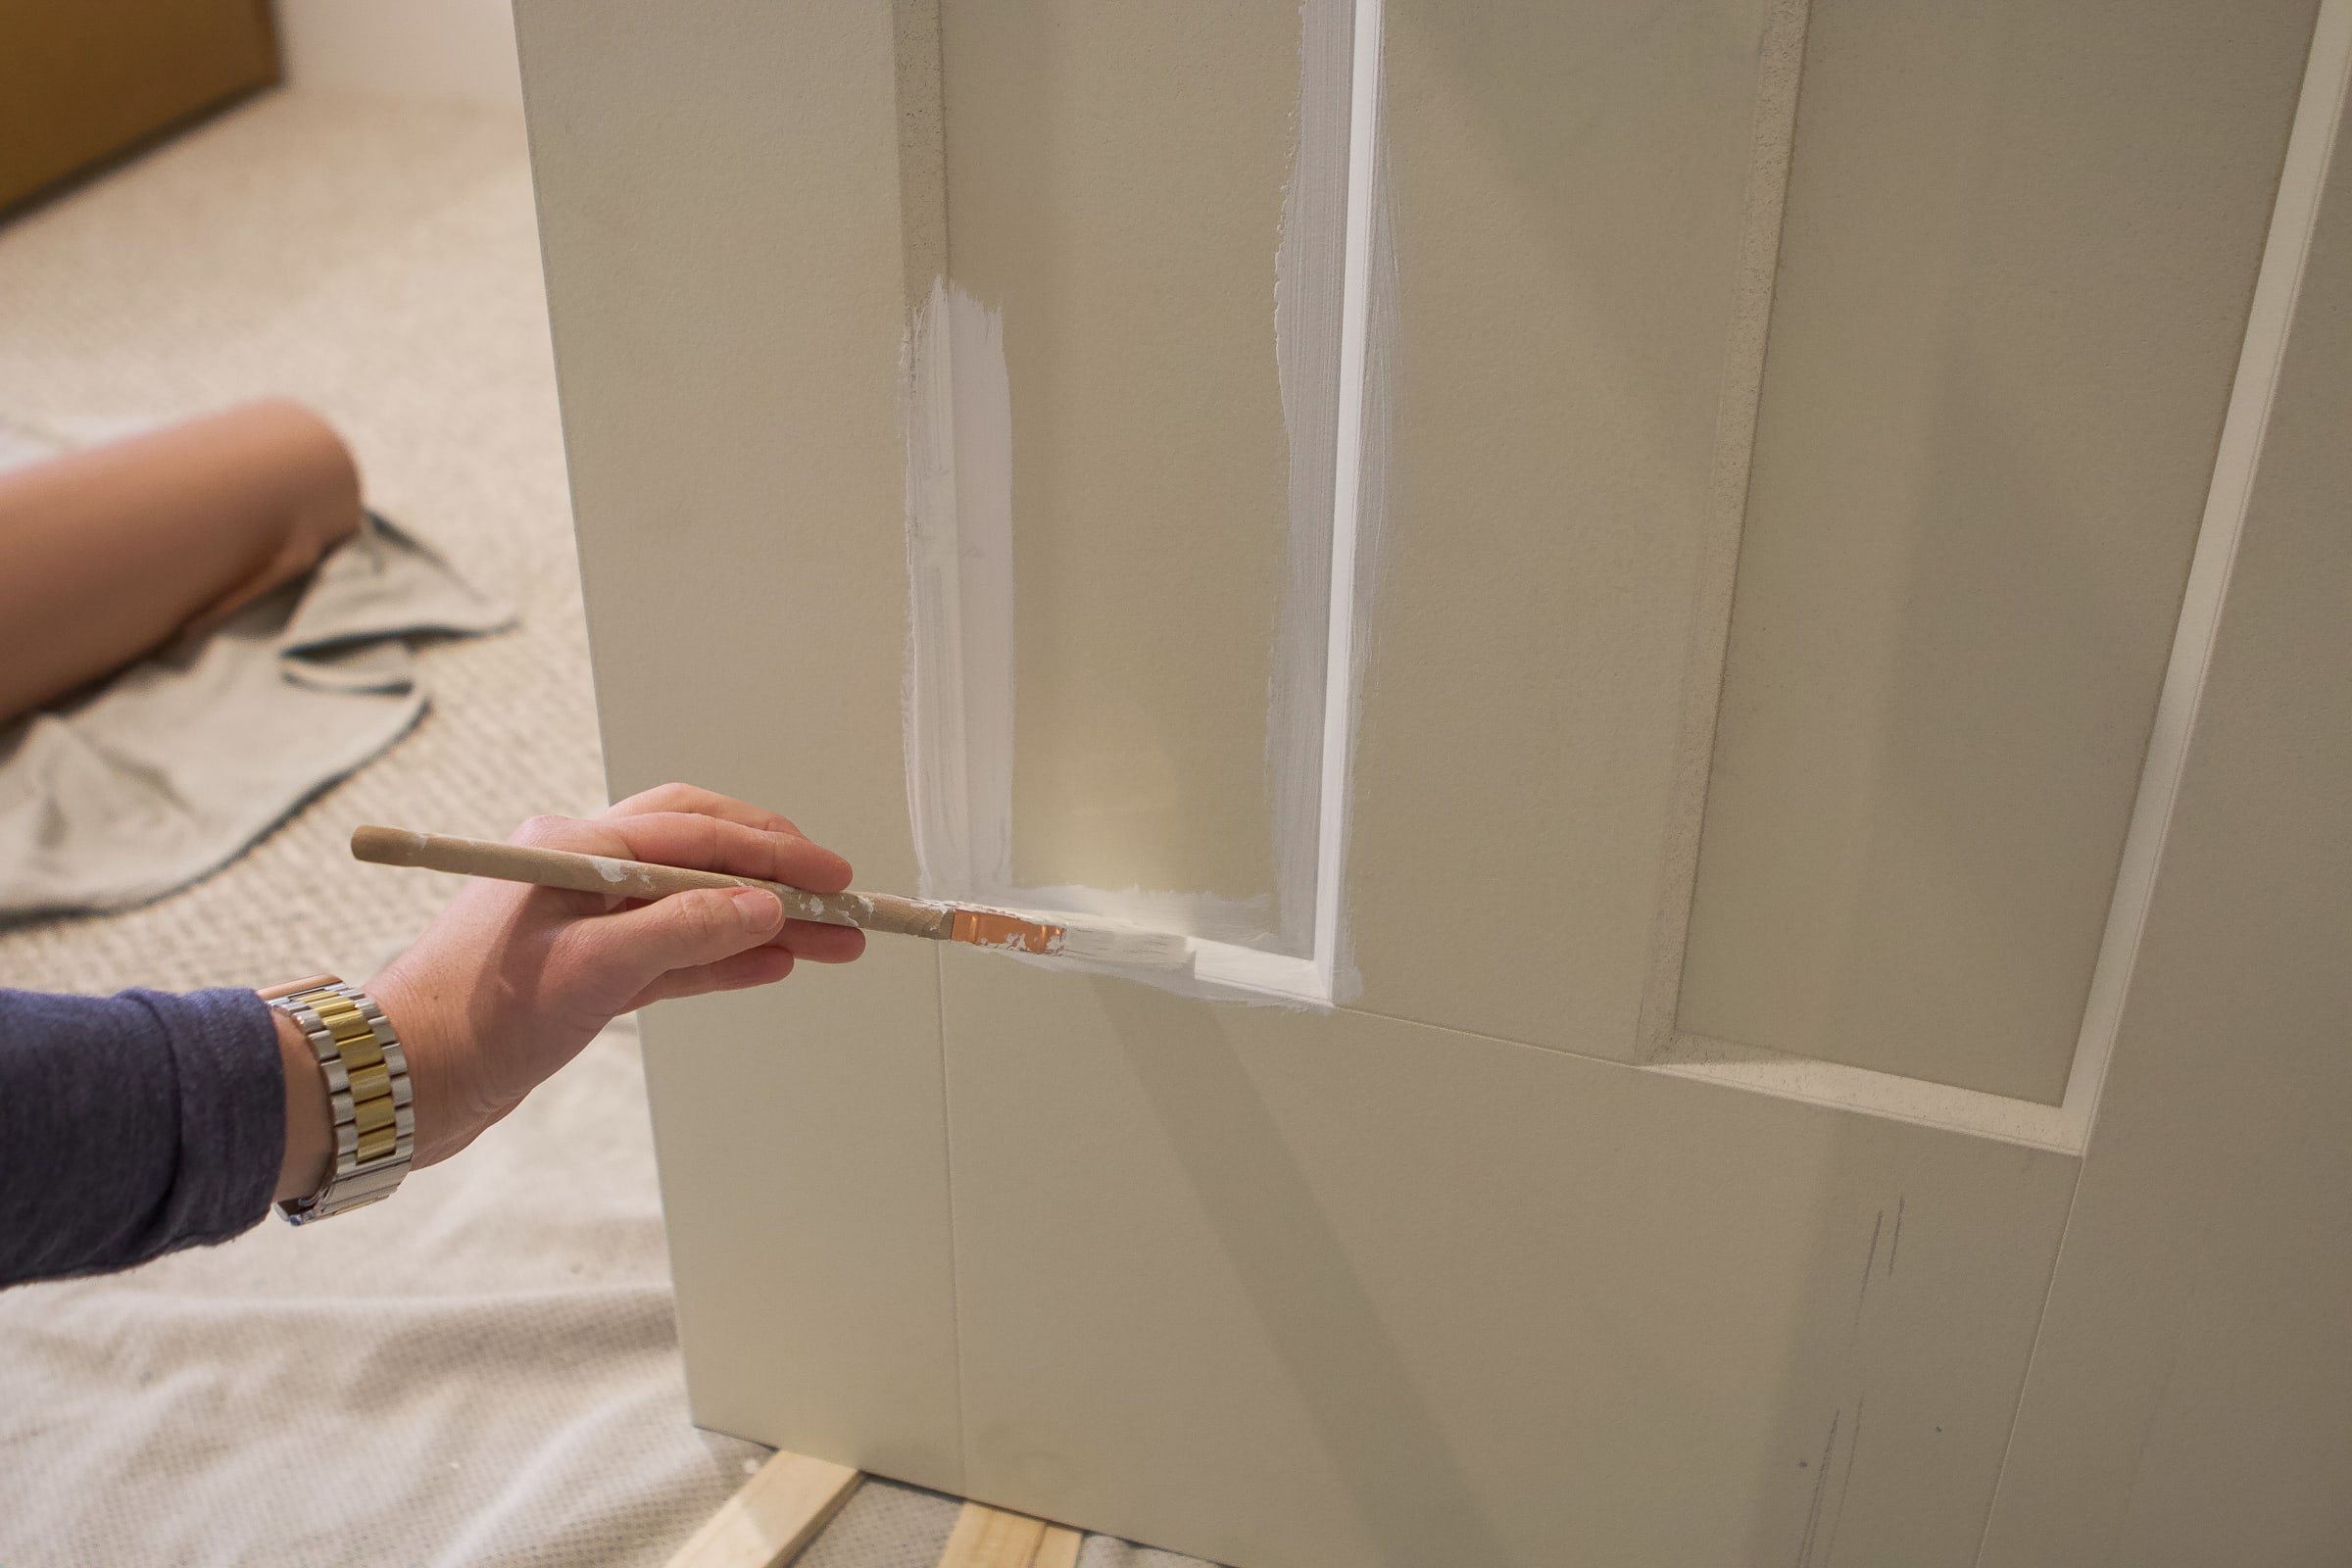
Since my doors came pre-primed, I was able to go right to paint and skip the primer. I found the best technique was to start with my brush and cover the inset area first.
Then, before that area started to dry, I used my small roller to roll inside those long rectangles, and I used my brush to paint around the doorknob.
Next, I did the same thing on the top inset area – brush first, and then roller. Finally, I rolled over all of the rest of the door panel areas. It was a tedious first coat, but it was the best way for me to make sure that every surface of the door had an even coat of paint.
My Paint Order for Zero Brush Marks
- Panels first: Brush into the recessed profiles, then immediately roll those areas with a 4″ high-density foam sleeve to level.
- Rails & stiles: Work top, down, long strokes, light pressure.
- Edges: Do them last and maintain a wet edge. Don’t over-work what’s setting.
- Don’t back-roll after 2–3 minutes: Once paint starts setting, extra passes create texture.

The number-one mistake is heavy coats. Go thin and even—that’s how you avoid drips and texture.
What’s the Best Paint for Interior Doors?
There are so many options, and honestly, a lot comes down to personal preference. But here are a few best practices for choosing the right paint:
- Paint Sheens: Satin and semi-gloss are the most popular paint sheens for doors. Satin gives you a softer look with a little less shine. Semi-gloss is more durable and wipes clean easily. It is perfect for kitchen and bathroom doors that see a lot of use. For more information about paint sheens, check out this comprehensive blog post.
- Type of Paint: Enamels are your friend here. Products like Benjamin Moore Advance or Sherwin-Williams Emerald Urethane dry hard, self-level for fewer brush strokes, and hold up to daily use.
- Color Choices: You can never go wrong with a classic white door against white walls. But I also love black doors as a fun color accent. This page has dozens of posts that can guide you in choosing the best paint color.
Bottom line: the best paint for your doors is one that gives you a smooth finish, holds up to cleaning, and works with the rest of your home design.
Save Your Brush & Roller For Later
Each door took me about an hour to completely finish. I had to prep it, paint each side, paint the door frame, and give it three light coats. I snuck this project in over the course of a few days’ worth of nap times, and even after bedtime.
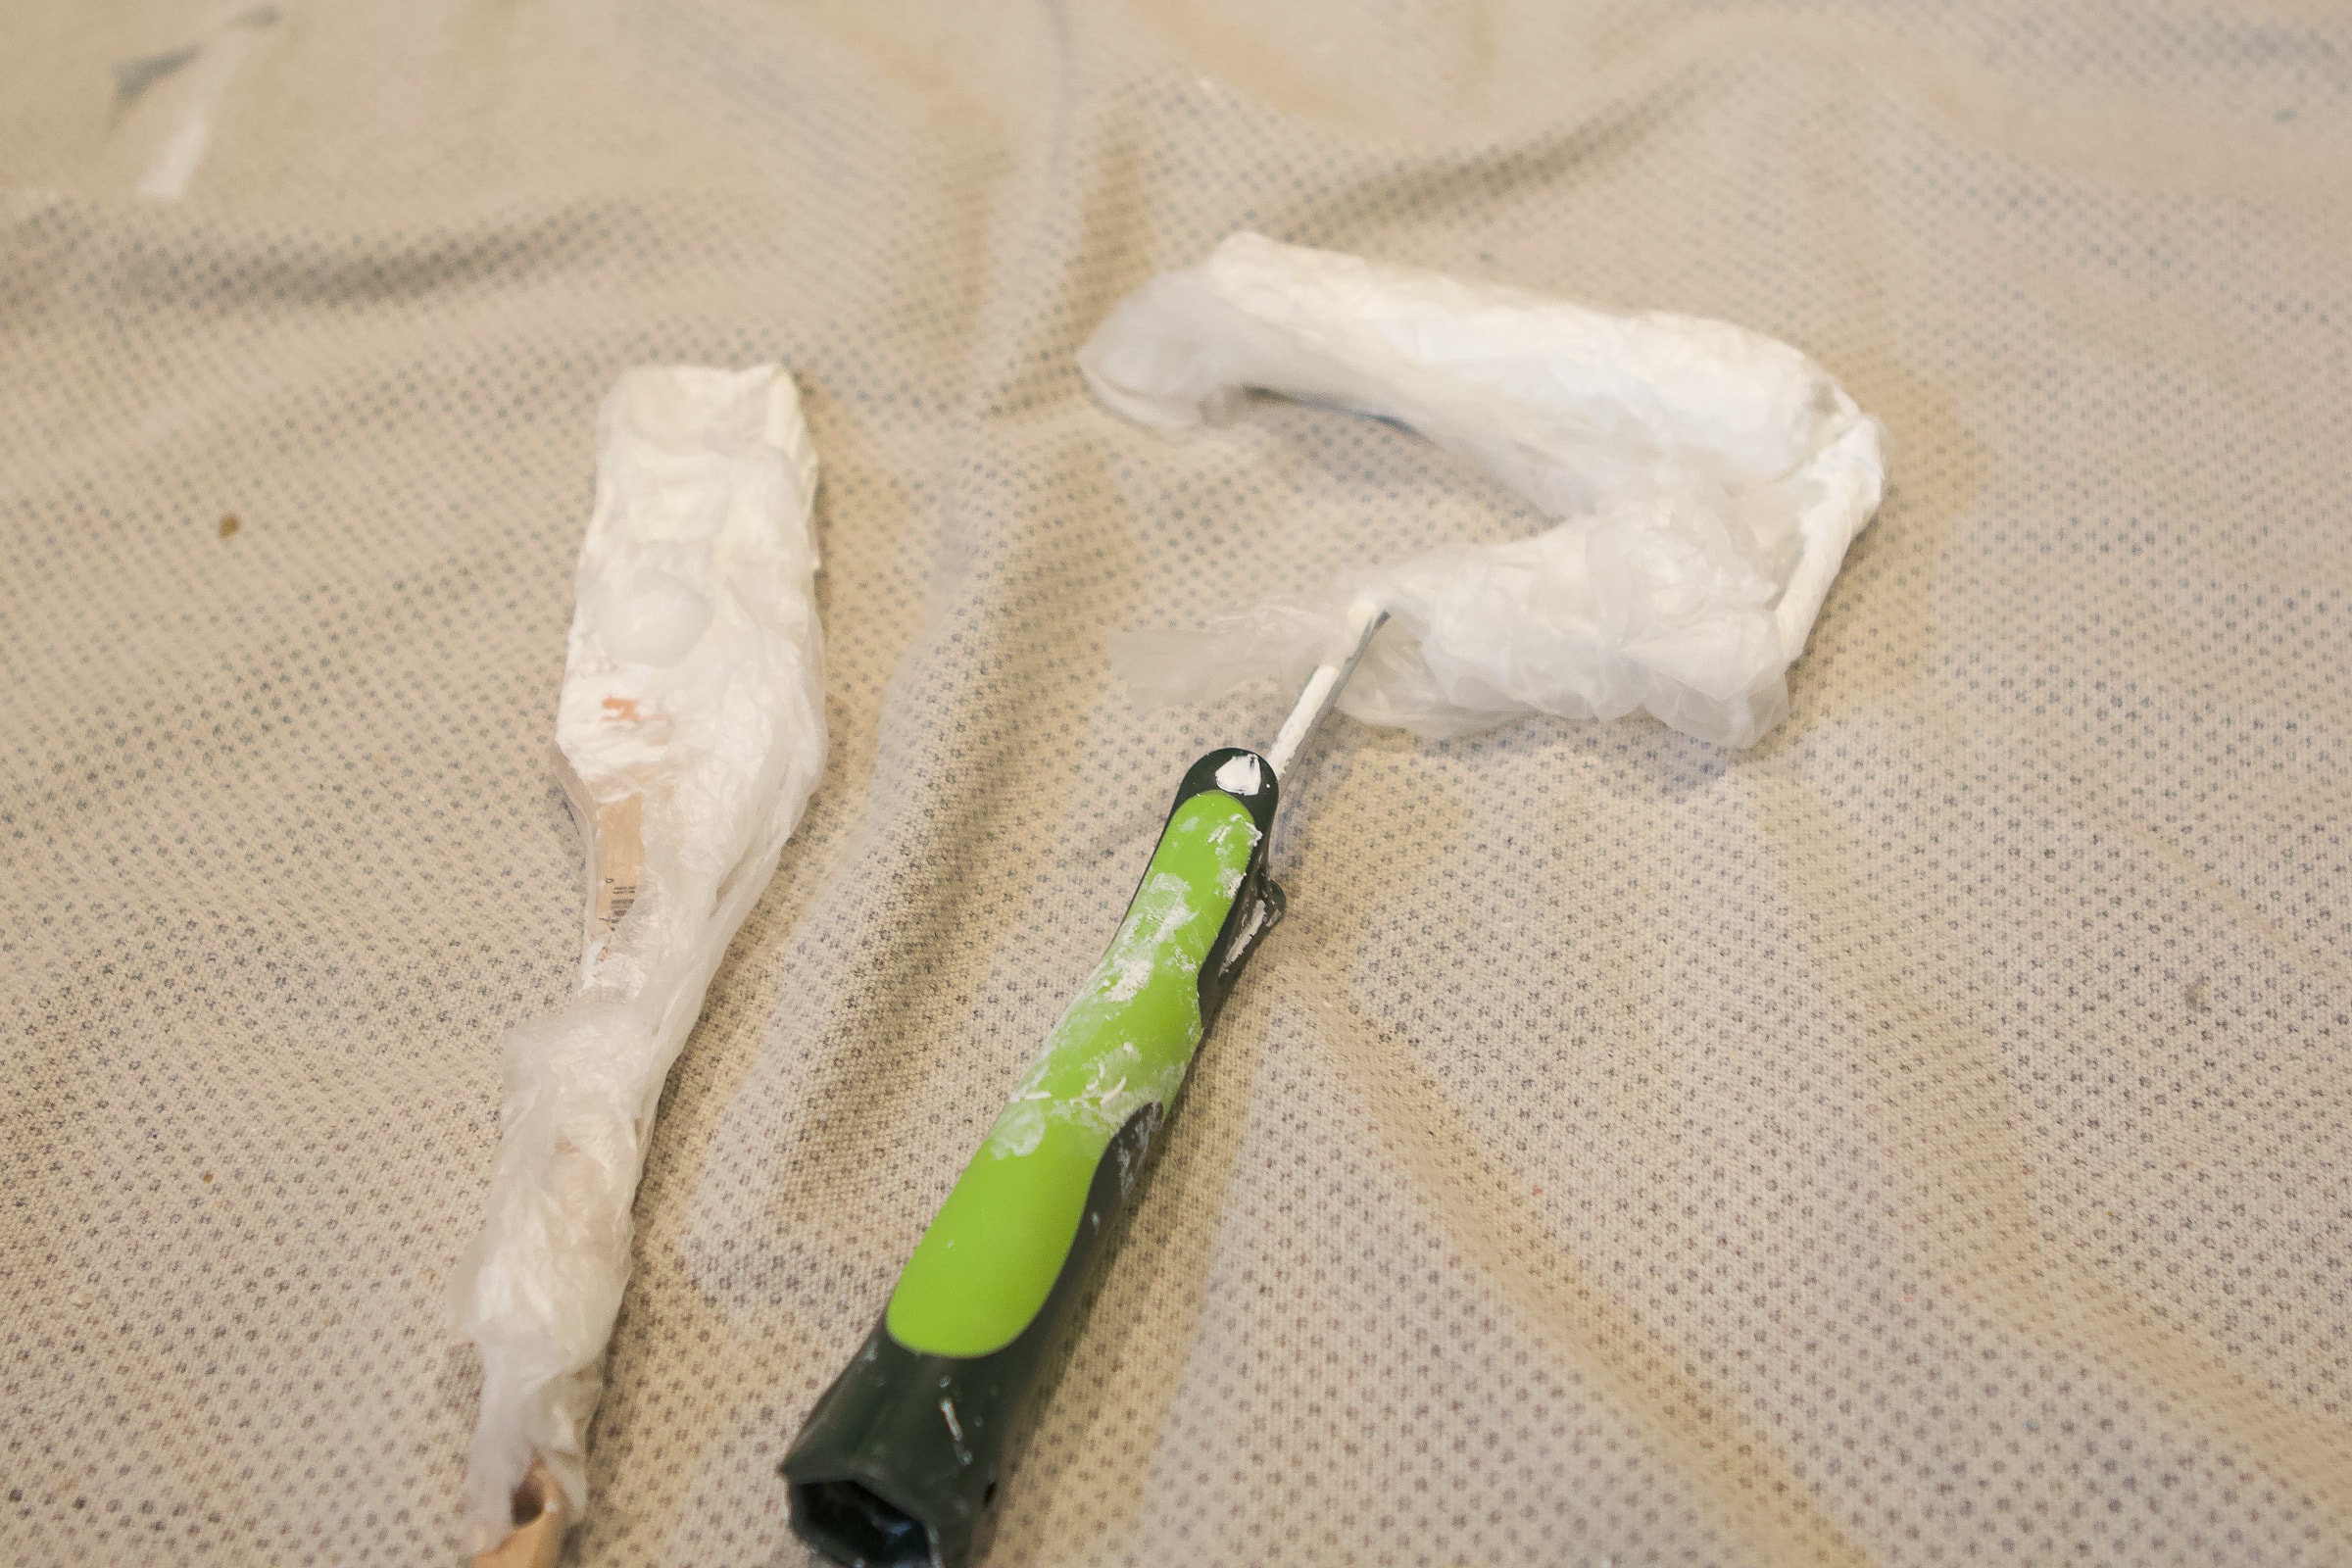
To keep my brush and foam roller from drying out, I used Saran Wrap on them and popped them into the fridge! This was my first time using this trick and it worked like a charm! It’s never fun to have to stop and start a painting project; but when you’re a mom trying to squeeze in projects, you gotta make it work!
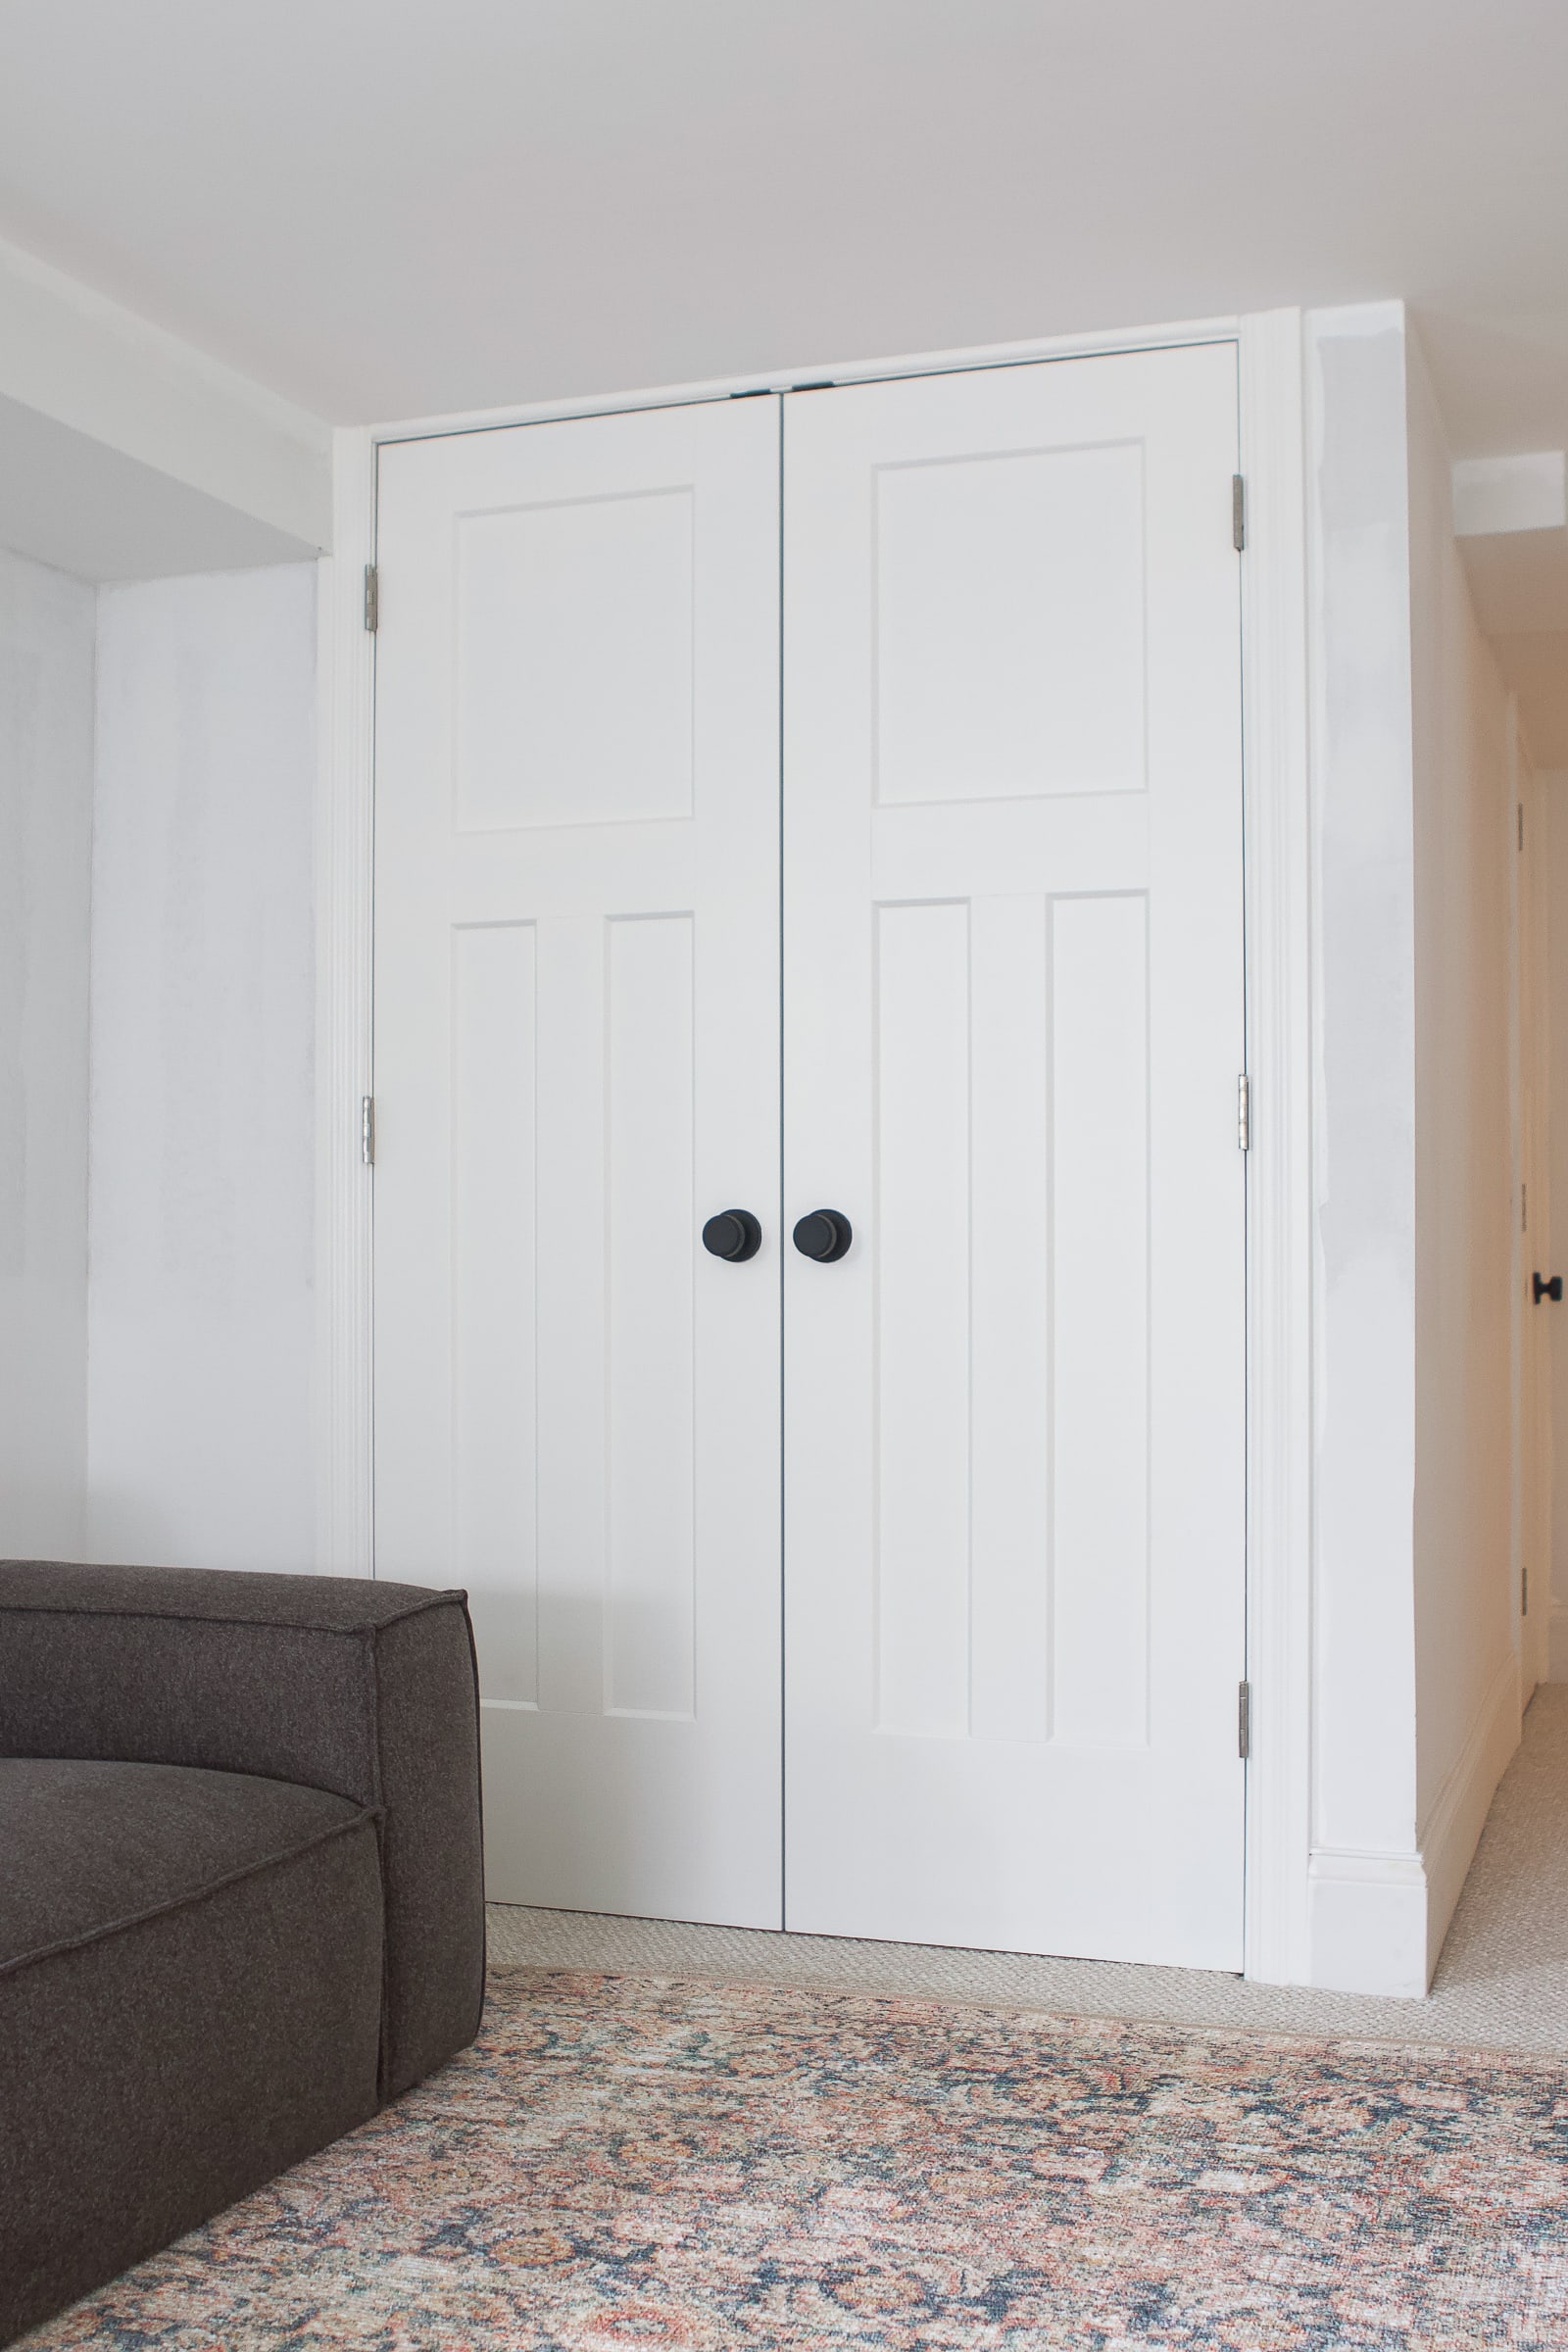
Three Coats Later…

After giving each door and frame three coats, I was finally finished! As always, I recommend removing your tape while the paint is still wet to prevent any peeling paint.
See a drip after it dries? Don’t panic. Knock it down with 320-grit, wipe with a tack cloth, and touch up lightly. Your drip will be gone!
I thought this project would take me a few hours to get done, but it was about eight hours of work, in total. Isn’t that always the case with DIY projects? You think it will be a quick one and then, boom…you’re painting at 10 pm on a school night! Ha!
Overall, painting doors was not a difficult project to complete, and it is definitely one that anyone can do in their own home! It always amazes me what a fresh coat of paint does for a room, or project!
FAQs About Painting Interior Doors
Do I need to remove the door to paint it?
Not always! I painted my interior doors in place using wood shims and drop cloths. It’s a great way to save time and space. If you’re using a sprayer or tackling an older home with very beat-up doors, taking them down can be a good idea.
What’s the best way to paint a flat door?
A flat door is actually the easiest! Use a foam roller for the door surface, work in long even strokes, and follow up with a brush only on the door casing and trim.
How many coats do I need?
At least two, but probably three. Most doors look best with a first coat + second coat of paint (sometimes three for dark-to-light color changes). Thin coats are key for a professional finish.
Should I paint the door or trim first?
Paint the door first, then the casing/trim. You’ll get cleaner lines where the two meet, and it’s easier to cut in on a cured door edge than vice versa.
What roller nap should I use?
Use high-density foam or a 1/4″ microfiber for the flattest finish on smooth doors. Anything thicker can leave texture.
Should I paint the door knobs or replace them?
Always replace or upgrade. Painting over door knobs is a shortcut that chips quickly. Swapping knobs is a great way to give your project a significant impact with minimal extra work.
Can I use trim paint on doors?
Yes! Many pros use the same trim paint on single doors to keep consistency. Just make sure it’s durable enough for daily use.
How do I keep doors from sticking after painting?
Give the door a full cure window. (Check your type of paint—some enamels take longer.) If needed, sand the latch edge lightly and apply a whisper-thin coat there. Avoid closing freshly painted single doors for several hours.
What’s the difference between dry time and cure time?
“Dry to the touch” happens in hours, but full cure can take 5–30 days depending on the enamel. Use the door, but avoid aggressive cleaning or adding stick-on bumpers until it’s cured.

I hope you learned a few tips to paint interior doors. It’s a pretty easy DIY project that anyone can do! You just have to have the right supplies, use light coats, and give yourself plenty of time to get it done.